Which Board Should You Choose?
When a newcomer to IoT goes online, one of the first modules they’ll come across is the ESP8266. And for good reason: it’s cheap, and there are plenty of boards built around it, letting you use it as a standalone device or integrate it into complex Arduino-based projects. But the ESP8266, released in 2014, soon stopped meeting user expectations, and in 2015 its developer, Espressif, introduced a new microcontroller — the ESP32.

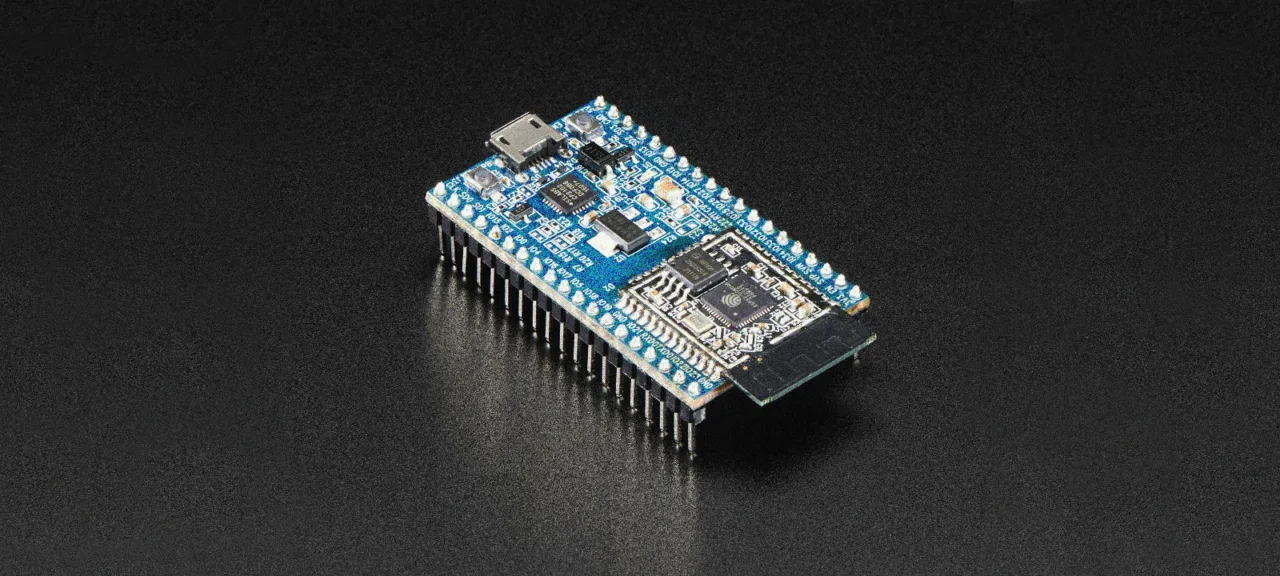
Just like with the ESP8266, developers have released quite a few boards based on the new microcontroller. All examples in this article were tested and verified on the MH-ET LIVE ESP32 DevKit board. The review unit was kindly provided by the online store Amperkot (https://amperkot.ru/).

Getting Started with Programming
Like any ESP32-based board, the MH-ET LIVE ESP32 DevKit supports a fairly broad set of programming languages. First and foremost, Arduino C; then Lua; and third and fourth, MicroPython and Espruino. We’ve already covered Espruino—a JavaScript runtime for programming microcontrollers—earlier, but that piece focused only on the Espruino Pico board, which is purpose-built for Espruino.
info
Unfortunately, the Espruino port for the ESP32 is still a work in progress. Some features—such as over‑the‑air updates and Bluetooth—aren’t available yet. Since Espruino is an open‑source project, anyone can add the missing functionality.
Installation
- Download the latest Espruino build from the official website. If you don’t trust the prebuilt images, you can build the firmware yourself.
- Even though we’ll be writing JavaScript, you still need Python—specifically esptool.py. Assuming Python is already installed, install it with: pip install esptool.
- In the terminal, switch to the folder with the firmware. Besides the Espruino binary, you should have bootloader.bin and partitions_espruino.bin. These are required; if they’re missing from your build, download them from here: http://www.espruino.com/binaries/travis/master/
- Start flashing, making sure to change the serial port in the example to your own and, if needed, adjust the firmware filename. In this example it’s espruino_esp32.bin.

IDE
The Espruino developers created their own IDE, Espruino . It’s available via the Chrome Web Store, and there are native Windows builds as well (32 and 64).

Before the first run, open Settings, go to the COMMUNICATIONS tab, and make sure the baud rate is set to 115200. Also change Save on Send from No to Yes; otherwise, all programs will be lost after a restart.
Now just launch the IDE, connect to the board, and type 1+2 in the console. If you get 3, everything is set up correctly and you’re ready to start real work.
Hello world
In practically every programming language intended or adapted for microcontrollers, the simplest example is the so-called Blink: flashing the onboard LED. That’s a bit dull, though. So our first program will control the LED from a web page. After all, JS is the language of the web.
var wifi = require("Wifi");
wifi.startAP('EspruinoAP', { password: '0123456789', authMode: 'wpa2' },function() {
  console.log(`AP started`);
});
function onPageRequest(req, res) {
  var a = url.parse(req.url, true);
  if (a.pathname=="/") {
    res.writeHead(200, {'Content-Type': 'text/html'});
    res.end("<H1><center>Hello, ][aker!</center></H1>");
  } else if (a.pathname=="/on") {
    res.writeHead(200, {'Content-Type': 'text/plain'});
    res.end("Enable");
    digitalWrite(D2, false);
  } else if (a.pathname=="/off") {
    res.writeHead(200, {'Content-Type': 'text/plain'});
    res.end("Disable");
     D2.write(true);
  } else {
    res.writeHead(404, {'Content-Type': 'text/plain'});
    res.end("404: Page "+a.pathname+" not found");
  }
}
require("http").createServer(onPageRequest).listen(80);
You can see the syntax is almost indistinguishable from plain JavaScript. Let’s break down what’s going on in this program.
var— first, we load the Wi‑Fi module we need. You might ask: where does it come from? Some modules are built into the firmware. If you need to load one from an external site,wifi = require( "Wifi") requiresupports URLs likerequire(, and the WebIDE, when searching for modules online, uses"https:// github. com/ espruino/ EspruinoDocs/ blob/ master/ devices/ PCD8544. js") ; https://by default.www. espruino. com/ modules The next code block brings up an access point named “EspruinoAP” with the password “0123456789”. On success, it prints a corresponding message to the console.
-
The
onPageRequestfunction is the web server. It parses the URL and decides what to do based on the request:- If the root page
/is requested, return an HTTP 200 with atext/response: “Hello, ][aker!” wrapped in HTML tags.html - If
/is requested, return HTTP 200 with the message “Enable” and turn on the LED. Note the familiar Arduino-style functionon digitalWrite(.pin, value) - For
/, instead of usingoff digitalWrite(to turn the LED off, it calls thepin, value) write(method.value) - For any other path, return “404 — Page Not Found.”
- If the root page
Finally, the last line starts the server on port 80, using the internal onPageRequest handler.
It’s important to note that we can return different types of content: plain text, HTML, XML, and so on.
MQTT-controlled RGB bulb
Smart home projects often start with lighting. But simply toggling an LED bulb on and off is a bit too basic. For small spaces, decoration, and creating a festive vibe, people often use addressable RGB LEDs—and so will we. We’ll use Adafruit IO as both the MQTT broker and the client.
Of the standard widgets, we’ll only need two: Toggle and Color Picker.

var ssid = 'SSID';
var password = 'PASSW';
var count = 16;
var LedPIN = D23;
var wifi = require('Wifi');
function colorall(color,count,pin) {
  Color_Array = new Uint8ClampedArray(count*3);
  for (var i = 0;i < Color_Array.length; i+=3) {
    Color_Array[i  ] = color[0];
    Color_Array[i+1] = color[1];
    Color_Array[i+2] =color[2];
  }
  require("neopixel").write(pin, Color_Array);
}
function hexToR(h) {return parseInt((cutHex(h)).substring(0,2),16); }
function hexToG(h) {return parseInt((cutHex(h)).substring(2,4),16); }
function hexToB(h) {return parseInt((cutHex(h)).substring(4,6),16); }
function cutHex(h) {return (h.charAt(0)=="#") ? h.substring(1,7) : h; }
wifi.connect(ssid, {password: password}, function() {
  console.log('Connected to Wifi. IP address is:', wifi.getIP().ip);
});
var mqtt = require("MQTT").connect({
  host: "io.adafruit.com",
  username: "<LOGIN>",
  password: "<SECRET-KEY>"
});
mqtt.on('connected', function() {
  mqtt.subscribe("<LOGIN>/feeds/exampledashboard.enable");
  mqtt.subscribe("<LOGIN>/feeds/exampledashboard.colorlamp");
  console.log("Connect");
});
mqtt.on('publish', function (pub) {
  console.log("topic: "+pub.topic);
  console.log("message: "+pub.message );
  if (pub.topic == "<LOGIN>/feeds/exampledashboard.enable") {
    if (pub.message=="OFF") {
      colorall([0,0,0], count, LedPIN);
    } else {
      colorall([128,128,128], count, LedPIN);
    }
  } else if (pub.topic == "<LOGIN>/feeds/exampledashboard.colorlamp") {
    var hex_color = pub.message;
    var rgb_color = [hexToG(hex_color),hexToR(hex_color), hexToB(hex_color)] ;
    colorall(rgb_color, count, LedPIN);
  }
});
mqtt.connect();
Let’s dive into analyzing the program.
- First, declare the variables needed to connect to Wi‑Fi, along with the number of LEDs and the pin they’re connected to.
- The
colorall(function sets all LEDs to the same color at once. To do this, create an array and write the three color components in sequence, repeating themcolor, count, pin) counttimes. For example, to set two LEDs to blue, the array should be[. Note that this function uses the preloaded0, 0, 255, 0, 0, 255] neopixellibrary. One more quirk: the color order is swapped—it’s GRB, not RGB. Odd, but that’s how it is. - The next four functions convert a color from hexadecimal notation to RGB. We need them because the Color Picker sends colors as strings like
#RRGGBB. - Connect to Wi‑Fi; if successful, a message will appear in the log.
- Next, connect to the MQTT broker. The first time you run it, the interpreter may complain that the library can’t be found. It’s not on the device; it’s fetched from the internet. If there’s no internet connection, it can’t be downloaded. Wait for a stable connection and reboot the device.
- Now define the client behavior. The MQTT client exposes various events, and you should attach handlers to them.
- When the connection is established (
connected), subscribe (mqtt.) to the necessary topics: one for the switch and one for the Color Picker. For convenience, also print a message to the console indicating a successful connection.subscribe( topic) - Next, specify what to do when a message arrives on a given topic (
publish). Start by logging the topic name and the message payload. - The switch can only send two messages:
OFForON. It’s logical to turn off all LEDs onOFF. What to do onONis up to you; I chose to light all LEDs white at 50% brightness. - If the user changes the color, convert it to RGB—more precisely, to GRB—and write that color to all LEDs.
And of course, you need to initiate a connection to the MQTT broker.
MQTT Services
Besides Adafruit IO, there are other MQTT services with similar functionality. For fully “hands-on” control, the first that comes to mind is Eclipse Mosquitto. You can install this broker on a home PC or a Raspberry Pi and, using the built-in utilities mosquitto_sub and mosquitto_pub, manually (or via Python) work with topics—subscribe to them and publish messages.
In the Arduino community, Blynk is very popular. It provides Arduino libraries, iOS and Android clients, and its server is available on GitHub and can be deployed on any computer. There’s a small catch: every widget you add to your app’s dashboard “costs” a certain number of internal credits. The initial balance is enough for most projects, but if you want to build a full-fledged app and publish it on the App Store/Google Play (which Blynk does support), you’ll have to pay.
Beyond that, there are plenty of client apps in both the App Store and Google Play, and lots of MQTT brokers online. For example, CloudMQTT. They offer a free tier — perfect for getting started.
Room Monitoring System
Imagine we have a room with a set of sensors, and we need to make sure everything in there is fine. Staring at the readings all the time will get old quickly, so we want the light to turn on under certain conditions—and not just an LED, but a proper lamp. And we’ll send all the data to Adafruit IO as well.
Our sensors are as follows:
- Water level sensor — analog
- DHT11 temperature and humidity sensor — digital
- Sound sensor — digital
Additionally, we’ll need a relay to control the lights.

var ssid = 'SSID';
var password = 'PASSW';
var TempRTSensorPin = D27;
var WaterSensorPin = D26; // Analog pin
var SoundPin = D14; // Analog pin
var RelayPin = D12;
const SoundLevel = 3.8;
const Waterlevel = 30;
var wifi = require('Wifi');
wifi.connect(ssid, {password: password}, function() {
  console.log('Connected to Wifi.  IP address is:', wifi.getIP().ip);
  mqtt.connect();
});
var dht = require("DHT11").connect(TempRTSensorPin);
var mqtt = require("MQTT").connect({
  host: "io.adafruit.com",
  username: "<LOGIN>",
  password: "<SECRET-KEY>"
});
mqtt.on('connected', function() {
  console.log("Connect");
});
function EnableLight() {
  digitalWrite(RelayPin,true);
}
setInterval(function() {
  if (analogRead(SoundPin)*100>SoundLevel) || (analogRead(WaterSensorPin) * 100 > Waterlevel) {
    D2.write(false);
    EnableLight();
  }
}, 100);
setInterval(function() {
  dht.read(function (a) {console.log("Temp is "+a.temp.toString()+" and RH is "+a.rh.toString());
  mqtt.publish("<LOGIN>/feeds/smartroom.rh", a.rh.toString());
  mqtt.publish("<LOGIN>/feeds/smartroom.temperature", a.temp.toString());
  mqtt.publish("<LOGIN>/feeds/smartroom.waterlevel",""+analogRead(WaterSensorPin));
},5000);
In this program we again need a Wi‑Fi connection and an MQTT broker. These are the same as in the first program; the only difference is that when the MQTT client connects, it doesn’t subscribe to any topics.
First, let’s define which pins we’ll use for what. And while the first example could theoretically run on the ESP8266, this one requires an ESP32, because we need two analog pins.
There’s a dedicated library for the temperature and humidity sensor—load it with: require(.
The relay is controlled by changing the state of a digital pin: 0 turns it off, 1 turns it on. By wiring lamps, power strips, and other devices through the relay, you can control them over the internet. This is one of the most common IoT patterns.
But the most interesting part is, of course, the setInterval( function. Anyone who has written in Arduino C knows the main function void —it’s the function that runs continuously after the program is uploaded. Well, setInterval is even better: first, you can (and should) set the repeat interval in milliseconds; second, you can schedule multiple function calls, each with its own frequency.
Another nuance: I use the variables SoundLevel and Waterlevel, since both the water level sensor and the sound sensor are analog. Readings can vary across different boards, so calibration is required. The sound sensor has an onboard potentiometer for sensitivity adjustment.
In addition, the script now includes a call to mqtt., which publishes the data value to the specified topic on the MQTT broker.

Conclusion
The examples in this article are meant to show that building your own IoT devices isn’t hard. Espruino is based on JavaScript, which is a fairly simple programming language, and there’s an abundance of tutorials online. Earlier I noted that DIY is cheaper than buying an off‑the‑shelf device. For example, a Wi‑Fi–controlled outlet typically costs about twice as much as the board used in this review, and 10–20 times more than the relay needed to switch a standard outlet. Draw your own conclusions. 🙂