For most people who buy a Raspberry Pi to turn it into a TV set-top box, the plan is roughly this: connect an external hard drive or USB stick with movies, pair a gyroscopic (air-mouse) remote, install the Kodi media center, and enjoy movies, YouTube, TV, and radio.
It’s a perfectly logical choice—one you’ll be cursing within a couple of hours. Kodi is a great media center front end for a set-top box, but it’s not well optimized for the Raspberry Pi. You’ll end up restarting it from time to time, the mouse cursor crawls while a video is playing, and some features just don’t work.
On top of that, you’ll inevitably run into half the plugins in the local repository not working. Want to watch YouTube? Forget it—the plugin works maybe one time out of ten. You can listen to radio, but you’ll have to track down a plugin that actually works. TV? Don’t even bother.
It’s 2018—everything’s streaming, in the cloud, Netflix is everywhere—yet you’re stuck watching videos off a hard drive with a laggy cursor. Try opening YouTube in your browser and you get such a slideshow you could present it at a conference.
Think in Reverse
The Raspberry Pi seems so ill-suited as a TV box that I could just recommend buying a proper streaming device instead (like the NVIDIA Shield) or even a cheap Chinese HDMI stick. But I won’t do that, because the Raspberry Pi has two advantages:
- A Linux-based mini PC that lets you do anything you want—unlike locked-down set‑top boxes and Android-based boxes.
- Raspberry Pi has a large community and many developers.
Don’t try to turn your Raspberry Pi into a traditional set‑top box with a remote. Turn it into a server you control from your laptop or phone. Want to watch YouTube? Grab your phone, open the app, pick a video, and hit play. Want music? Use the widget on your phone. Torrents? Download the .torrent file on your laptop and add it to the Pi via a remote torrent client.
What you’ll need
So, you’ll need the following:
- Raspberry Pi 3
- microSD card (at least 8 GB, Class 10 or higher)
- External hard drive for storing music and movies
- Keyboard and mouse (only needed for initial setup and troubleshooting)
- 2.5 A USB power supply and a micro‑USB cable
Raspberry Pi works fine with Bluetooth keyboards and mice, but they’ll only function, of course, once the OS has booted successfully. As a mouse, a gyroscopic remote (air mouse) is very handy—on AliExpress they cost about $3–5. It emulates mouse movement based on how you tilt it.
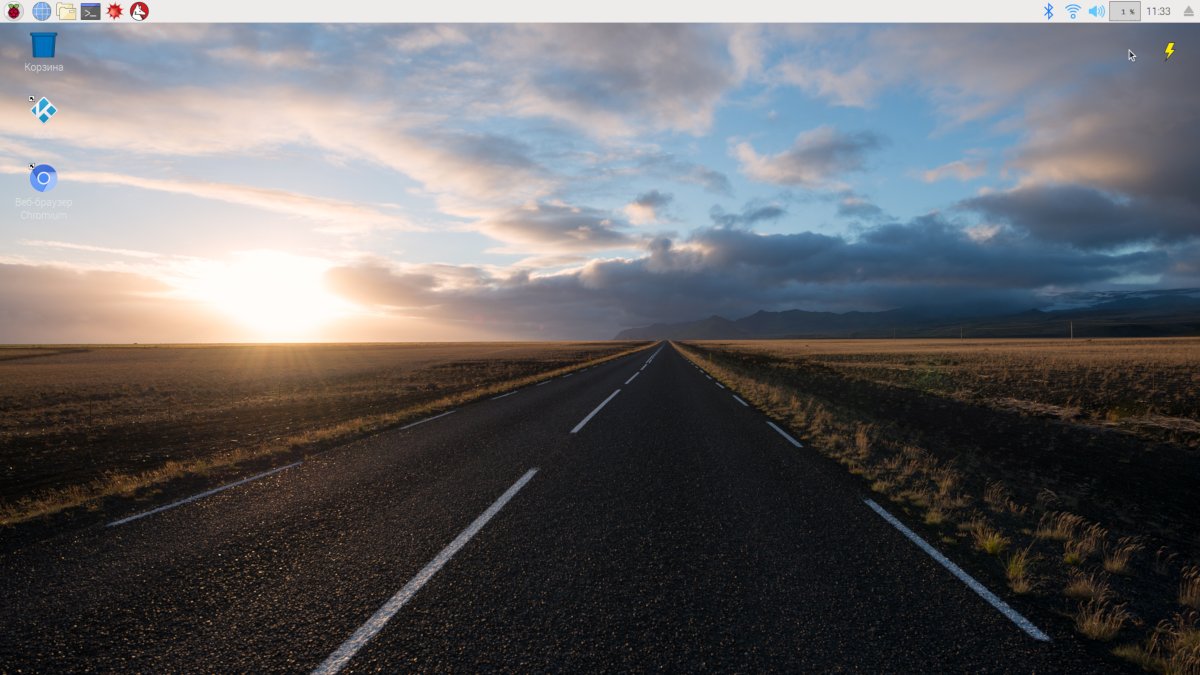
Any USB charger will work, even one rated under 2.5 A. The catch is that if the Raspberry Pi detects a power shortfall, it will throttle the CPU and you’ll see a lightning bolt icon in the top-right corner. At the same time, a hard drive may spin down and peripherals can lose power. It’s worth investing in a good power adapter and a quality micro‑USB cable—insufficient power is often the cable’s fault.
I won’t go into the nitty-gritty of installing an OS on a Raspberry Pi (there are plenty of guides for that). I’ll just note that I recommend using the official Raspbian distribution (to ensure everything works as expected), and that the installation basically comes down to downloading the OS image and writing it to an SD card. On Linux, this takes just two commands:
$ wget https://downloads.raspberrypi.org/raspbian_latest -O raspbian_latest.zip
$ unzip -p 2018-04-18-raspbian-stretch.zip | sudo dd of=/dev/sdX bs=4M conv=fsync
Here, / refers to the SD card; you can find its actual device name with the lsblk command or by checking dmesg immediately after inserting the memory card.
Insert the microSD card into the Raspberry Pi, wait for the desktop to boot, and connect to Wi‑Fi. Then run raspi-config from the terminal:
$ sudo raspi-config
And enable the SSH server: Interfacing Options → SSH → Yes.
From this point on, we no longer need a keyboard or mouse. We can do everything we need by connecting to the Raspberry Pi over SSH.
Movies and YouTube
The primary job of a media set‑top box is to play video. There are various players available for the Raspberry Pi, but most of them struggle with high‑resolution playback. Simply put, they don’t use hardware-accelerated decoding and instead rely on the CPU, which tends to bog down.
There’s one exception: omxplayer. It was created by the Kodi developers to verify the Raspberry Pi’s video decoding capabilities before porting the media center itself. Omxplayer handles HD and Full HD video just fine, but it’s controlled exclusively from the command line. In other words, to start playback you’ll need to do something like this:
$ omxplayer /path/to/video.avi
To choose the audio output (HDMI or the Raspberry Pi’s onboard output), use the -o option:
$ omxplayer -o local /path/to/video.avi
To control playback, use the following keys: Space — pause; +/- — volume; arrow keys — seek.
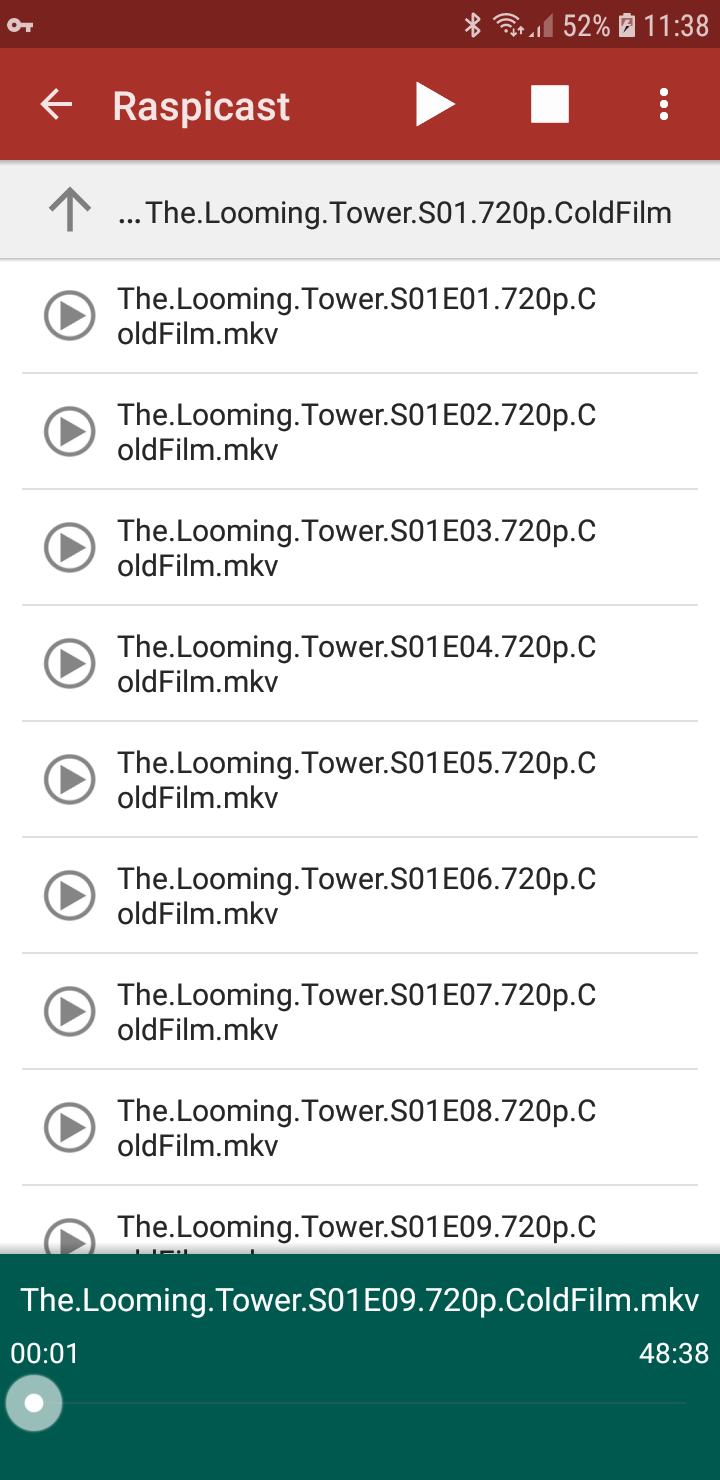
Do you find that convenient? I don’t either, so I recommend using omxplayer together with the Raspicast app for Android. It’s a client for Raspberry Pi and omxplayer that lets you remotely play any videos stored on your hard drive—and even YouTube videos.
Install the app on your smartphone, enter your Raspberry Pi’s IP address, and provide the SSH username and password. Then you can either use the app’s built‑in file browser to pick a video, or send any video from YouTube: open YouTube on your phone, choose a video, tap Share, and select Cast (Raspicast) from the list.
You can either play a video immediately or add it to your playlist (choose Queue (Raspicast) from the Share menu). Unfortunately, YouTube live streams aren’t supported, but playlists are: you can send an entire playlist to Raspicast, and it will add all items to the queue.
You can control a running instance of omxplayer over SSH. For that, use the dbuscontrol script. Its controls are fairly intuitive:
$ dbuscontrol.sh status
$ dbuscontrol.sh pause
$ dbuscontrol.sh togglesubtitles
 |
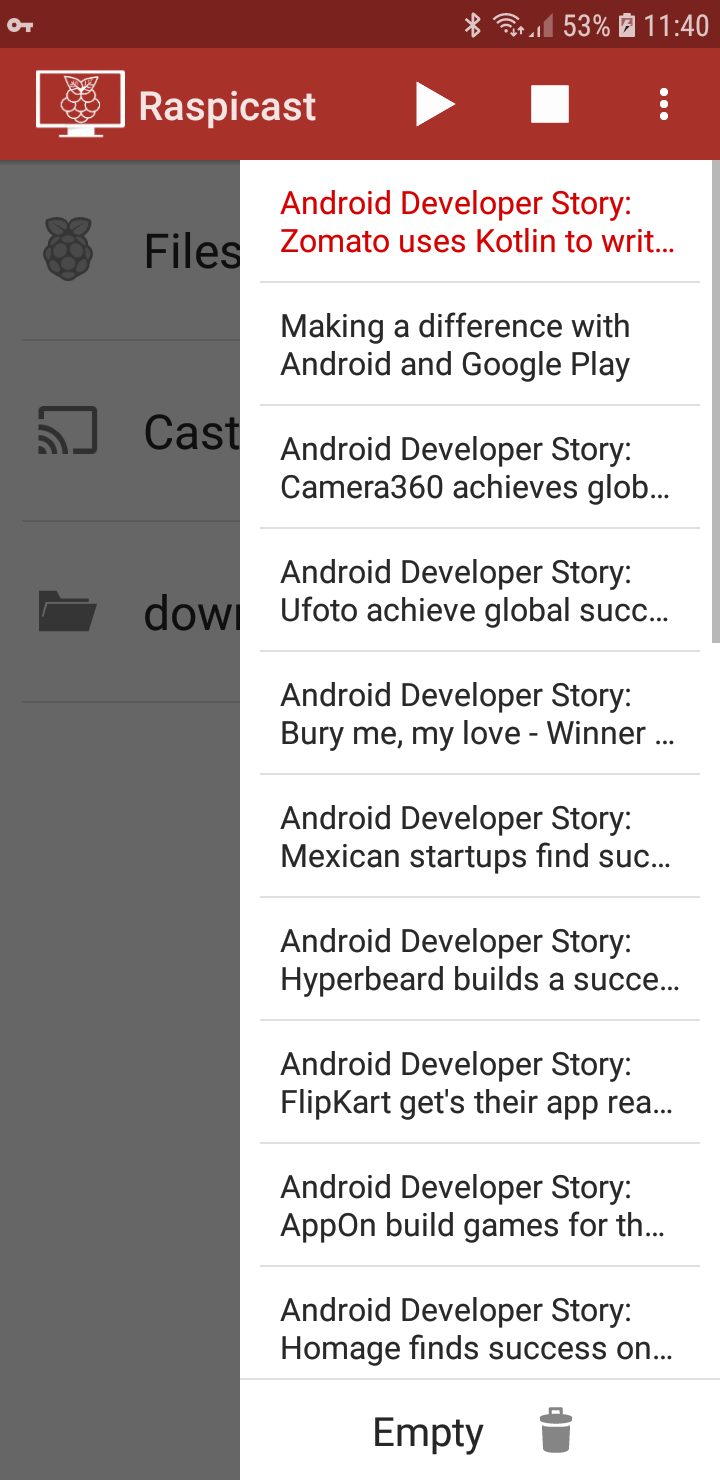 |
| Raspicast can play video from a hard drive and from YouTube | |
YouTube: Option 2 — the buggy one
The Raspberry Pi does in fact play video in the browser at an acceptable speed. There’s a catch, though: you have to enable the OpenGL driver, which is, to put it mildly, not very stable. You may run into screen artifacts, system instability, or even a failure to boot. If that doesn’t put you off, follow these steps.
1. Add the following lines to the / file (192 is the amount of memory reserved for the GPU):
dtoverlay=vc4-kms-v3dgpu_mem=1922. Update the firmware and reboot:**
$ sudo rpi-update
3. Download the script chromium-mod.sh and run it:
$ chmod +x chromium-mod.sh
$ sudo ./chromium-mod.sh
It will adjust Chromium’s launch flags to enable hardware acceleration.
Now launch Chromium, enable the h264ify extension (it’s already installed), and try playing a video on YouTube. If you’re still seeing stuttering, check that hardware acceleration is actually enabled. To do this, open chrome://gpu.
By the way, you can play Quake 3 now, too.

Music
Since we’ve decided to use the Raspberry Pi as a unified media center, it makes sense to install an audio player with remote control. MPD (Music Player Daemon) is the best fit for that role.
We’ll run it on a Raspberry Pi as a background service so it’s always ready to play music. Then we’ll install an MPD client on the laptop, home PC, and smartphone to browse and start playback.
Install:
$ sudo apt install mpd
Copy the default config:
$ mkdir .config/mpd
$ cp /etc/mpd.conf .config/mpd/
Let’s modify a few lines:
# Music directory
music_directory /media/pi/Elements/download
# Playlist directory
playlist_directory /media/pi/Elements/playlists
# User under which the daemon will run
user "pi"
# Listen for connections on all addresses
bind_to_address "0.0.0.0"
In this example I used /media/pi/Elements/download as the music directory. That’s the download folder on a WD Elements drive connected via USB. If you’re using a flash drive or an external hard drive, it will also be mounted somewhere under /media/pi, just under a different name.
To avoid permission headaches, we should run MPD as a user process. To do this, disable the system MPD service and create a user service. Here’s how to do the first part:
$ sudo systemctl stop mpd.socket
$ sudo systemctl disable mpd.socket
To address the second issue, create a directory for user-level systemd services:
$ mkdir -p .config/systemd/user/
Inside it, create a file named mpd. with the following contents:
[Unit]Description=Music Player Daemon[Service]ExecStart=/usr/bin/mpd --no-daemon[Install]WantedBy=default.targetSave, enable, and start:
$ systemctl --user enable mpd.service
$ systemctl --user start mpd.service
MPD will now automatically start as the user after boot.
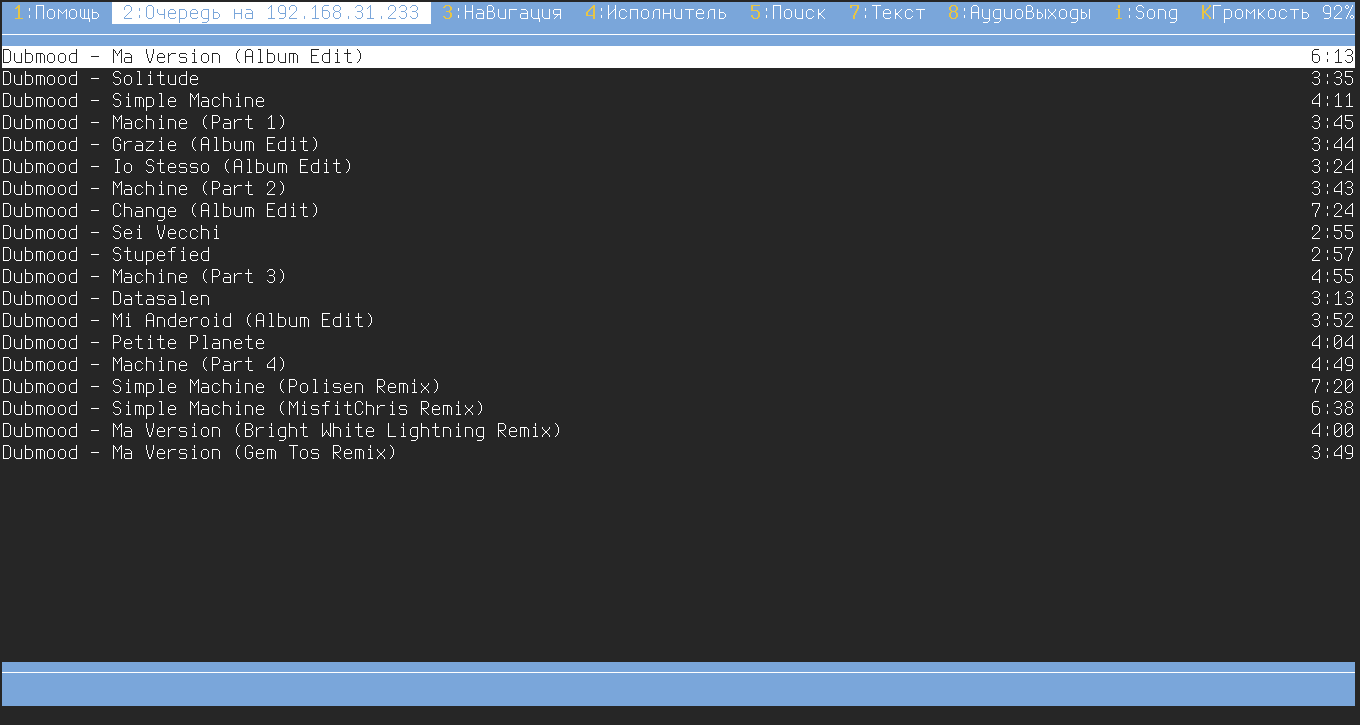
There are plenty of MPD clients for a wide range of platforms, including Linux, Windows, macOS, Android, and iOS. Personally, I prefer the ncmpc console client on my Linux laptop and MPD Control on Android.
Oh, almost forgot—MPD doesn’t detect new files right away. For it to see them, you need to update the music database. You can do this using the appropriate button or a hotkey in your client.
Torrents
Our Raspberry Pi can now play video and audio from a hard drive, but where do we get that media? From torrents, of course! No, not piracy—I mean chiptunes and educational videos.
We’ll handle torrents the same way we did with music: set up a daemon to handle downloading and seeding, and control it remotely from the same smartphone or laptop.
The best tool for this job is transmission-daemon, so let’s install it:
$ sudo apt install transmission-daemon
As with MPD, we start by disabling the system service:
$ sudo systemctl stop transmission-daemon.service
$ sudo systemctl disable transmission-daemon.service
Copy the default configuration files:
$ sudo cp -r /etc/transmission-daemon /home/pi/.config/
$ sudo chown -R user_name /home/pi/.config/transmission-daemon
Open the file ~/ and update the following lines:
"rpc-authentication-required": false,"rpc-whitelist": "127.0.0.*,192.168.31.*","rpc-whitelist-enabled": true,"download-dir": "/media/pi/Elements/download","incomplete-dir": "/media/pi/Elements/download",In the first three lines we disable authentication (it isn’t needed on a home network) and specify the subnets from which Transmission will accept connections. Replace 192. with your home network. The last two lines define the download directory.
I also recommend setting daytime rate limits for download and upload speeds. This way, Transmission will only max out the connection at night and won’t interfere with other users on the network during the day.
The following settings apply a 100 KB/s limit from 6 AM to 11 PM (time is specified in minutes):
"alt-speed-enabled": true,"alt-spee-d-down": 100,"alt-speed-up": 100,"alt-speed-time-enabled": true,"alt-speed-time-begin": 360,"alt-speed-time-end": 1380,"alt-speed-time-day": 127,As with MPD, we need a user-level service to run Transmission. Create the file ~/. with the following lines:
[Unit]Description=Transmission[Service]ExecStart=/usr/bin/transmission-daemon -f --config-dir /home/pi/.config/transmission-daemon/[Install]WantedBy=default.targetEnable and start the service:
$ systemctl --user enable transmissiond.service
$ systemctl --user start transmissiond.service
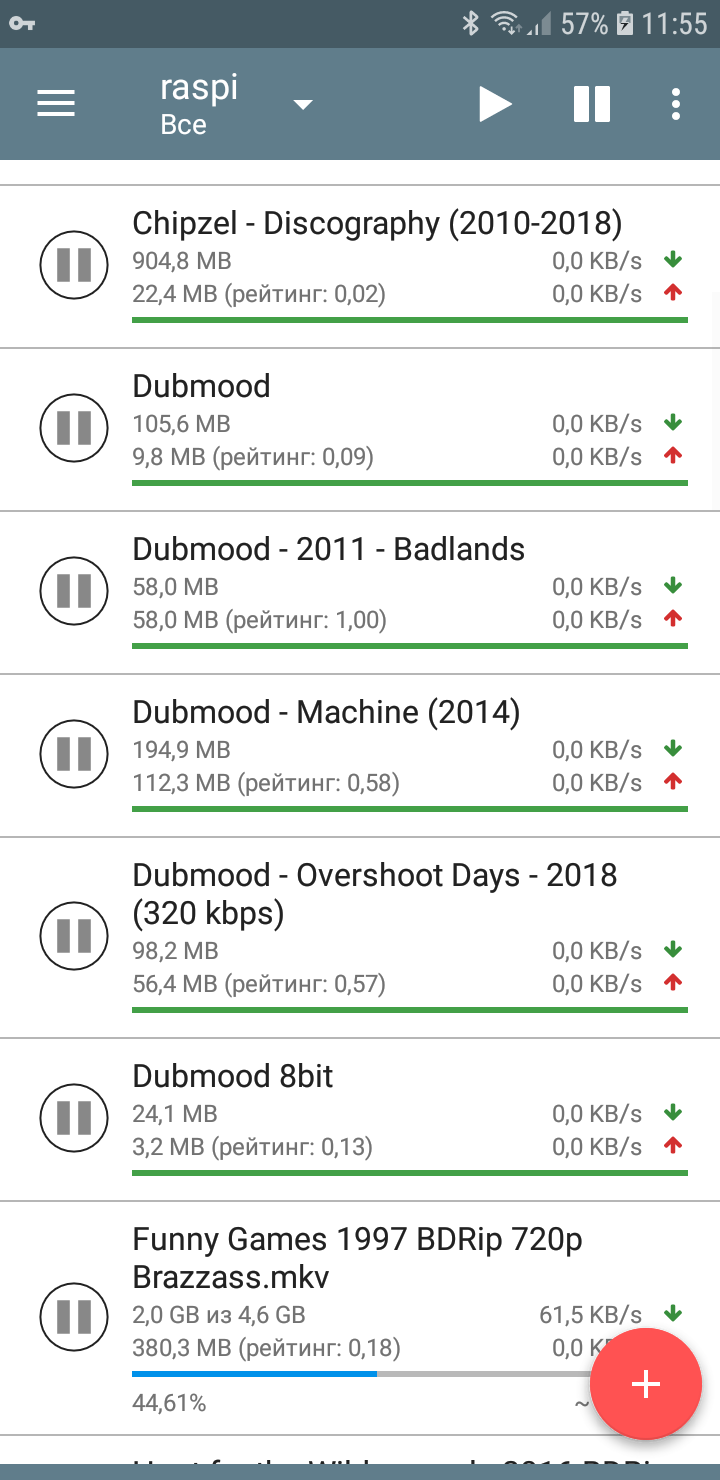
To manage Transmission, you can use one of the official clients or any other you prefer. I use transmission-remote-gtk on my laptop and Transmission Remote on my smartphone.
 |
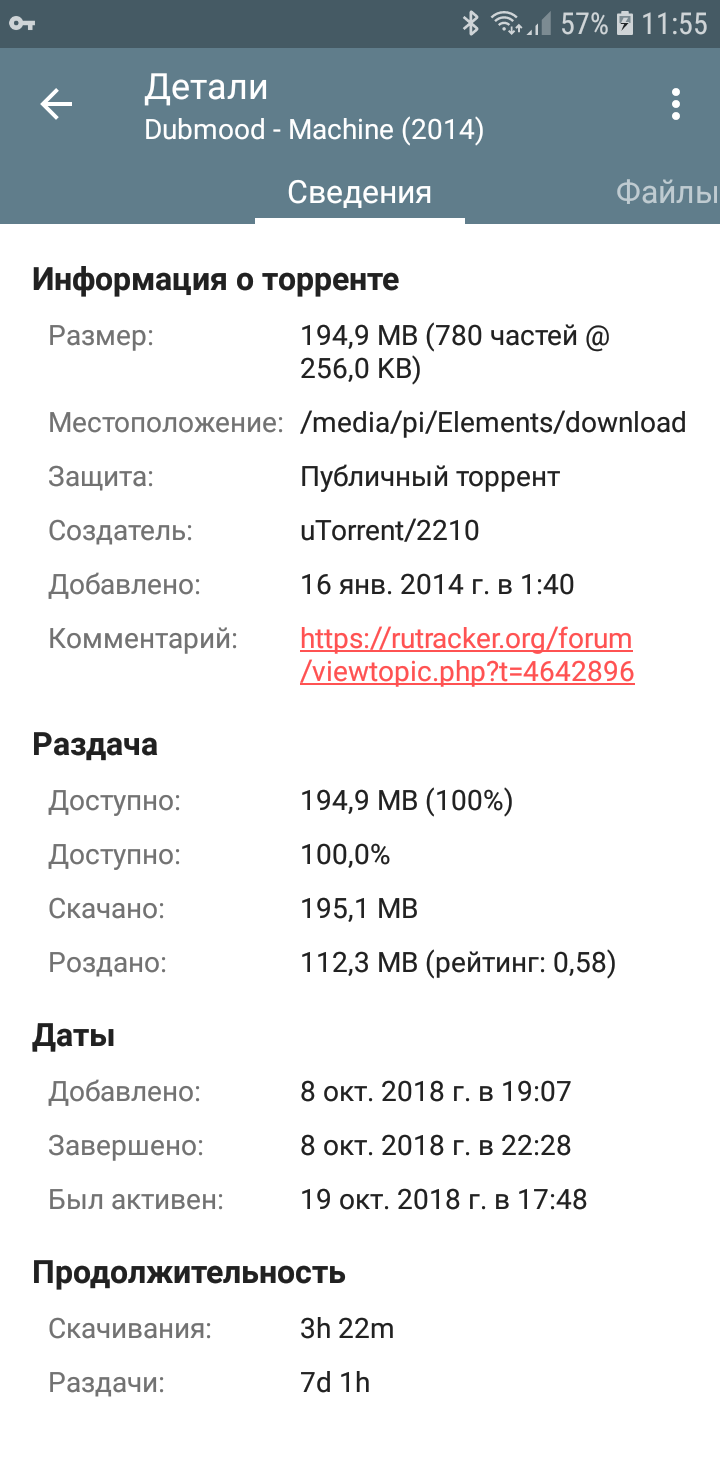 |
| Controlling the torrent client from a smartphone | |
Retro gaming
Emulating classic consoles is one of the things newer Raspberry Pi models do best. Some people buy a Raspi, install the RetroPie distribution, plug in controllers, and use it exclusively as a game console.
You can take the same approach, but keep in mind that RetroPie is a specialized distribution that boots either into the RetroArch interface to run games or into Kodi to watch movies and listen to music.
On the other hand, nothing’s stopping you from sticking with your current distro and just installing the RetroArch frontend to run classic games (it’s essentially a wrapper around emulator cores). It’s available in the Raspbian repository, but you’re better off grabbing the preconfigured version from RetroPie.
First, clone the RetroPie repository:
$ sudo apt-get install git lsb-release
$ git clone --depth=1 https://github.com/RetroPie/RetroPie-Setup.git
Let’s run the installer:
$ cd RetroPie-Setup
$ chmod +x retropie_setup.sh
$ sudo ./retropie_setup.sh
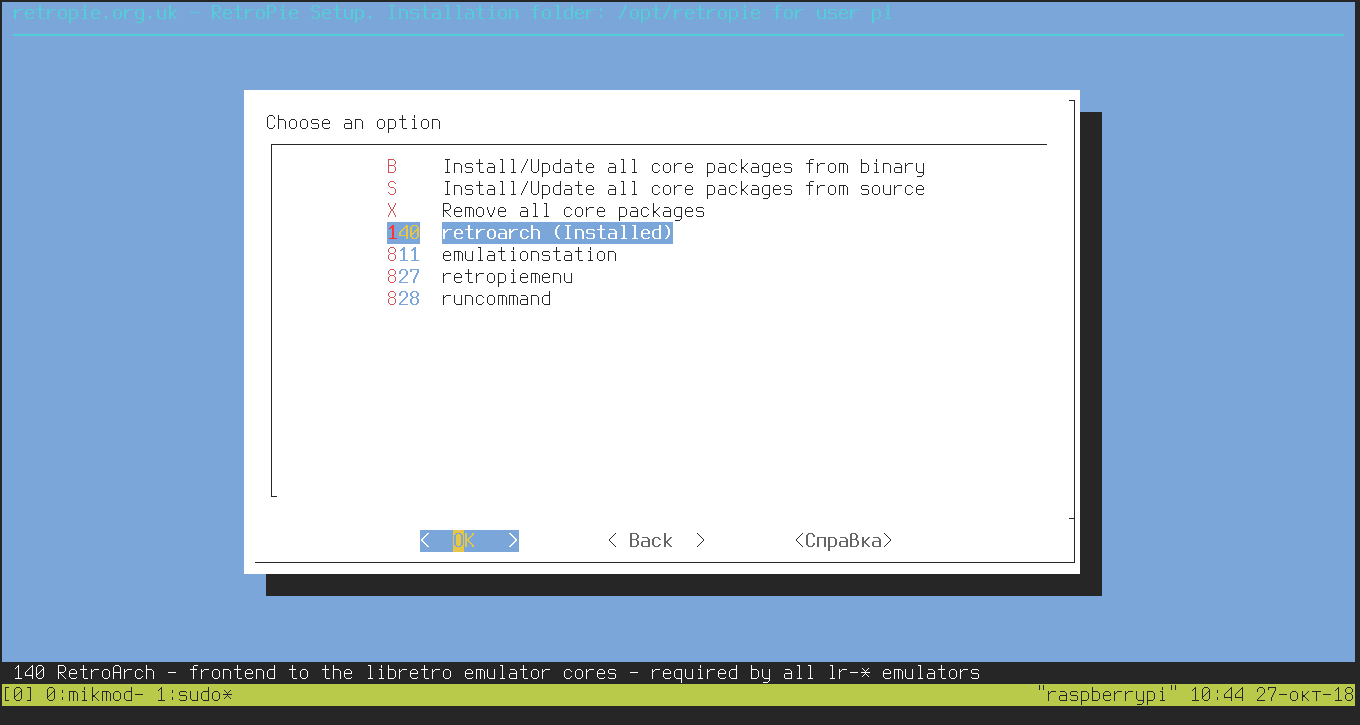
We’re interested in just one item: Manage Packages → Core → retroarch. Select it and install.
Launch RetroArch:
$ /opt/retropie/emulators/retroarch/bin/retroarch
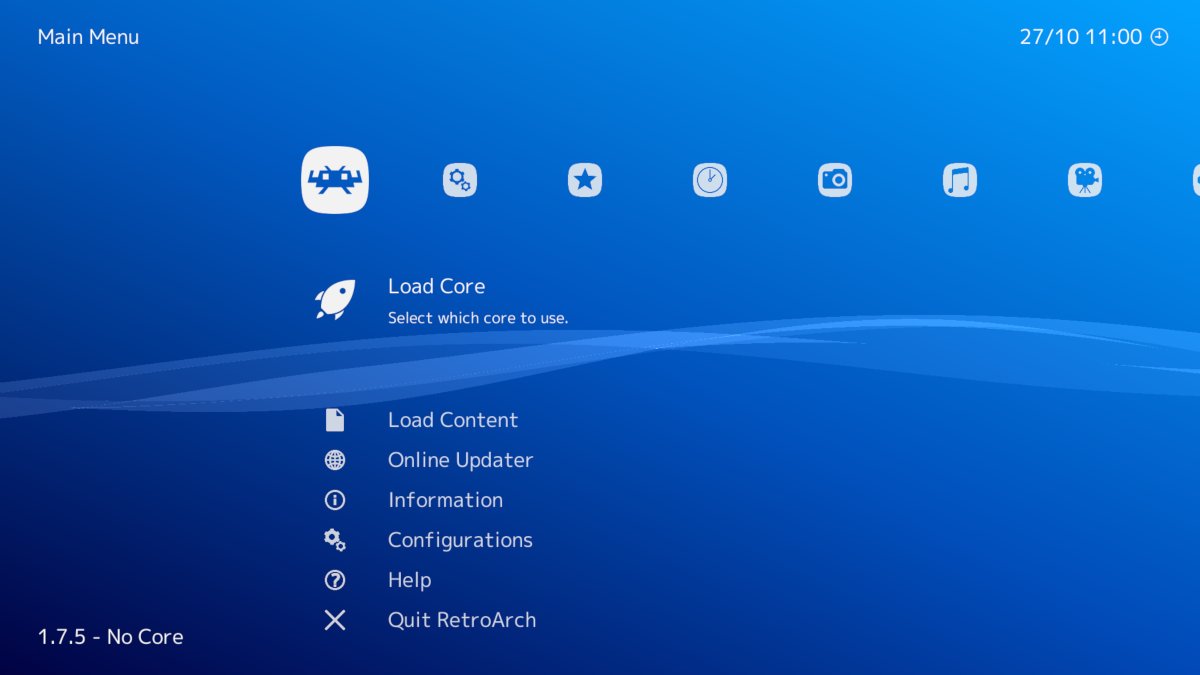
First, let’s set up your controller. Go to Settings → Input → Input User 1 Binds. As with any emulator, highlight the action you want to bind and press the corresponding button on your controller. By default, RetroArch emulates a universal controller called the RetroPad, which uses the same button layout as an SNES pad.
Also enable a quick menu shortcut right away: Menu Toggle Gamepad Combo — choose Start + Select, or any other button combo you prefer.
Next, you need to install the emulation cores. Go to the main screen, then select Load Core → Download Core… The cores we’re interested in are:
- fceumm — NES;
- genesis_plus_gx — Sega Mega Drive 2;
- snes9x2010 — Super Nintendo;
- pcsx_rearmed — Sony PlayStation 1.
Lastly, go to Settings → Directory → File Browser and select the directory that contains your ROMs.
That’s it. Now, for example, if you want to play Sega games, go to Load Core → genesis_plus_gx, then Load Content and choose your game.
Oh, and RetroArch supports achievements for lots of games. Create an account on retroachivements, then go to Settings → Achievements and enter your username and password. RetroArch will automatically enable the achievement system when it detects that you’ve loaded a supported ROM.
Conclusions
Raspberry Pi isn’t a media center and never was meant to be. It’s just a small computer that can handle some movies, music, and retro games. And that’s exactly what makes it great—you’re free to make it whatever you want. Don’t like Kodi, like me? Use SSH and a bare-bones omxplayer. Install MPD and fire up your music from across town.
