The boot process of a typical Linux distribution can generally be divided into five stages:
- Bootloader.
- Kernel boot and initial initialization.
- Hardware detection, loading of drivers, and mounting of file systems.
- Launch of system services (daemons).
- Start of graphical or console user session.
We will walk through all the stages and explore what happens during the boot process of a typical Linux distribution, with some detours into BSD, macOS, and Android along the way. This will often help explain why the Linux boot process is the way it is.
1. The Bootloader
Everything starts with the bootloader, which takes control from the BIOS when the machine starts. Back in the day, when Linux wasn’t as popular, the bootloader of choice was LILO (Linux Loader). It was simple, very basic, and didn’t allow for on-the-fly configuration changes. Essentially, the configuration file was hardwired into the bootloader itself, so you had to reinstall it every time you changed settings. Update the kernel and forget to reinstall, and your laptop won’t boot anymore.
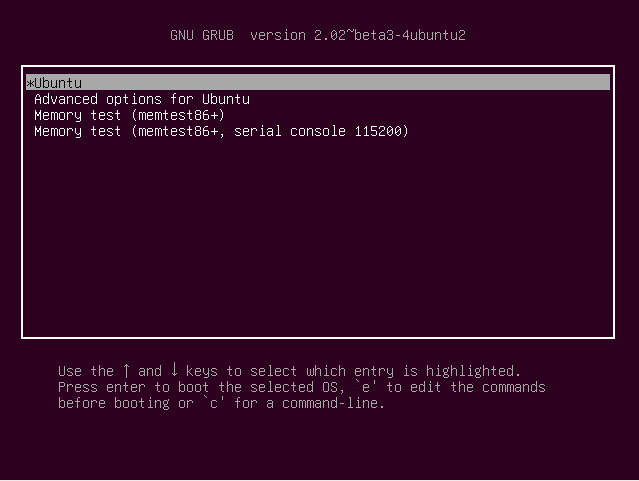
In most Linux distributions today, the boot process is managed by Grub, which was initially developed for the GNU/Hurd operating system. Grub is much more complex than LILO and can be considered a fully-fledged OS on its own. It doesn’t just read the boot configuration (typically located at /) directly from disk but also allows you to modify this configuration on the fly. Grub features a built-in command line, supports a dozen different file systems, and enables the creation of complex boot sequences.
Once the user selects the desired menu item (or after a timeout expires), Grub locates the Linux kernel image associated with that menu item on the disk (usually the file /), along with its corresponding initramfs image (we’ll discuss this shortly), loads them into memory, and transfers control to the kernel.

Why Use vmlinuz?
The name of the kernel image file has historical roots. Originally, the kernel image for classic UNIX was simply called “unix.” However, when a version of the kernel with memory protection was developed, the name was changed to “vmunix” to avoid confusion. The letter “z” at the end signifies that the image is compressed using the gzip utility (which uses the Deflate algorithm, the same used in the traditional ZIP format).
2. The Kernel and Initramfs
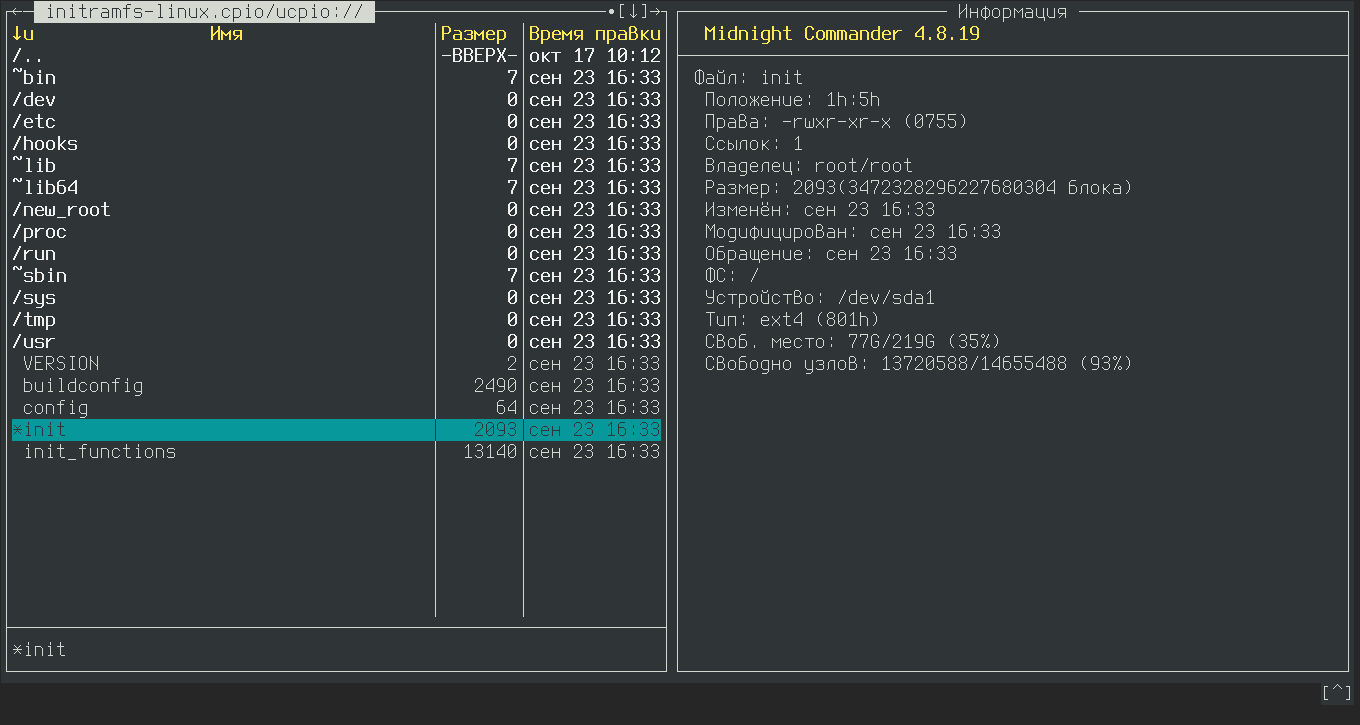
Once in control, the kernel begins its initial setup: it launches the memory management subsystem, configures the interrupt handler, and initializes data structures necessary for the kernel’s continued operation. After this setup is complete, the kernel extracts the initramfs archive (typically named something like /, a cpio archive compressed with gzip) into a memory-based filesystem (tmpfs), sets it as the root filesystem, and executes the / script (the name can vary in different distributions).
The initramfs contains the essential components of a Linux distribution: standard system directories like /, /, /, a basic command-line shell (usually ash), a collection of BusyBox commands, some auxiliary libraries, and a set of kernel modules (drivers) designed for interacting with various storage devices and file systems.

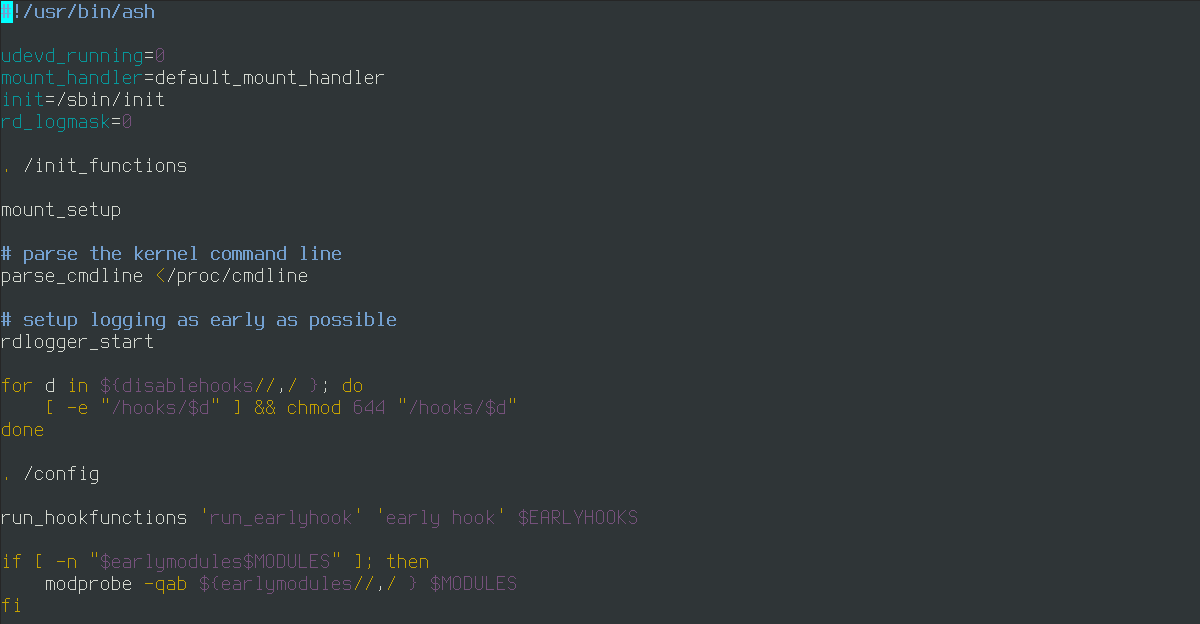
The purpose of initramfs is to solve the “chicken and egg” problem by loading the drivers necessary to mount the real root file system before it is actually mounted. This process occurs when the system executes the / script. The script identifies the storage devices present in the system, loads the necessary drivers into the kernel to handle these devices, and mounts the specific partition of the required storage device (the kernel knows this from the root parameter passed during boot) as the root directory, effectively replacing the contents of initramfs. After this, the script runs /, which marks the beginning of the next stage in the operating system’s boot process.

What About Android?
Android employs a very similar boot process. The difference here is that the initramfs is not replaced by the actual file system after / completes. Instead, the necessary partitions are mounted onto it: the system partition is mounted at /, the partition with installed applications at /, and so on. Additionally, unlike in other systems, the kernel and initramfs are not stored in separate files but are instead written one after the other in the boot partition.
3. Initial System Setup
After the / script from initramfs completes its task, it starts the / utility of the actual filesystem. From this point, the initialization of the operating system begins: loading necessary drivers, mounting file systems and swap partitions, configuring network interfaces, and starting system services.
Historically, / was a simple utility that primarily managed handing off control to specific scripts based on the parameters it received. These scripts were located in directories like /, where X represented the run level. Each script was responsible for a specific operation: one would mount file systems listed in /, another would configure network interfaces, another would start the cron daemon (which handles scheduled tasks), and another would start the syslog daemon (which manages system log messages and writes them to disk), among others. This style of initialization was known as SystemV, named after the version of UNIX in which it was introduced.
The advantage of the SystemV initialization style lies in its simplicity: it’s easy to understand, implement, and work with. However, it is completely unsuitable for modern environments.
Today, booting an operating system isn’t just about loading a couple of drivers, mounting two file systems, configuring a single network interface, and starting up three services. A standard configuration might involve launching dozens of different services, each potentially taking a significant amount of time to start, with the risk of them crashing. System V initializes services sequentially and does not monitor their life cycle, resulting in slow boot times and no assurance of stable operation afterwards.
To address these issues, macOS developers created an alternative to / called launchd. This is, without exaggeration, a brilliant innovation. Launchd not only manages the lifecycle of services but also starts them only when they are needed. And it does so in a rather unique way.
We’ll discuss how this happens later. For now, in the story of launchd, we’re interested in something else: the inspiration it provided for creating the systemd. Today, systemd is a part of most Linux distributions. It’s much more complex than / and even launchd, and it entirely omits the traditional runlevels and scripts. Systemd operates with the concept of a “unit,” which can represent a service, a mount operation, a network interface configuration, and more.

A specialized declarative language is used to describe units, making configuration errors less likely compared to writing a script. Units can have dependencies on each other and may run in parallel or as needed. For instance, services (daemons) that do not depend on a network connection can start before the network interface is configured. Others might start immediately after it’s set up, while some will only run when accessed by applications or other services.
4. Starting Daemons
The launch of services (daemons) is a crucial part of the operating system startup process. A particularly important daemon here is udev, without which a typical Linux distribution would become inoperable.
Udev manages the contents of the / directory. In Linux systems, this directory is used to store what are known as device files—special types of files that represent various hardware components of a computer. Device files in Linux facilitate hardware interaction: for example, reading from / provides the data from the first partition of the first hard drive, while writing data to / displays an image on the screen.
In early versions of UNIX, the / directory was static. It contained a set of device files for every possible scenario: even if a sound card wasn’t installed in the PC, the file / for sound output still existed. This wasn’t a problem when the variety of hardware was limited and plug-and-play technology didn’t exist yet; there were only a dozen or so files. However, over time, it became increasingly cluttered and ultimately turned into a mess.
The initial solution to this problem was to connect a virtual file system (devfs) to /, which would be managed by the kernel. The kernel would detect all installed hardware and create files only for the devices that are actually present in the machine.
This approach is still used in macOS and FreeBSD, but Linux developers took a different route. In Linux, there’s a special file system called sysfs that is mounted to the / directory. It’s essentially a detailed database of all the PC’s devices, ranging from the processor and interrupt controller to mice and gamepads.

Based on data extracted from /, the udev daemon creates device files in /. During its initial startup, it scans all devices in / and then goes into a sleep mode, waiting for any device to be added or removed. For example, when you plug in a USB flash drive, new files appear in /, waking up udev, which then creates the corresponding device file in / and loads the necessary drivers.
Another important daemon for UNIX systems is syslog. It’s essentially a log aggregator for applications, collecting them all in the / directory. In systemd-based distributions, systemd-journald is typically used instead, which stores logs in a special binary format (whereas syslog operates with plain text). New entries can be added, but they cannot be deleted. This serves as a defense mechanism against intruders who might try to erase specific log entries to cover their tracks within the system.
In an average Linux distribution, there are also other daemons:
- cron — Responsible for scheduling tasks based on time. It can run commands at specific intervals or at precisely set times. A basic use case is creating backups at night.
- CUPS — The printing daemon. It manages the queue of documents sent for printing and sends them to the printer.
- systemd-logind — Manages user sessions, allowing quick switching between sessions, grants permissions for automounting devices on behalf of the user, and performs other tasks.
- DBus — A daemon that facilitates the data bus, enabling applications to exchange information. It is primarily used in desktop environments and graphical applications.
- NetworkManager — A network interface configurator. It is used only in desktop versions of distributions and can be replaced with alternative solutions like wicd.
For the most part, daemons exchange information with applications and other daemons using UNIX sockets. This is a communication channel associated with a file. For example, the CUPS daemon creates the socket / (its location may vary across different distributions). By writing data to this socket, you can send documents for printing.
This feature is utilized by launchd and systemd to start daemons only when needed. The trick is to pre-create sockets for all system daemons, and only start the daemons when data is actually sent to a socket. There’s no point in starting CUPS at boot time or any other time if no one is sending print jobs.
5. The X Window System and PAM
The final step of the boot process is launching the login manager. In the terminal, this role is handled by the combination of the utilities getty (commonly its more advanced variant, agetty, is used) and login. Getty is a remnant from the days of mainframes and remote terminals (its name stands for “get teletype”). It displays a text message on the terminal and then starts the login utility, which prompts the user for their username and password. Once the user enters the correct password, login launches the shell specified in the / file on behalf of the user.
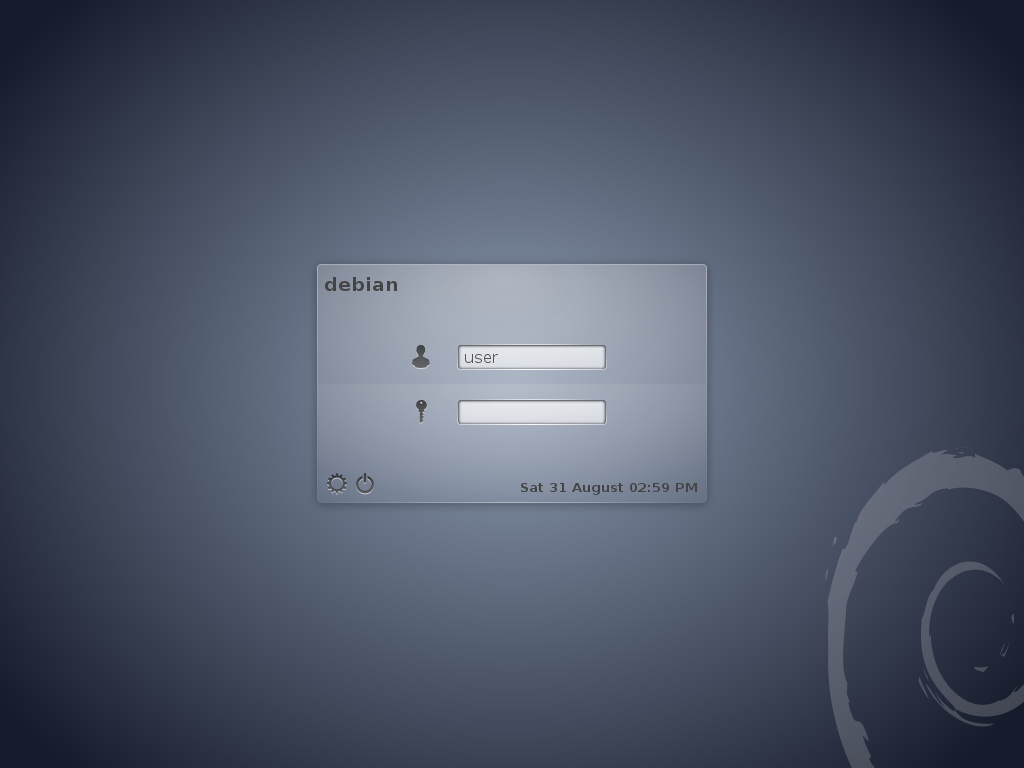
The graphical login manager is referred to as a Display Manager, and each graphical environment has its own. KDE uses KDM, GNOME uses GDM, and there are universal display managers like Slim available as well. The primary function of a display manager is to present the login screen for entering a username and password. Once authentication is successful, it either directly launches the window manager or executes a series of commands specified in the user’s ~/. file.

When the display manager is launched, the graphical system X Window System is also started, which in modern distributions is Xorg. This is a client-server system for rendering graphics on the screen, where the server is responsible for assembling the overall image created by various client applications. The X Window System is not a graphical environment but rather a layer that enables applications to send images to the screen and receive user input events. To build a graphical interface on top of it, a window manager is also needed, which allows the user to manage application windows.
A window manager can operate independently, like fluxbox, window maker, or i3, or as part of a complete desktop environment, such as KDE, GNOME, or XFCE. In addition to the window manager, these environments include a range of tools to create a fully functional desktop: a taskbar at the top or bottom of the screen, a dock, icon placement on the desktop, and more. Typically, each of these components is managed by one or more specialized applications.
No matter how a user logs in, PAM (Pluggable Authentication Modules) is responsible for access control. This is a modular authentication framework that can verify a user’s identity using various methods while performing a series of checks. By default, PAM uses password-based authentication, but by modifying the configuration files in /, you can alter the authentication process. For instance, you can add requirements such as a fingerprint scan, a special USB key, or even smartphone verification. We have previously covered how to implement these changes.

At this point, the boot process is considered complete. You either log into the console and see the command prompt or enter your account information into the display manager, resulting in the desktop appearing on the screen.
In Conclusion
This is what loading a modern Linux distribution looks like. I’ve skipped some of the less important and less interesting details, but I’ve tried to explain the most crucial parts. When you think about it, it’s not such a complicated process—essentially, the operating system is ready to accept user commands as soon as the initramfs is loaded. Everything else involves starting the environment needed for the user to work effectively.
