There are plenty of reasons to mix smart-home devices from different vendors: you might want to save money by picking the best deals, or do the opposite and cherry-pick the top-of-the-line gear. But most of the time it’s more mundane: it just happens. You start with Philips bulbs and motion sensors, then realize the company doesn’t make smart plugs, and you suddenly really need one.
Again, if you choose Xiaomi (and their pricing is among the most attractive), you’ll end up with a hub running Chinese software tied to the company’s proprietary cloud service. From a security standpoint, that’s far from ideal.
In this article, I’ll show how to build a universal hub using a Raspberry Pi Zero W and an ultra-cheap controller. The heavy lifting is done by a tool called zigbee-shepherd. It supports a wide range of ZigBee devices, including Xiaomi’s battery-powered Aqara switches, and lets you write scripts in JavaScript.
Choosing and Flashing the Hardware
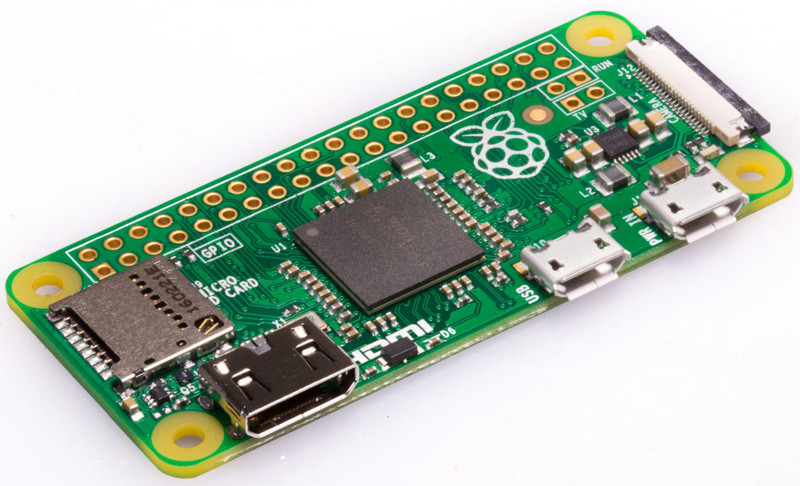
First, decide what hardware you’ll use for the hub. In principle, you can use almost anything (even your main computer, if you leave it on), but a Raspberry Pi Zero W is an ultra-compact, inexpensive, and sufficiently powerful option.
Zigbee-shepherd is compatible with Texas Instruments’ CC2530 and CC2531 ZigBee chips. TI offers a reference USB dongle, the CC2531 USB Evaluation Module Kit, for $49, but since full documentation and schematics for building such a dongle are available, it’s easy to find an equivalent stick from China for about $7.

To use the stick with zigbee-shepherd, you’ll need the firmware file from GitHub, and to flash it you’ll need a CC Debugger (12 Chinese clone.
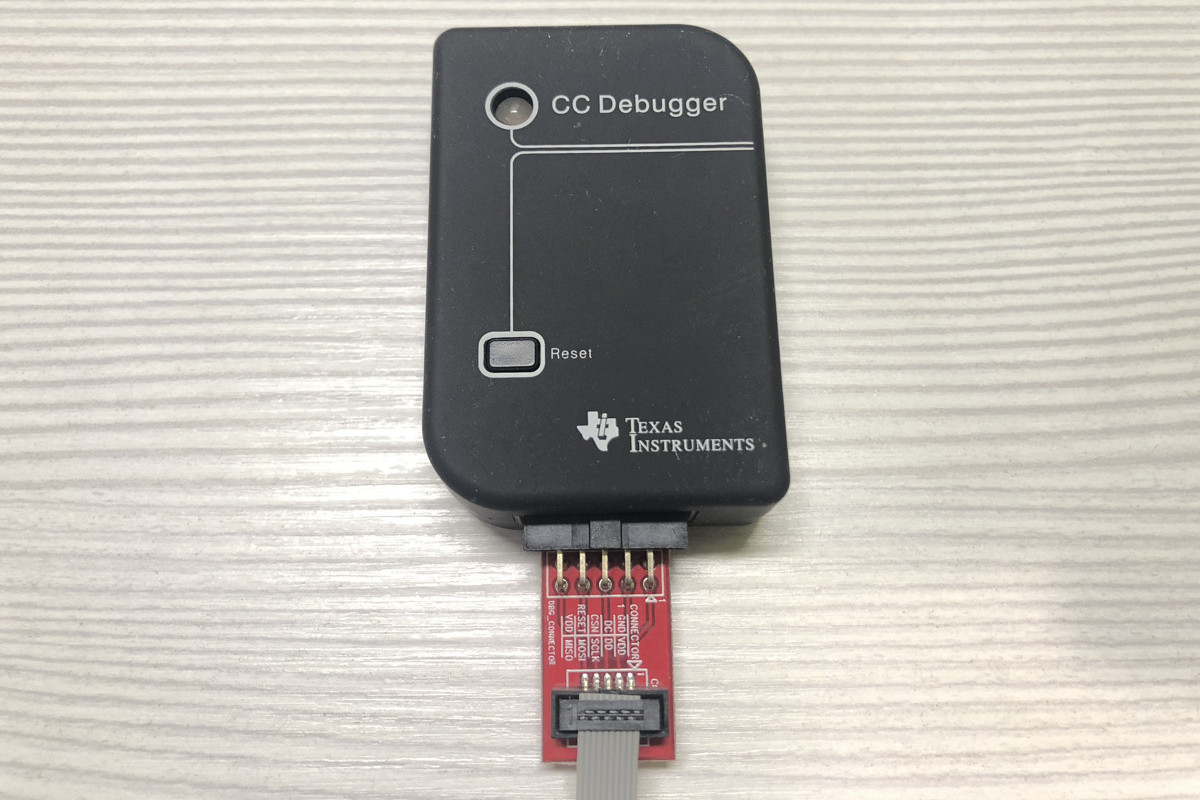
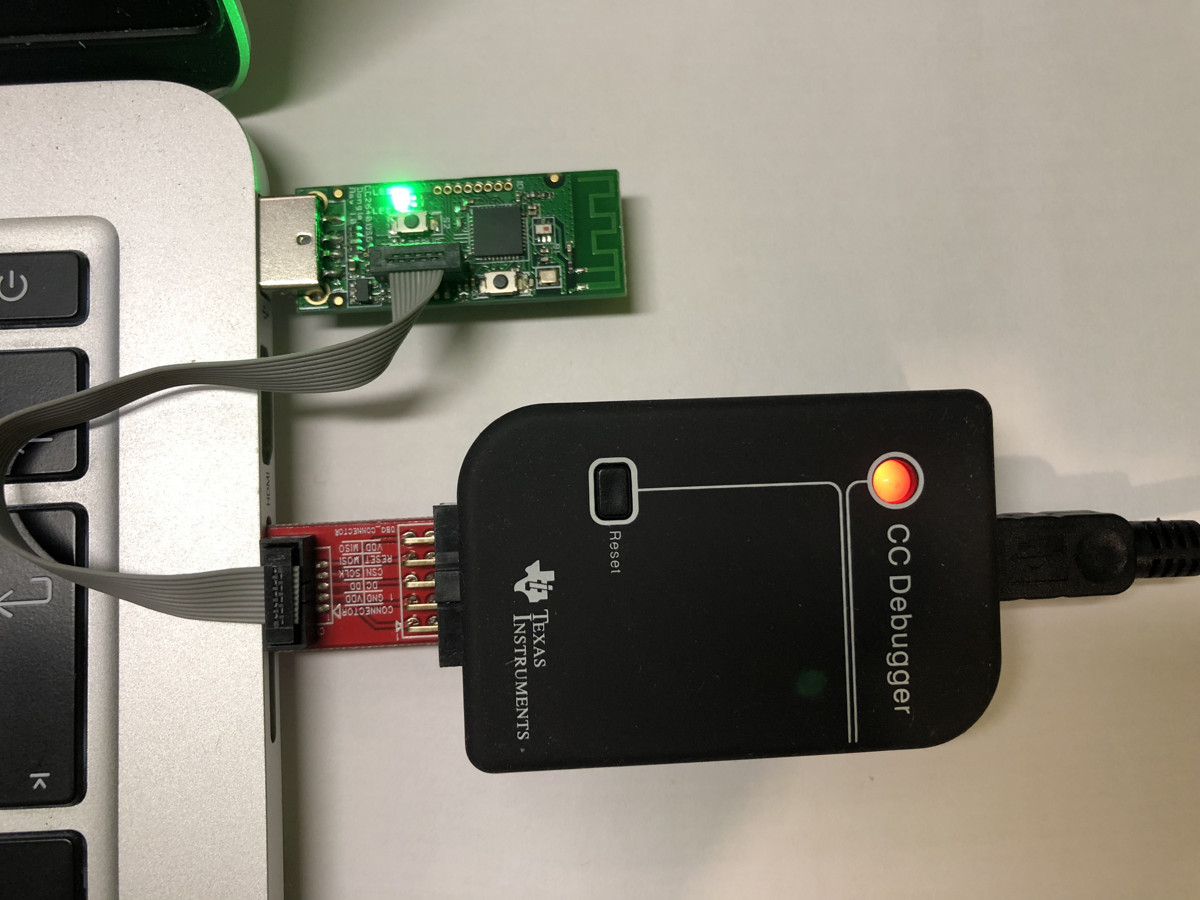
Flash the USB stick using TI’s official SmartRF Flash Programmer. To make it work, plug the CC Debugger into one USB port, the ZigBee stick into another, and link them with the ribbon cable.
In the programmer settings, select the target device (1), choose the firmware image (2), set the required actions (3), and start flashing (4).

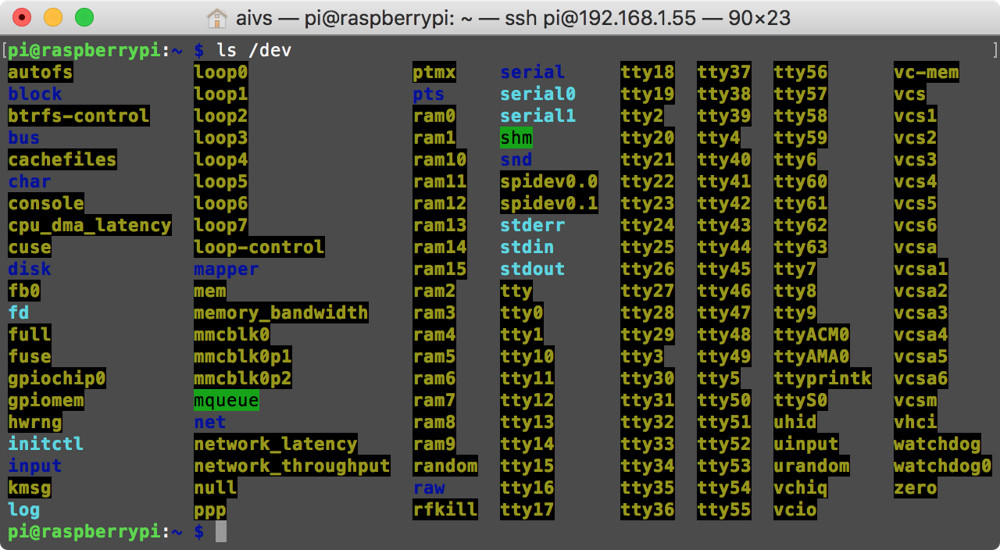
You can verify that the USB stick was flashed successfully and is working by plugging it into a Raspberry Pi Zero W and running the command
$ ls /dev
The device will show up in the system as ttyACM0.
Setting up the zigbee-shepherd server on a Raspberry Pi Zero W
We’ll install zigbee-shepherd and the related packages on the latest Raspbian (Stretch) for the Raspberry Pi Zero W.
Zigbee-shepherd is written in JavaScript and runs on Node.js. First, install Node.js:
$ wget -O - https://raw.githubusercontent.com/sdesalas/node-pi-zero/master/install-node-v.lts.sh | bash`
To install extensions from npm, you need to install the build tools:
$ sudo apt-get install -y build-essential
And the zigbee-shepherd installation itself:
$ npm install zigbee-shepherd - -save
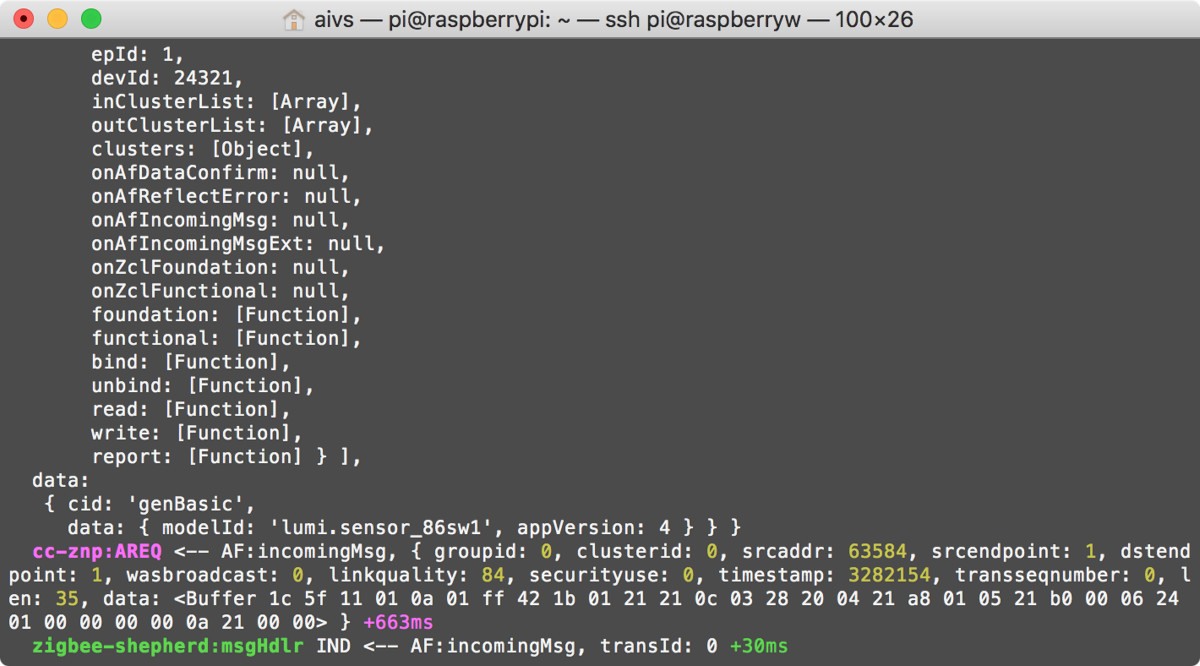
To verify that zigbee-shepherd is working correctly, run the zigbee-server. script. While it’s running, the script logs information about each step of device joining and the duration of each operation.
var ZShepherd = require('zigbee-shepherd');// Create a ZigBee servervar zserver = new ZShepherd('/dev/ttyACM0');zserver.on('ready', function () { console.log('Server is ready. Allow devices to join the network within 60 seconds'); zserver.permitJoin(60);});zserver.on('permitJoining', function (joinTimeLeft) { console.log(joinTimeLeft);});// Start the serverzserver.start(function (err) { if (err) console.log(err);});Run zigbee-shepherd in debug mode:
$ sudo DEBUG=* node zigbee-server.js
info
During Node.js script development, always run in debug mode. The output is more verbose, it’s easier to catch errors, and zigbee-shepherd shows all the data it sends and receives.
Using Xiaomi Switches with zigbee-shepherd

Start by adding the ZigBee device to your network. First, perform a factory reset to clear any information about a previous network if it was already joined.
For Xiaomi Aqara switches, the reset/join sequence is: hold the button for five seconds until the LEDs start blinking, then release it and wait for the joining process to complete. If debug logging is enabled, a detailed log will be printed during device join. The process can take up to one minute.
Once you’ve added a device, it’s important to handle it properly. Zigbee-shepherd doesn’t offer a web interface for commissioning and managing devices; instead, its powerful JavaScript API gives you full control over any device and lets you build your own automation system.
The wiki provides a complete description of all functions. However, to get up to speed, you’ll need to understand the device’s software architecture.
IEEE address. Every ZigBee device has a unique factory-assigned MAC address that’s burned into the hardware and cannot be reset. You can use this MAC address to address the device and query information about it.
Endpoint. A device can implement multiple functions—for example, a temperature and humidity sensor or a two-button switch. A separate endpoint is created for each function.
Clusters. A set of commands that can be sent to a device. For example, the genOnOff command turns the device on or off, and if it’s a dimmable lamp, the genLevelCtrl command lets you set the brightness level.
Attributes. You can query a device for its current state by addressing the relevant Cluster. For example, the genOnOff command lets you read the onOff attribute — it will be either 0 or 1.
The Xiaomi Aqara single-button switch has the following structure:
{ "profId": 260, "epId": 1, "devId": 24321, "inClusterList": [0, 3, 18, 25, 65535], "outClusterList": [0, 3, 4, 5, 18, 25, 65535], "clusters": { "genBasic": { "dir": { "value": 3 }, "attrs": {} }, "genIdentify": { "dir": { "value": 3 }, "attrs": {} }, "genGroups": { "dir": { "value": 2 }, "attrs": {} }, "genScenes": { "dir": { "value": 2 }, "attrs": {} }, "genMultistateInput": { "dir": { "value": 3 }, "attrs": {} }, "genOta": { "dir": { "value": 3 }, "attrs": {} }, "manuSpecificCluster": { "dir": { "value": 3 }, "attrs": {} } }}To handle a button press, you need to capture the message from the switch. This is done using the ind event. Update the code as follows:
var ZShepherd = require('zigbee-shepherd');var zserver = new ZShepherd('/dev/ttyACM0');zserver.on('ind', function (msg) { console.log("msg");});zserver.start(function (err) { if (err) console.log(err);});When you click the button, you’ll receive a message:
{ endpoints: [ { isLocal: [Function], device: [Object], profId: 260, epId: 1, devId: 24321, inClusterList: [Array], outClusterList: [Array], clusters: [Object], onAfDataConfirm: null, onAfReflectError: null, onAfIncomingMsg: null, onAfIncomingMsgExt: null, onZclFoundation: null, onZclFunctional: null, foundation: [Function], functional: [Function], bind: [Function], unbind: [Function], read: [Function], write: [Function], report: [Function] } ], data: { cid: 'genOnOff', data: { onOff: 0 } }}Here
-
msg.— the device’s MAC address;endpoints[ 0]. device. ieeeAddr -
msg.— the device’s endpoint (endpoint ID);endpoints[ 0]. epId -
msg.— the cluster and attribute IDs; in this case the switch sent the commanddata genOnOff:.0
If you handle this data, you can use the switch button to control other ZigBee devices according to your own logic—for example, toggle them on/off with each press, or have it only turn off a group of devices.
Zigbee-shepherd has full support for dimmable Ikea Trådfri and Philips Hue bulbs, so as a quick example you can set up a simple routine to turn on a lamp using a Xiaomi Aqara switch. Add a button-press handler to your code and switch the Ikea Trådfri lamp on at maximum brightness:
var ZShepherd = require('zigbee-shepherd');var zserver = new ZShepherd('/dev/ttyACM0');zserver.on('ind', function (msg) { console.log(msg); switch (msg.type) { case 'attReport': var epId = msg.endpoints[0].epId; var ieeeAddr = msg.endpoints[0].device.ieeeAddr; var data = msg.data; if (ieeeAddr === "0x00158d00015efcef" && epId === 1 && data.cid === "genOnOff") { // Get lamp endpoint var lamp = zserver.find(0x000b57fffe3298aa,1); // Turn on lamp lamp.functional("genLevelCtrl", "moveToLevelWithOnOff", {level: 255, transtime: 0}, function (err, rsp) {}); } break; default: console.log(msg); break; }});zserver.start(function (err) { if (err) console.log(err);});Integrating our solution with other systems
Zigbee-shepherd is built on the Node.js ecosystem, so you can control any devices for which libraries are available. For example, MQTT enables integration with many home automation platforms such as OpenHAB and Home Assistant. For the latter, there’s a ready-made project on GitHub: ready-made project on GitHub.
Many hubs and standalone Wi‑Fi devices—like smart plugs—can be controlled via HTTP requests. You can figure out the command set from the documentation, by inspecting the smart home hub’s web interface, or by analyzing the traffic from the mobile app.
The RaZberry Z-Wave controller has a well-documented HTTP API, so crafting a request to turn off the lights is straightforward. To send HTTP requests, install the requests library:
$ npm install request --save
Add HTTP request support to the code, along with the request to switch off the lights:
var ZShepherd = require('zigbee-shepherd');var zserver = new ZShepherd('/dev/ttyACM0');var request = require('request');zserver.on('ind', function (msg) { switch (msg.type) { case 'attReport': var epId = msg.endpoints[0].epId; var ieeeAddr = msg.endpoints[0].device.ieeeAddr; var data = msg.data; if (ieeeAddr === "0x00158d00015efcef" && epId === 1 && data.cid === "genOnOff") { request('http://admin:admin@192.168.1.108:8083/ZAutomation/api/v1/devices/ZWayVDev_zway_7-0-37/command/off', function (error, response, body) { if (error) { console.log("--- Error send request:", error); } }); } break; default: console.log(msg); break; }});zserver.start(function (err) { if (err) console.log(err);});The minimal home automation setup is ready! In just 26 lines of code, we spin up a ZigBee server, listen for a button press, and run either a command to control an LED bulb or an HTTP command. Add a Node.js web framework (e.g., Express) and you can expose a full-fledged HTTP API for working with ZigBee devices.
zigbee-shepherd makes it possible to add low-cost Zigbee devices to an existing KNX, Z-Wave, or Wi‑Fi home automation setup, with more models hitting the market every year.
