info
The steps described were executed on a five-year-old smartphone with Android 4.4. If your smartphone is even older, be prepared for the guide not to suit it (for example, due to lack of LineageOS support or the utilities mentioned in the article). Yes, life can be tough.
Setup
Let’s start by carrying out a few preliminary steps.
Cleaning Up Your Smartphone
The first thing we need to do is clean up the device. Delete all files from the memory card (both internal and external) and then perform a factory reset (Settings → Backup & Reset → Factory data reset). This step is essential to remove installed apps that might be lingering in memory and consuming RAM.
I also highly recommend installing LineageOS on your smartphone, and then adding the gapps-pico package. This way, you’ll have a smartphone with access to the market without the massive amount of bloatware that manufacturers and Google love to preinstall.
After registering with Google, immediately disable all types of synchronization by going to “Settings → Accounts → Google.” There’s no benefit to having this synchronization on the server; it will only cause interference. You also don’t need features like notification wake-ups, always-on display, or the LED indicator. Navigate to “Settings → Apps” and disable all the software you can. Email, browser, Exchange services—none of these are necessary for us.
As a result, you’ll have a system that uses minimal RAM and doesn’t keep unnecessary apps and services in memory—a bare-bones and streamlined smartphone. It wouldn’t hurt to gain root access. Most of the servers described in the article don’t require it, but you’ll need it if you want a proper command line with a set of Linux utilities and full control over the server.
SSH and BusyBox: A Perfect Match
Android is built on the Linux kernel, which is a significant advantage because Linux is well-optimized for servers. However, the rest of the system is quite different from typical Linux distributions. Many standard Linux commands are absent, you can’t connect to Android via SSH, and there’s no conventional network service management system (there is a local init, but it’s quite unique).
To fix this, we’ll install BusyBox and an SSH server. The first is a minimalist set of standard Linux command-line utilities, while the second is self-explanatory. To install BusyBox, we will use the BusyBox On Rails app. It’s very straightforward: launch the app, click a few buttons, agree to grant root permissions, and you’re done.
A great choice for an SSH server is SimpleSSHD. It utilizes the Dropbear SSH server, which is designed for embedded devices, and provides a graphical user interface. To set it up, install and launch the app, go to the settings, check the “Start on Boot” option, return to the main screen, and press the “Start” button.
SimpleSSHD will display the IP address and the default port, which is 2222. You can connect to it from Linux using the following command:
$ ssh IP-address -p 2222
When connecting, a one-time password will appear on the smartphone’s screen, which should be entered in the client prompt. This method is very secure but not very convenient, so I recommend using key-based authentication. Simply rename your public key (id_rsa.) to authorized_keys and place it in the ssh directory on the memory card.
Right after connecting to the server, run the su command so that SimpleSSHD requests root privileges on the smartphone. Confirm the privileges and make sure to check the “Do not ask again” box (in LineageOS) or uncheck the “Ask again” box (in SuperSU). This will allow you to obtain root access at any time in the future without any prompts from Android.
Bash, nano, tmux, mc
BusyBox includes only a basic set of command-line utilities, many of which have significantly reduced functionality. It doesn’t have bash or any decent console editors (Vi doesn’t count, as it’s not Vim), nor does it include mc or tmux, which many admins find essential for their work.
If you require all of this, you’ll need to install the tools yourself. The proper way to do this is to download the Linaro compiler, obtain the source code of the utilities, and compile them yourself. A quicker method is to extract them from an existing application, such as Terminal IDE.
Download Terminal IDE, rename the APK package to ZIP, and extract it. Locate the assets/ file, rename it to remove the mp3 extension, and extract it again. Inside, you’ll find numerous directories and files, but we’re only interested in system/ and system/. The first contains the utilities you need; simply copy the ones you find useful to a separate directory. The second is essential for their proper functioning.
Transfer the selected utilities and the terminfo directory to your smartphone’s memory card. Then, connect to it via SSH and enter the following commands to enable modifications to the system directory:
$ su
# mount -o remount,rw /system
Next, copy all the necessary utilities to / and set the execute permission for them (using bash as an example):
# cp bash /system/xbin/
# chmod 755 /system/xbin/bash
Next, create a file / and add the following lines to it:
export TERMINFO=/sdcard/terminfo
export TMPDIR=/data/local/tmp
export PS1="u@h:w $ "
Open the SimpleSSHD settings on your smartphone and set the Login Shell option to /. Then stop and restart the server. Upon your next SSH login, bash will open, and the utilities you copied will be available.
To ensure Vim and mc work properly, also copy the etc/ and etc/ directories to your memory card, and add the following lines to the / file.
export MC_DATADIR=/sdcard/mc
export VIMRUNTIME=/sdcard/vim
warning
If you see -bash-4. instead of the username and host right after logging in, try restarting the bash shell. This issue occurs due to problems with the automatic detection of the home directory.
Disabling Power Saving Features
Like any other mobile operating system, Android strives to conserve energy. Therefore, right after the screen is turned off, it quickly puts the smartphone into suspend mode, where power to both the screen and the processor is reduced or halted (similar to suspend to RAM in computers).
Such behavior will only hinder us, so it should be disabled. To do this, we activate a so-called wakelock, which prevents the system from entering suspend mode:
$ su
# echo mylock > /sys/power/wake_lock
The wakelock will remain active as long as the system is running, but it will need to be reactivated after a reboot. In firmware based on LineageOS/CyanogenMod, this process can be automated. Create a file with the following content:
#!/system/bin/sh
echo mylock > /sys/power/wake_lock
And copy it into the / directory.
Setting Up a Swap File
Your old smartphone likely has a small amount of RAM (512 MB or 1 GB). This means that running many servers can exhaust the memory, leading the system’s lowmemorykiller to terminate processes. To prevent this, you can virtually expand the memory by enabling a swap file.
You can do this manually. For example, the following set of commands creates and connects a 1 GB swap file:
$ su
# dd if=/dev/zero of=/sdcard/swap bs=1M count=1024
# mkswap /sdcard/swap
# swapon /sdcard/swap
You can also use one of the available apps in the marketplace that performs the same function, such as Swapper. In both cases, you will need to re-enable the swap file after a reboot—either using the app or with the following command:
# swapon /sdcard/swap
In LineageOS/CyanogenMod, you can place the command swapon / in one of the files within the / directory.
Use Cases
We basically have a server already. At the moment, it’s not of much use beyond running simple commands. The next step is to give it a purpose. There are at least two options for doing this:
- Insert a high-capacity memory card into the device, connect a multi-gigabyte flash drive, or even a hard drive via an OTG cable (if the smartphone supports this function) to turn your smartphone into a file storage or DLNA server that can stream videos to other devices or a smart TV.
- Launch a torrent client with a remote control interface. This is a great complement to the previous method.
- Set up a simple web server with PHP and MySQL to host your own personal webpage.
These are not the only options (in fact, you can even set up a DNS or SMTP server, and the tools for doing so are available), but these are the most popular, so we’ll focus on them.
warning
For this task, you should use an OTG cable with additional power support so that the smartphone can charge while simultaneously communicating with a USB flash drive or hard drive.
File Storage Solutions
The most common methods for file sharing on a local network today are SMB (Windows shared folders) and FTP. DLNA is somewhat different. This specific protocol allows all multimedia players on the local network to automatically find and play media files from your collection.
FTP
Let’s start with FTP, the most basic of the basic. The main advantages of FTP are its widespread use and simplicity. If your server shares files via FTP, virtually anything can access them, from a web browser to a basic file manager on a smartphone.
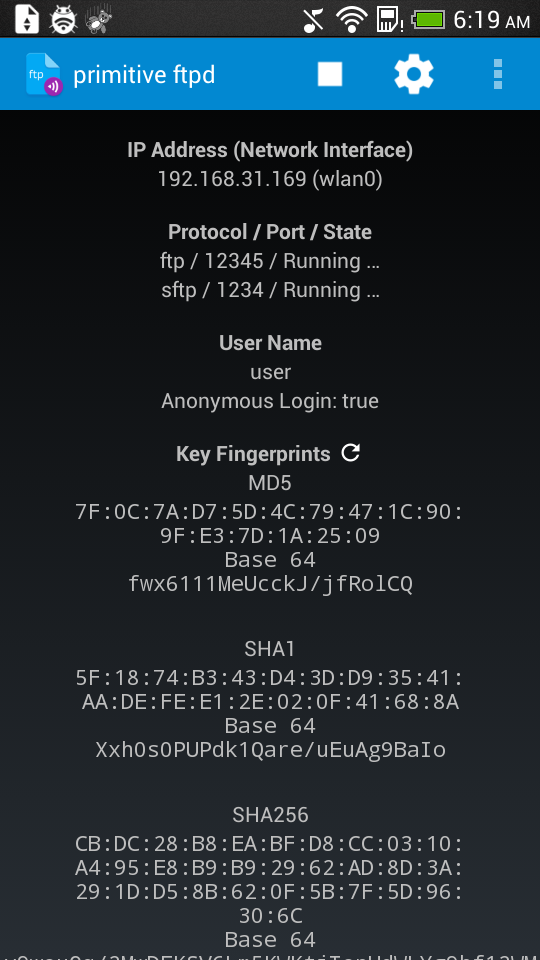
There are plenty of FTP server apps in the Play Store, but it’s best to choose a more recent one to ensure compatibility with newer Android versions. Primitive FTPd is a great option for our needs, as it functions as both an FTP and SFTP server. After installation, go to the settings. In the User option, enter a name, and in the Password option, set a password. If needed, you can enable Anonymous Login to allow connections from anyone. Don’t forget to enable Start on Boot to ensure it runs when the device starts.
By default, the ports for connection are: 12345 for FTP and 1234 for SFTP. The default root directory is the memory card.
 |
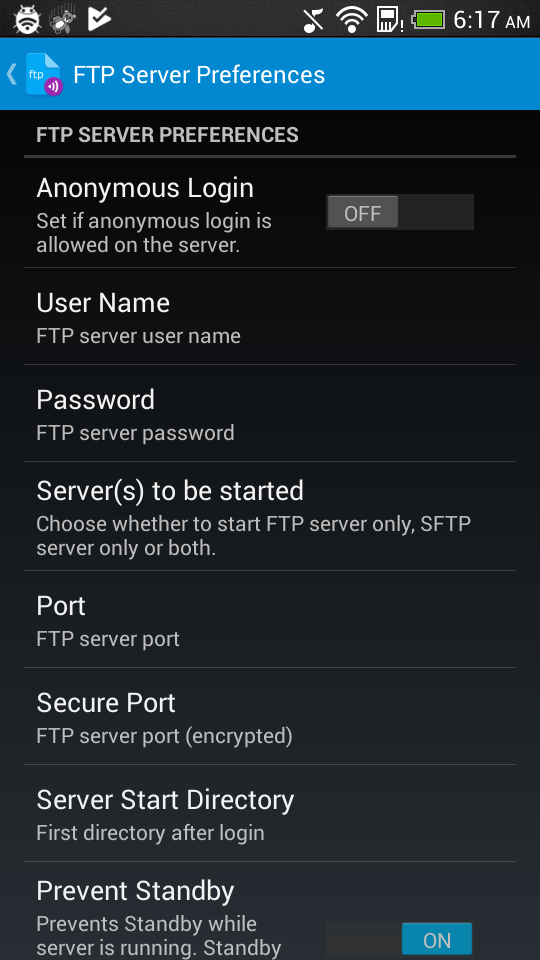 |
| Primitive FTPd и его настройки | |
SMB
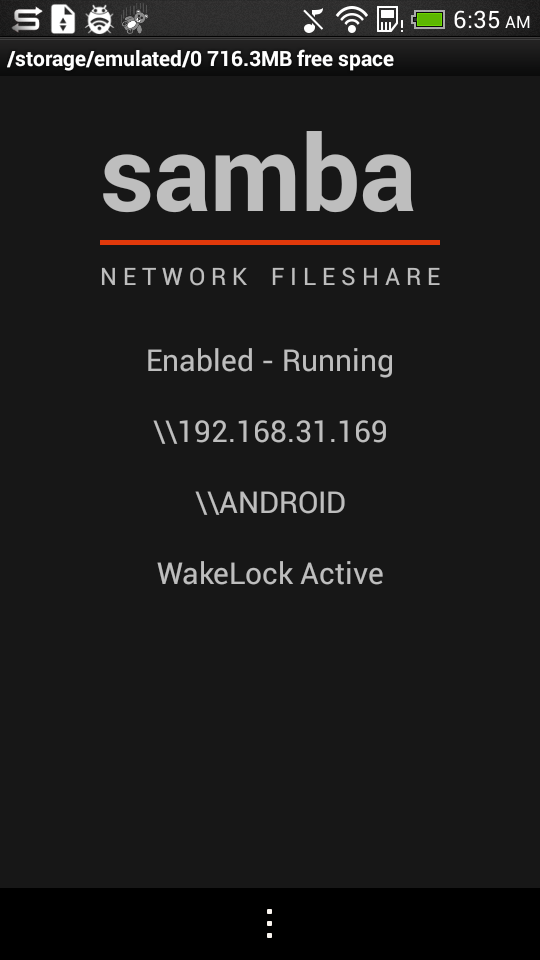
To share files via SMB, you’ll need root access and the app Samba Filesharing for Android. Open the app, go to settings, enter your username and password, return to the main screen, and tap the large “Samba” label. That’s it. Your device should automatically appear on the Windows local network under the name ANDROID (this can be changed in the settings).
 |
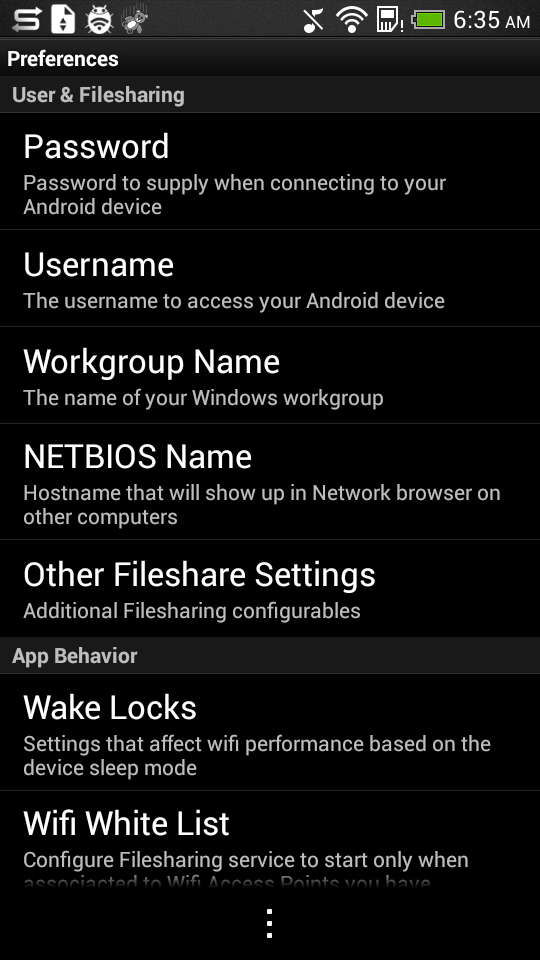 |
| Main screen and settings of Samba Filesharing | |
DLNA
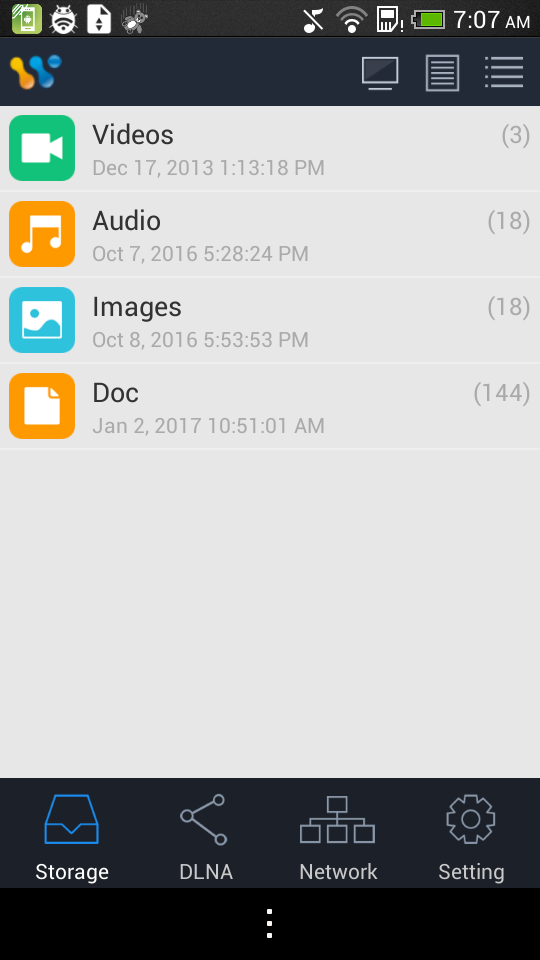
The best app for both streaming and sharing videos over a local network using UPnP/DLNA is BubbleUPnP. However, it’s important to note that this is a paid app, costing around 140 rubles. Nonetheless, the server functionality can still be tested in the free version, but playback time is limited to thirty minutes.
Simply download and launch the app to start sharing content immediately. You can view and listen to it on another smartphone (using AirPlay/DLNA Receiver), a smart TV, or a computer (via VLC).
Another application for casting is AirPinCast, but it may not function correctly on all smartphones.
 |
 |
| BubbleUPnP и AirPinCast | |
warning
Android 6.0 and higher versions apply the Doze power-saving mode to apps when the smartphone is idle. One of the features of Doze is disabling network access. To prevent it from doing this with installed servers, immediately add them to the exceptions list in the “Settings → Battery → Menu → Battery Saver → All Apps” menu.
Torrent Downloader
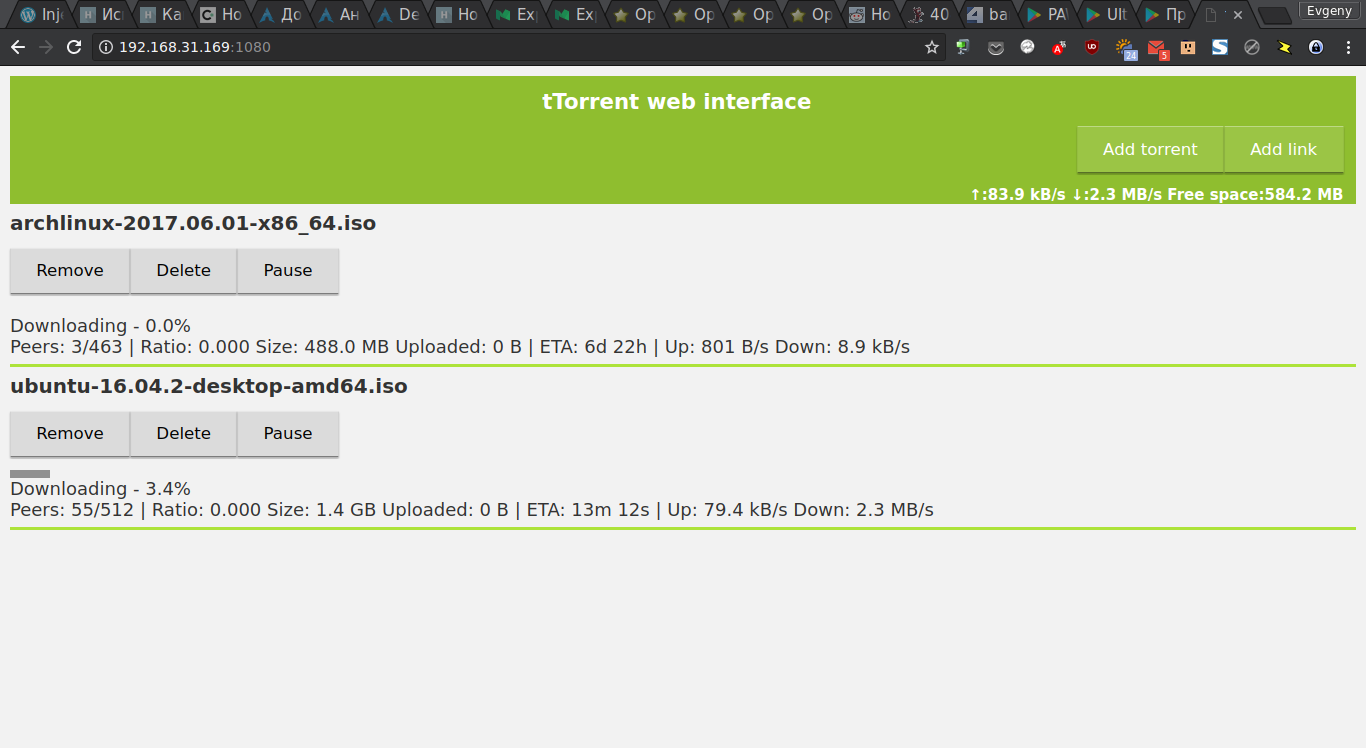
To fill your file repository, you’ll need a torrent client. The best client for Android by all imaginable and unimaginable standards is tTorrent, a fully-featured torrent client that importantly comes equipped with a web interface.
Install the program, launch it, and go directly to the settings, Web Interface. Turn on the switch with the same name. The interface will appear on the page http://IP-address:1080. Torrent files for download can be added directly from your computer. Moreover, you can manage the torrent client from another smartphone using Transdroid.
Nginx, PHP, MySQL
When most people hear the word “server,” they typically think of a web server. Running a web server on a smartphone doesn’t make much practical sense, unless it’s just to boast with “Powered by my old smartphone” at the bottom of a webpage. Nonetheless, we’ll explore this option as well.
There are several applications for Android that implement a web server. The most interesting and potentially useful ones are:
- PAW Server — A simple, free web server featuring a control panel and optional PHP support (requires separate installation).
- Ulti Server — A multifunctional suite that includes lighttpd, PHP, MySQL, (S)FTP server, SSH, phpMyAdmin, phpSysInfo, and phpFileManager, as well as a client for dynamic domain name updates using no-ip and other dynamic DNS services. The trial version works for six days, and the full version costs two and a half dollars.
- NAMP — Another all-in-one server package featuring nginx 1.5.0, PHP 5.4.13, MySQL 5.1.62, and msmtp 1.4.30, along with phpFileManager and phpMyAdmin. Priced at two dollars, the trial version is supposed to last ten days, but you immediately receive a message stating the trial period has expired.
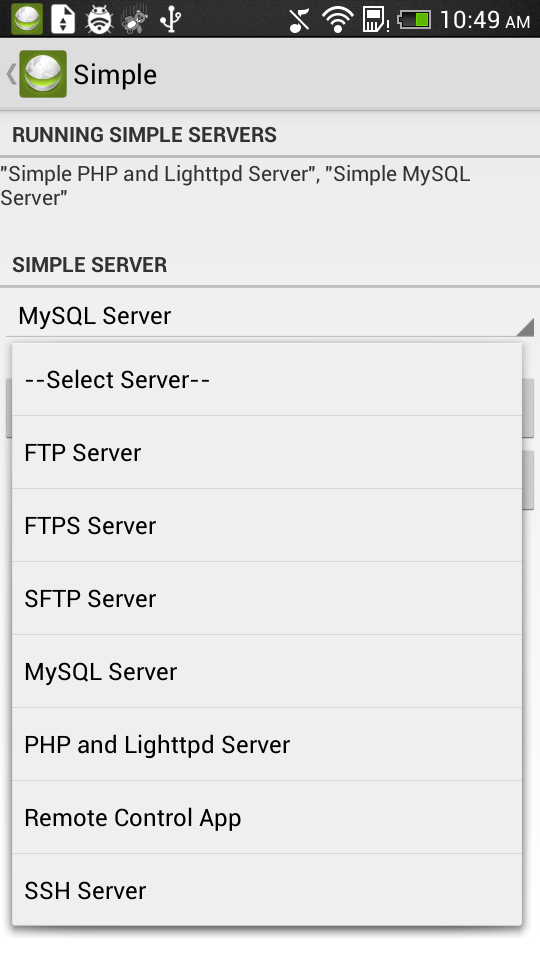
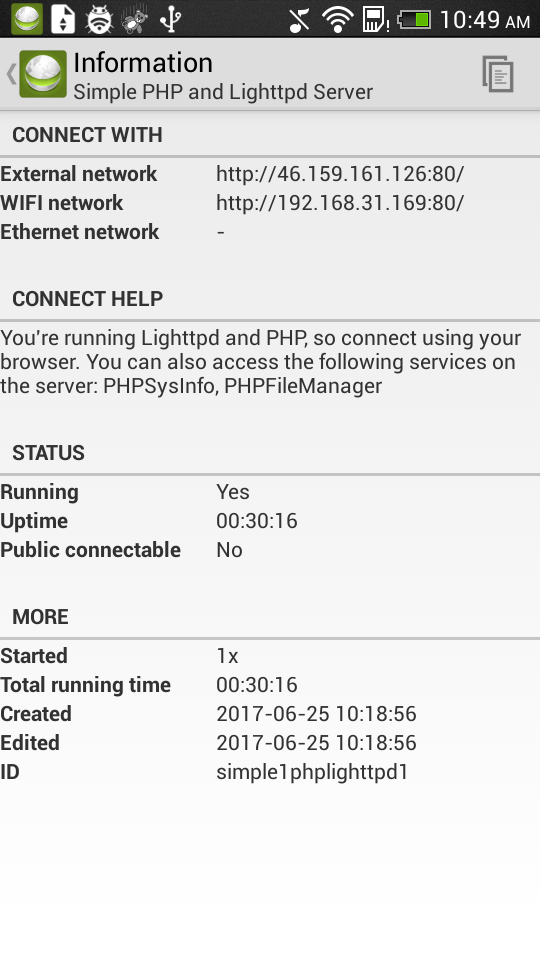
Let’s focus on Ulti Server. Install and launch the application, then immediately head over to Settings. Check the “Enable Logging to file” option and choose a directory (by default, it’s the SD card). You can also specify an email address for sending logs. Return to the main screen, go to the Simple section, and select “PHP and Lighttpd Server” from the dropdown menu. The server will launch on port 8080 or port 80, if you grant root permissions.
 |
 |
| Выбираем сервер и получаем информацию о нем | |
By default, the server uses the memory card as the root directory (with full access to the files), and management tools are provided at the addresses phpsysinfo and phpfilemanager.
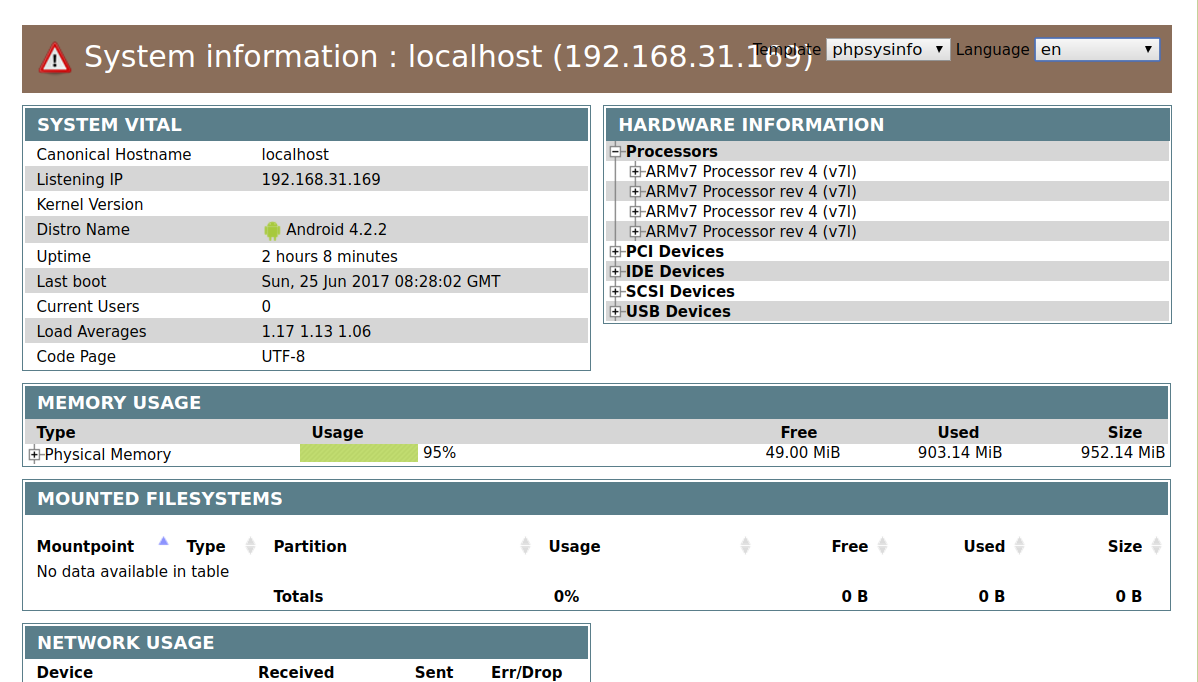
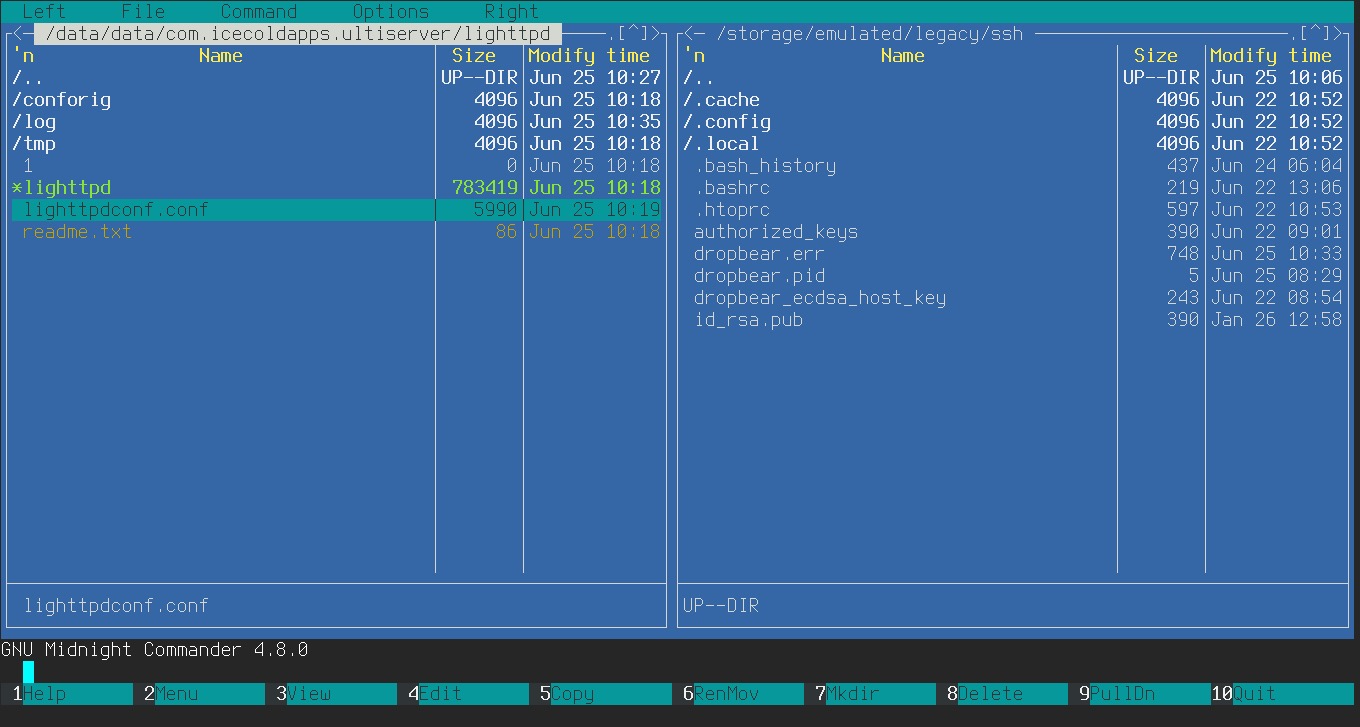
There are no built-in settings to stop this behavior, but you can manually configure everything just like in any UNIX system. Simply connect via SSH, obtain root privileges using su, and navigate to the directory /. There, you will find directories for all previously launched services, including lighttpd. Inside it, you’ll find the server binary, logs, and configurations. After launching MySQL, a similar directory will appear for it. Make your modifications and restart the server in the Servers section of Ulti Server.
Why Not Install Linux?
You might wonder if it would be simpler and more appropriate to deploy a real Linux environment in a chroot and run the necessary services within it. In reality, it’s neither simpler nor more appropriate. A Linux environment launched in chroot is significantly different from a genuine distribution. It lacks the tools for correctly starting and stopping the system along with all necessary services, and it isn’t capable of responding to events occurring in Android or restarting crashed services.
Unlike SimpleSSHD, which can seamlessly restart after a system reboot thanks to Android’s auto-start mechanism and will be relaunched if issues arise, using chroot requires workarounds. Additionally, if your access point fails and the smartphone switches to a mobile network, Android and its applications handle these transitions well, but the Linux environment in chroot does not.
Conclusions
Running a server on an Android device is not only simple but also useful. As practice shows, the power of a smartphone and the read/write speed of an SD card are more than sufficient to stream Full HD movies over a local network and host a home webpage. However, I advise you to think carefully before exposing such a server to the internet: no one can predict the potential vulnerabilities that might be lurking within this software.
