What is UTM?
Everyone’s long been used to VMs like VirtualBox or VMware—tools like these exist for most modern desktop operating systems. Until recently, iOS had no virtualization to speak of (or at least nothing the general public knew about). Now that’s changed: Apple’s mobile devices finally have a full-fledged virtualization tool, and it even supports a wide range of CPU architectures.
UTM can run without a jailbreak on iOS 11, 12, and 13, as well as on A12-based devices running iOS 14.2 or 14.3. You will need a developer certificate, since UTM is installed from the third-party AltStore rather than the App Store. Free iOS developer certificates must be re-signed every seven days, and AltStore automates that process. A jailbreak is only required to run the app on later iOS 14 releases; the UTM developers recommend using Jitterbug or AltJIT for installation.
The UTM virtual machine supports 30+ CPU architectures, including x86_64, RISC‑V, and ARM64. UTM is built on QEMU. Because iOS devices don’t provide hardware virtualization, the developers use QEMU’s TCG instead of the KVM accelerator. TCG performs dynamic binary translation with JIT compilation. In practice, that means even ARM code running in UTM must be JIT‑translated, which significantly impacts performance. Additionally, GPU virtualization isn’t supported, so there’s no DirectX or OpenGL, limiting the ability to run most modern Windows games. That said, applications and games that don’t require advanced graphics can run under this emulator.
Installation
On a jailbroken iPhone or iPad
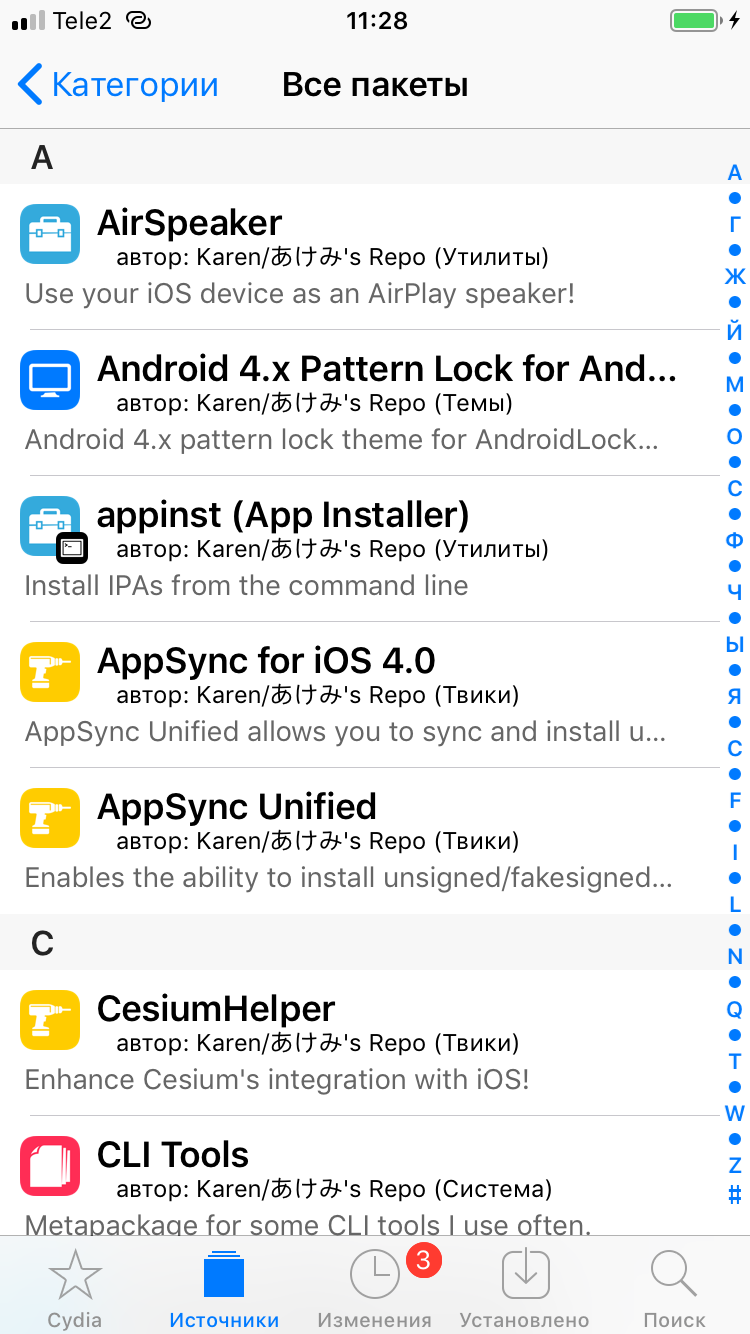
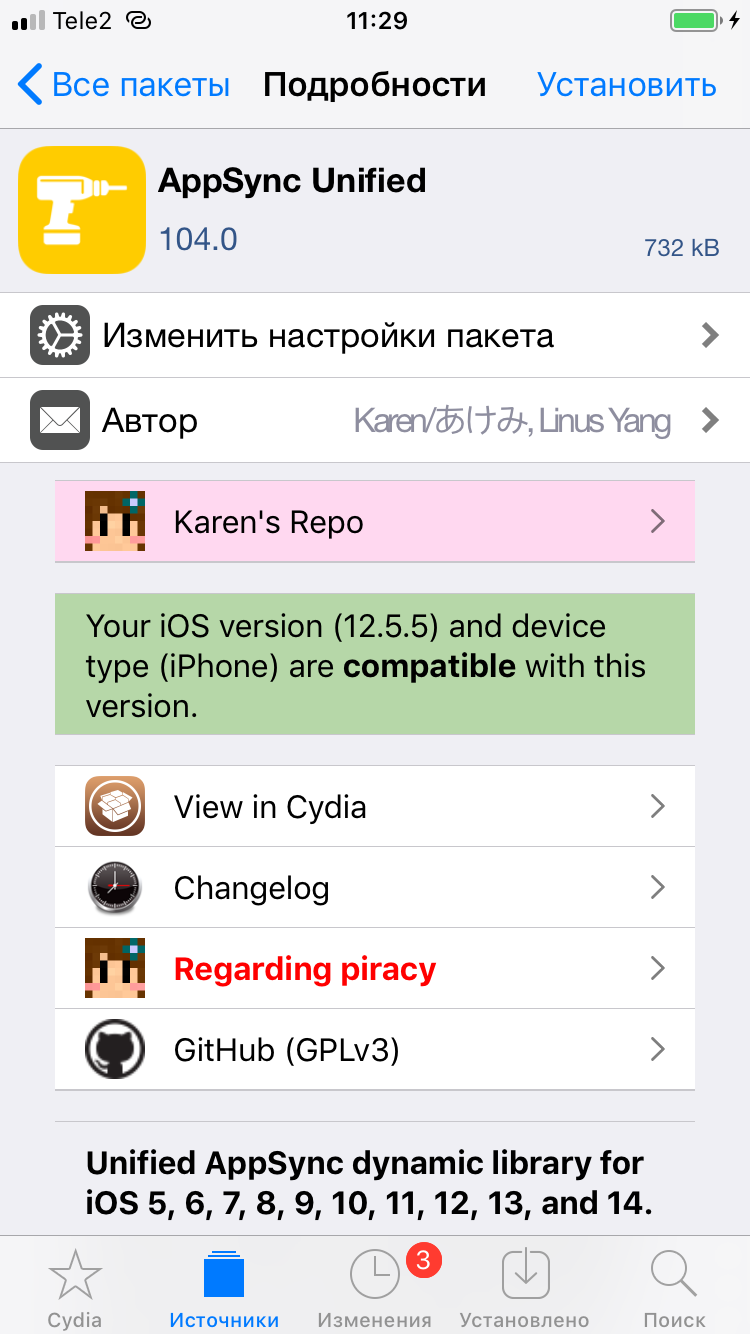
If your iPhone or iPad is jailbroken, installing UTM is straightforward. First, install the AppSync Unified package from the repository at https://. To do this, open Cydia, tap Sources at the bottom, then Edit (top right), then Add (top left). Enter https:// in the dialog and tap Add. After that, in the Sources list, open Karen’s Repo and install AppSync Unified from there.
Then, in the same way, add the repository https:// to Cydia and install the UTM app from it.
 |
 |
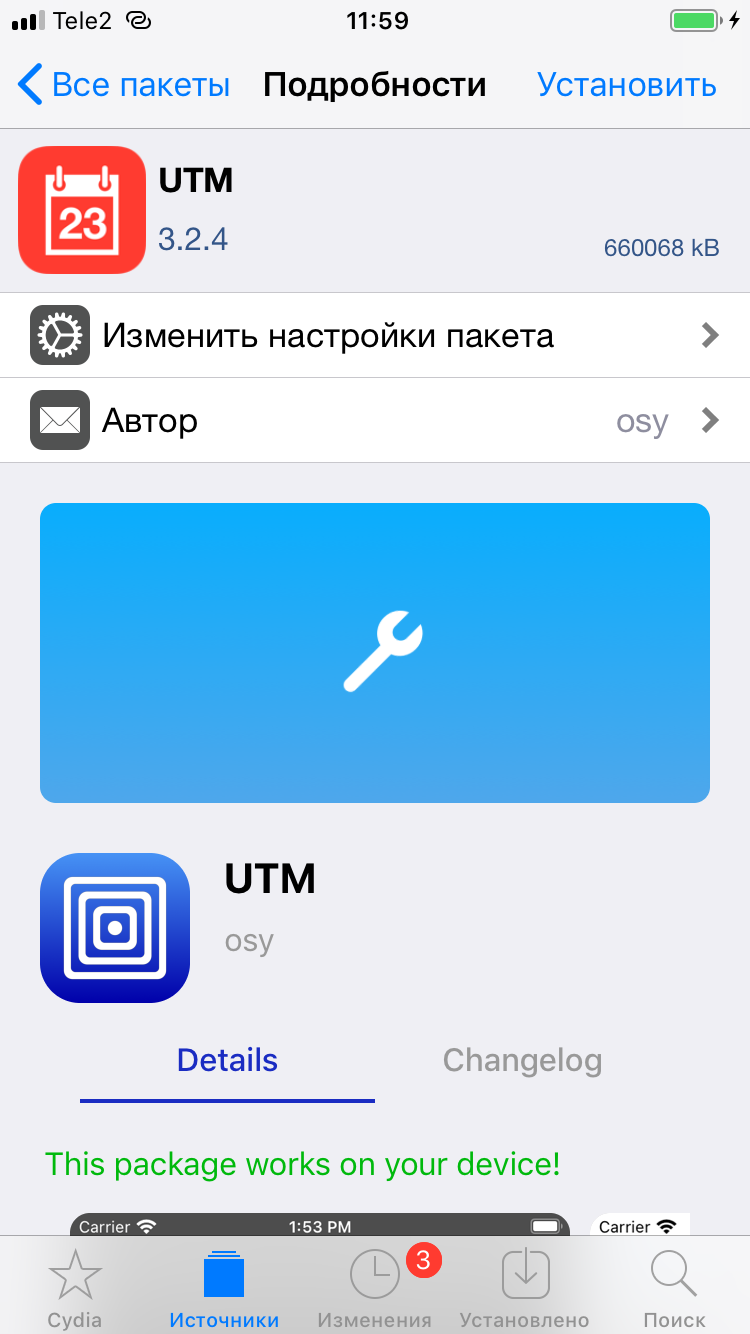 |
| Installing AppSync Unified and UTM | ||
On a non-jailbroken device
Installing UTM on iOS without a jailbreak looks a bit more complicated, but only at first glance. You’ll need to install AltStore on your iPhone. In short: install the latest versions of iTunes and iCloud on your computer, then download AltServer from altstore.io — you’ll need at least Windows 10 to use it.
Connect your iPhone to your computer, close iTunes, click the AltServer icon in the system tray, and choose Install AltStore → your device name. AltStore will prompt you for an Apple ID—it’s best to create a new account for this. Popular guides recommend setting the location to Heard and McDonald Islands, Norfolk Island, or South Georgia and the South Sandwich Islands.
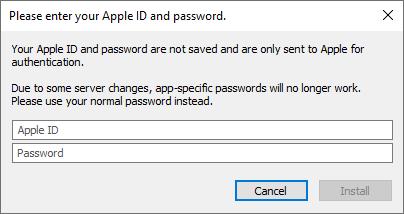
After that, on your iPhone go to Settings > General > Profiles & Device Management (or VPN & Device Management) > your Apple ID > Trust. Then launch AltStore, open the Settings tab, choose “Sign in with Apple ID,” and enter the email address linked to the Apple ID you created earlier, along with your password.
In AltStore’s settings, add the repository https:// and install UTM from there. Alternatively, you can first download UTM as an . file from GitHub to your computer, then install it on your mobile device via AltStore, making sure to code-sign it.
Creating a Virtual Machine
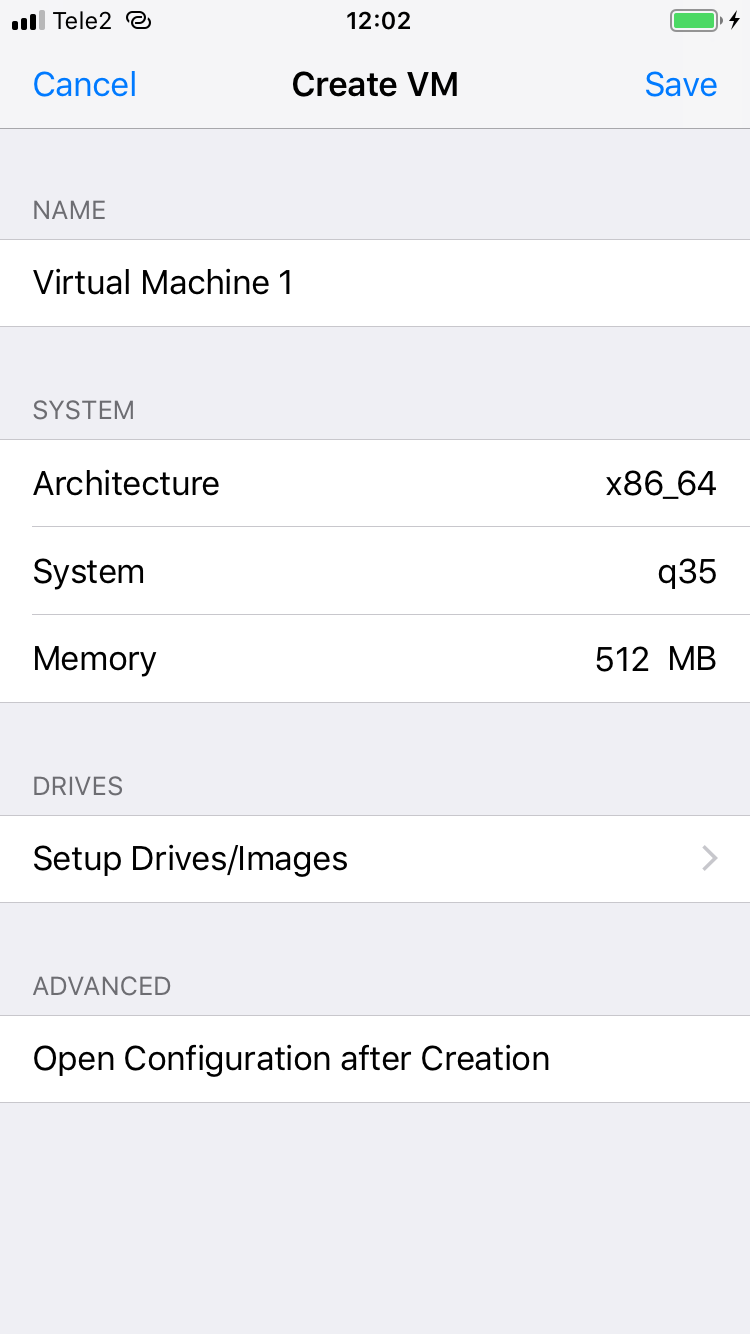
If you’ve ever used VirtualBox, setting up a new VM in UTM will feel straightforward. After launching the app, tap the plus icon in the top-right corner. Enter any name you like in the Name field, and pick a CPU architecture from the Architecture list.
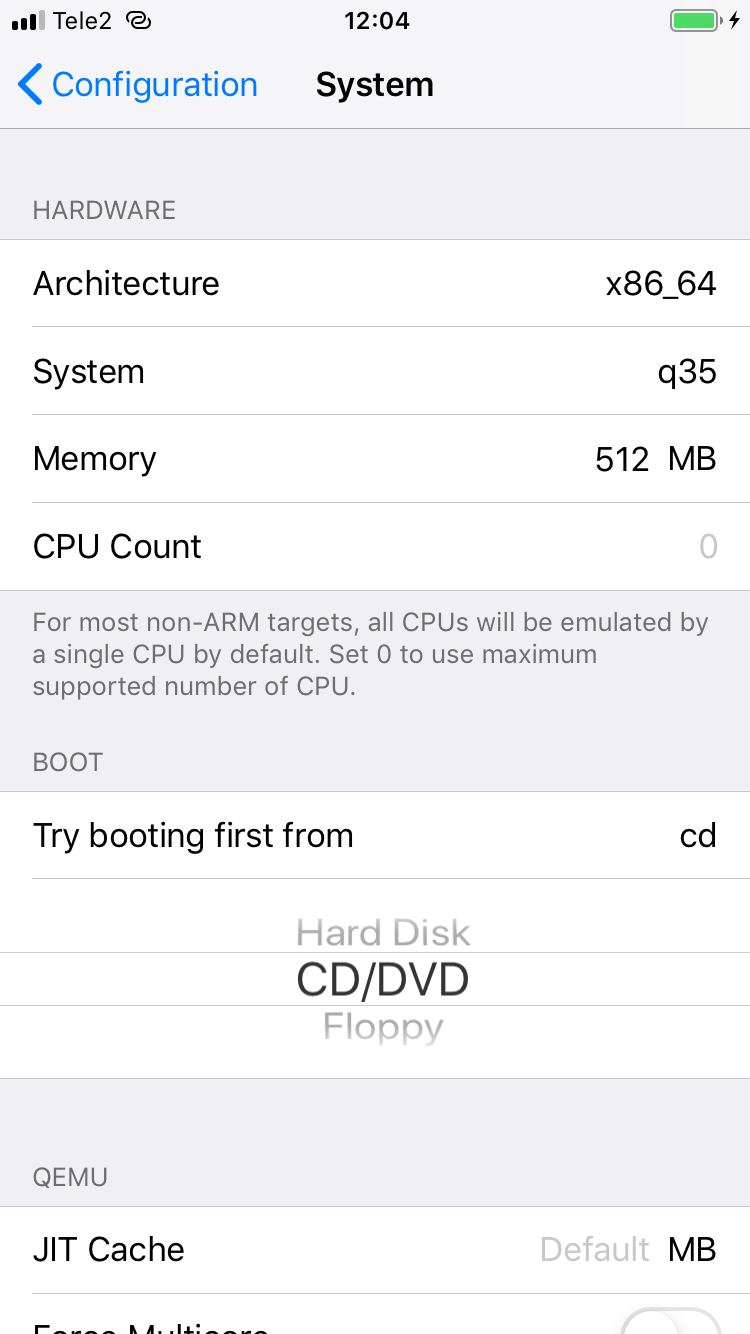
The System field is a bit trickier. UTM is built on QEMU, which can emulate not just a CPU but an entire hardware platform around it. The menu shows the QEMU “machine” types supported for the chosen architecture. In most cases you can leave the default—it’s optimal for the selected CPU architecture.
Choose the amount of memory for the virtual machine in the Memory menu (it obviously can’t exceed the RAM available on your device). Finally, in the Setup Drives/Images list, configure the disk your VM will boot from. UTM supports the QCOW2 format.
The Image Location menu isn’t the disk image file path, as you might think; it specifies how the image will be mounted. For PC emulation, it’s recommended to choose the standard IDE option; for ARM devices, the virtio option is available. If you want, you can also adjust the VM’s default display settings and input methods on the same screen—virtual keyboard and mouse emulation.
 |
 |
 |
| Creating a virtual machine in UTM | ||
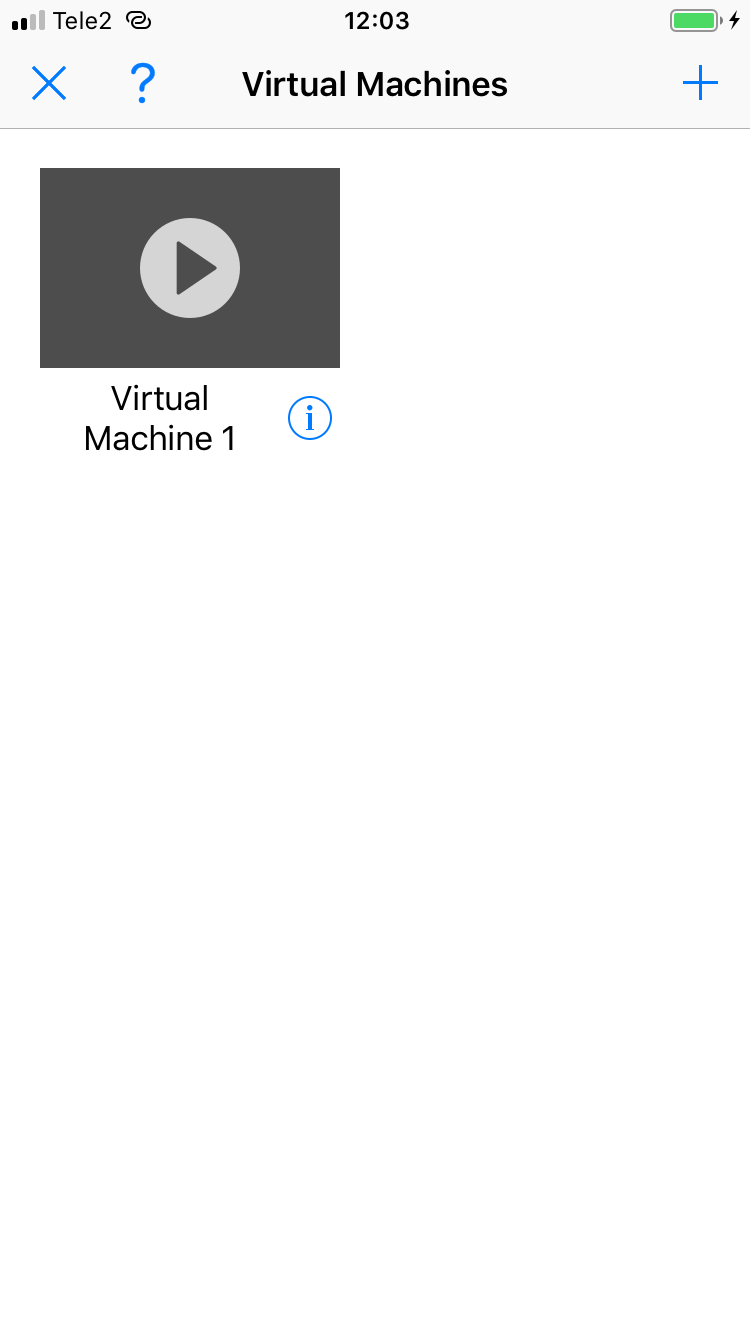
Once setup is complete, a thumbnail of the virtual machine will appear on the app’s home screen. To launch it, just tap the thumbnail. If, for example, the VM has a disk image with an installed OS attached, it will start booting.
Virtual Machine Controls
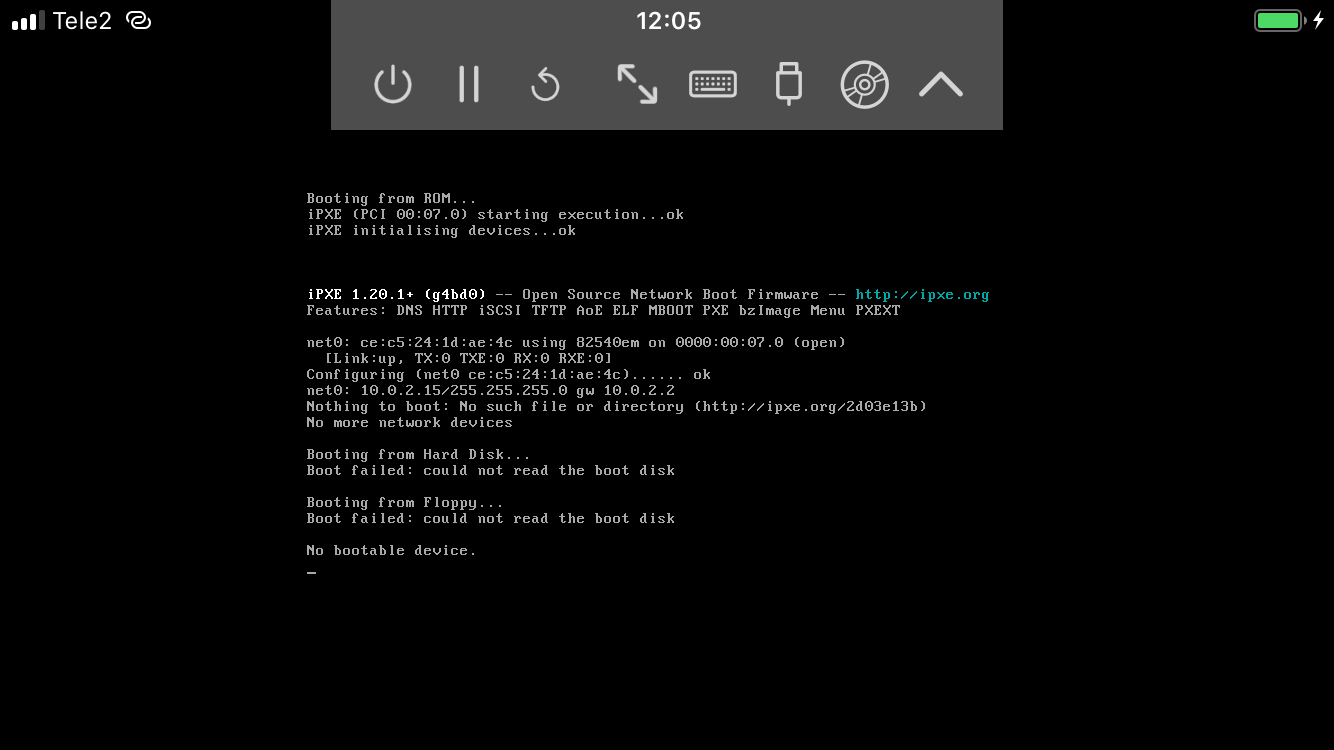
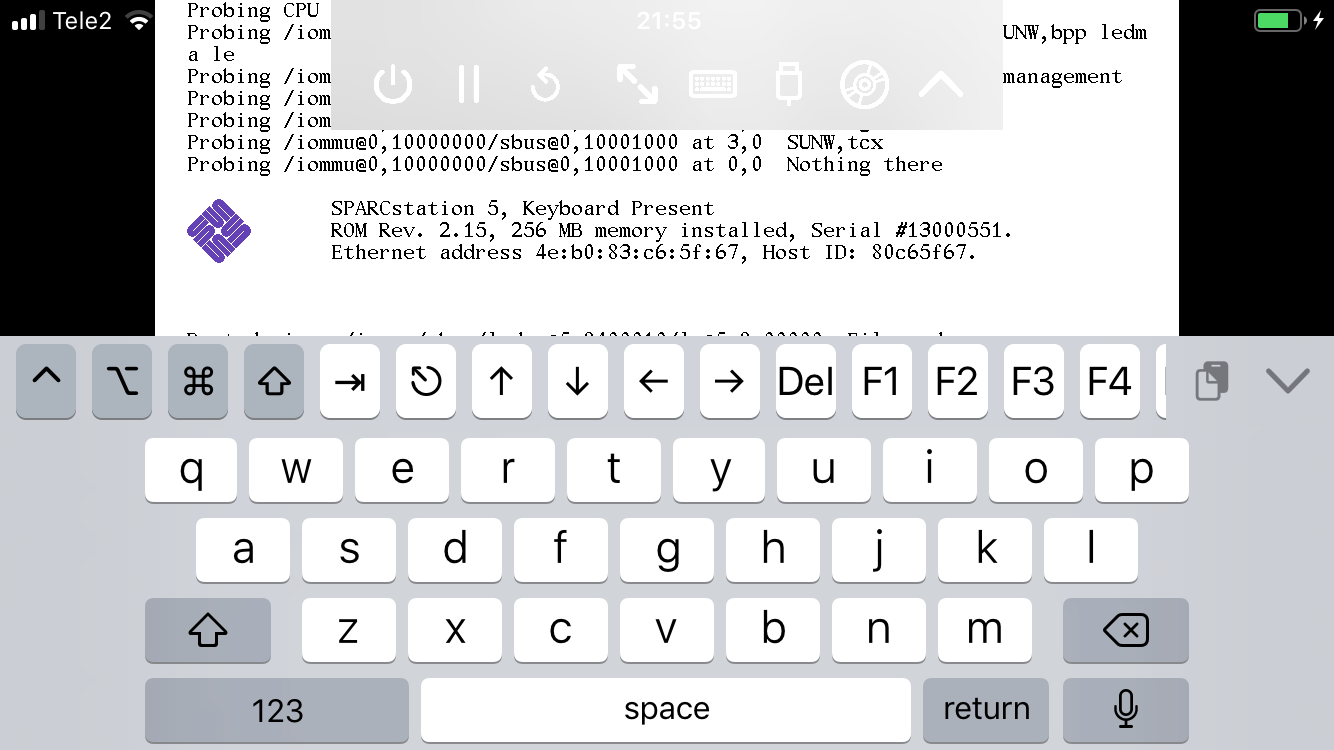
At the top of the screen of a running virtual machine there’s a toolbar with eight buttons. The first three let you power off, pause, or reboot the VM. The next buttons, in order, switch the VM to full screen, show or hide the on-screen keyboard, and open the VM’s port and disk settings. Finally, the rightmost button hides the toolbar itself. As you can see, nothing complicated—the bare minimum you need to manage the VM. On an iPhone 7 the buttons are a bit small, but on an iPad they should be just right.
Using Prebuilt VM Images
On the page https://mac.getutm.app/gallery/, UTM offers several ready-to-run virtual machines with the OS preinstalled, including ArchLinux ARM, Debian 10.4, Mac OS 9.2.1 for PowerPC, ReactOS 0.4.14, Sun Solaris 9 for SPARC, and Ubuntu 14.04. The other OSes listed there require additional setup and a separate installation image (as with Windows). I followed the link from the https://mac.getutm.app/gallery/ page to the corresponding image, downloaded the VM to my phone, and tapped Open in UTM, but got an error—none of the VMs would launch on my iPhone using that method.
I had to take a different, more involved route: use the Filza file manager. The VM image is downloaded from the site mentioned above as a ZIP archive and saved on the iPhone in the \ directory. Extract the folder inside the archive with Filza and copy it to \, where UTM virtual machines are stored by default. After that, the VM will appear in UTM’s main window, and you can launch it by tapping its thumbnail.
The Filza approach only works if your device is jailbroken—otherwise you can’t install that file manager. But there’s an alternative! Here’s how it works: download a virtual machine to your computer from https://mac.getutm.app/gallery/, extract the ZIP archive, and move its contents into a folder on Yandex Disk. After that, install the Yandex Disk app on your iPhone from the official App Store.
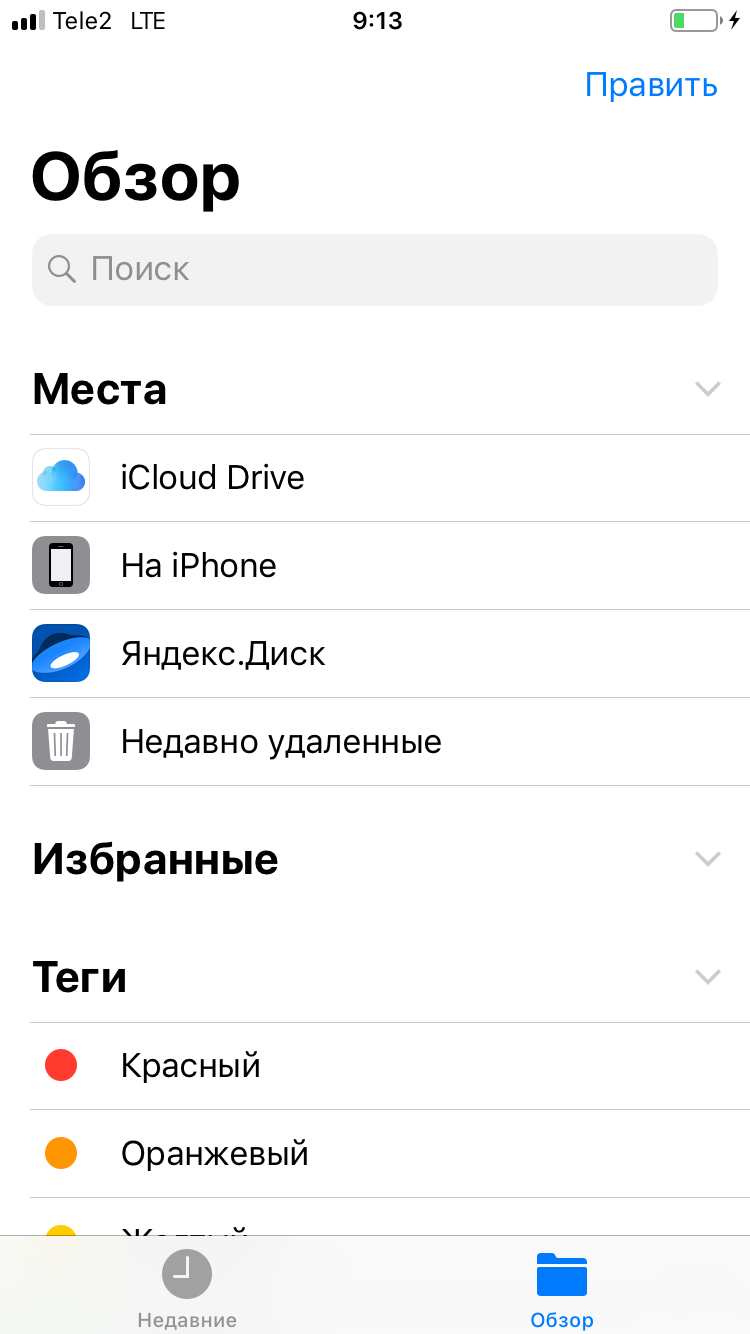
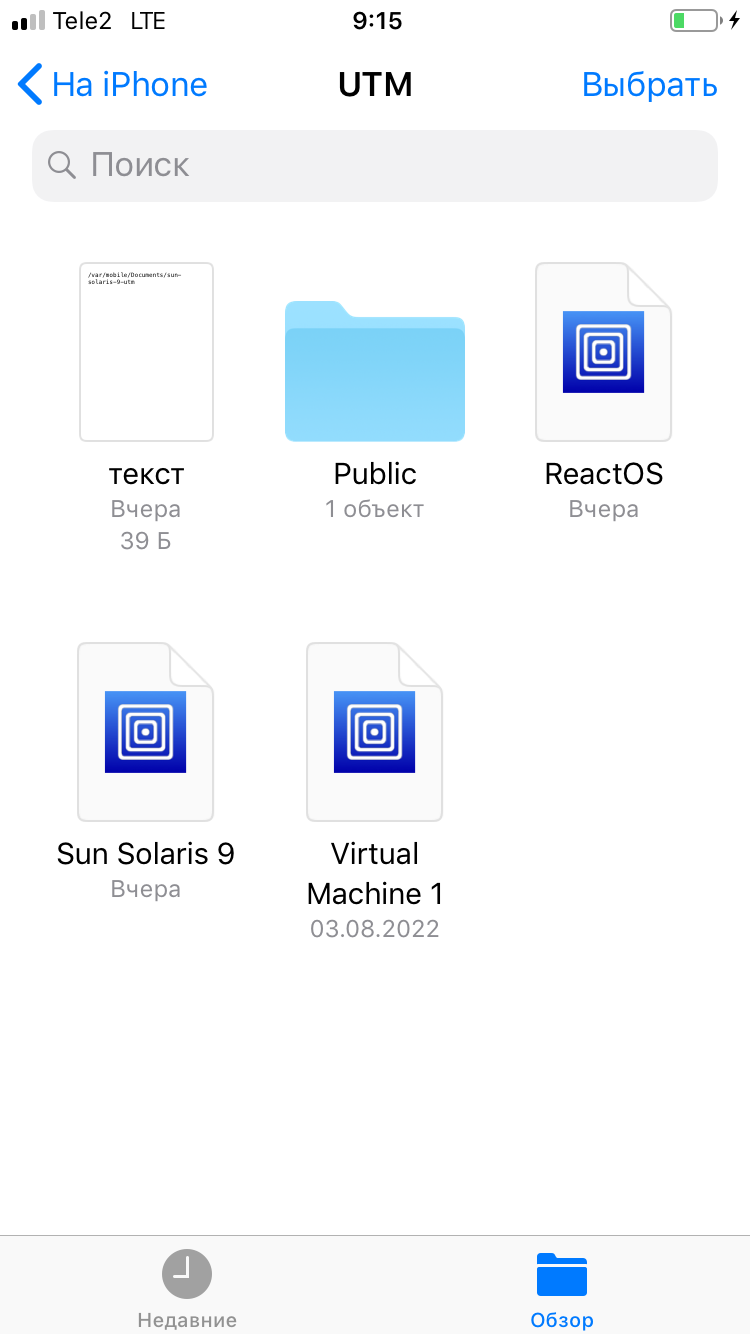
Now open the standard Files app on your phone, go to the Locations screen, and toggle on Yandex Disk so the cloud’s contents show up in Files. Navigate to the folder where you saved the virtual machine, long‑press it to Copy, then go to On My iPhone → UTM and long‑press again to Paste the VM folder into this directory. To speed things up, you can first find this folder in the Yandex Disk app, press and hold its icon, tap the “…” button on the bottom bar, and choose Add to offline in the menu. Voilà—your virtual machine now appears on UTM’s home screen and is ready to launch!
 |
 |
| Installing a virtual machine via Yandex Disk | |
Installing an OS from an ISO image
As a final step, I decided to install an operating system on a virtual machine myself. I went with Windows XP: it’s the least resource-hungry, and my phone is, frankly, starved for RAM. I handled the boot image exactly as described above: copied the . file to Yandex Disk, then moved it into the “On My iPhone → UTM” folder in the Files app.
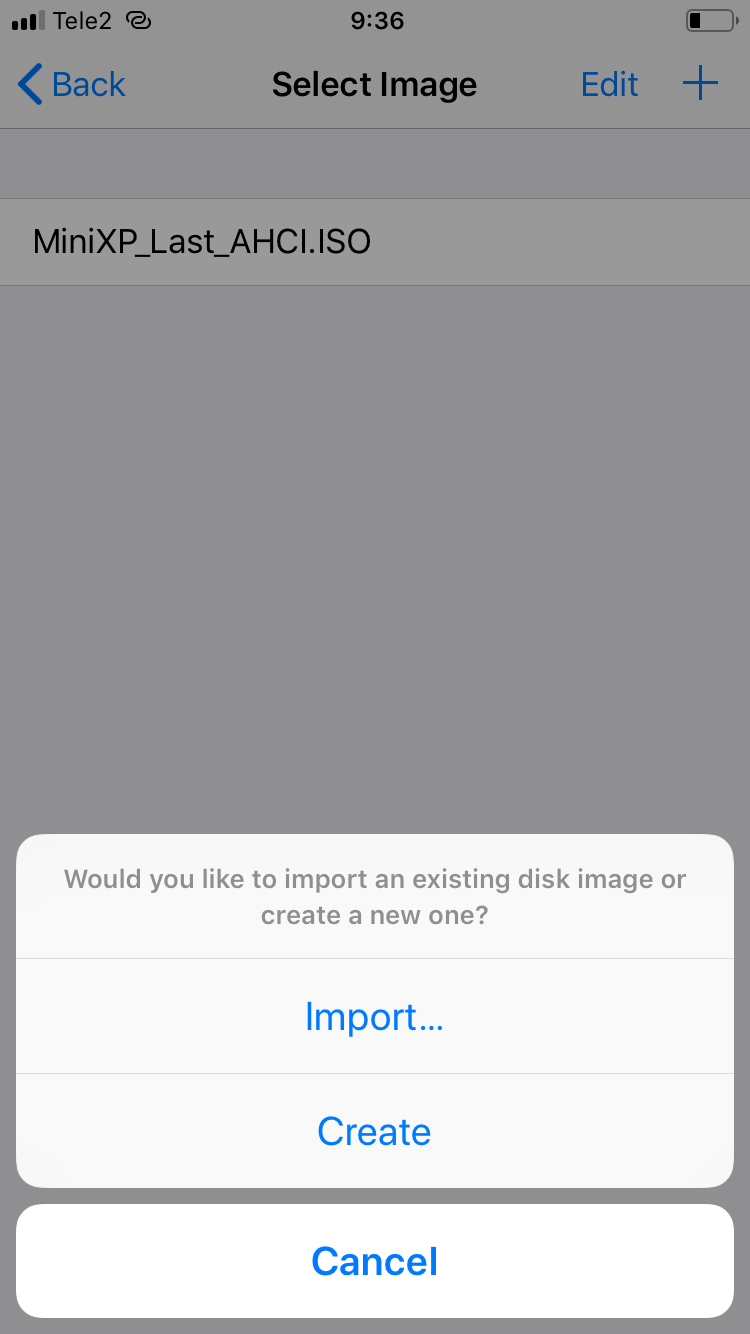
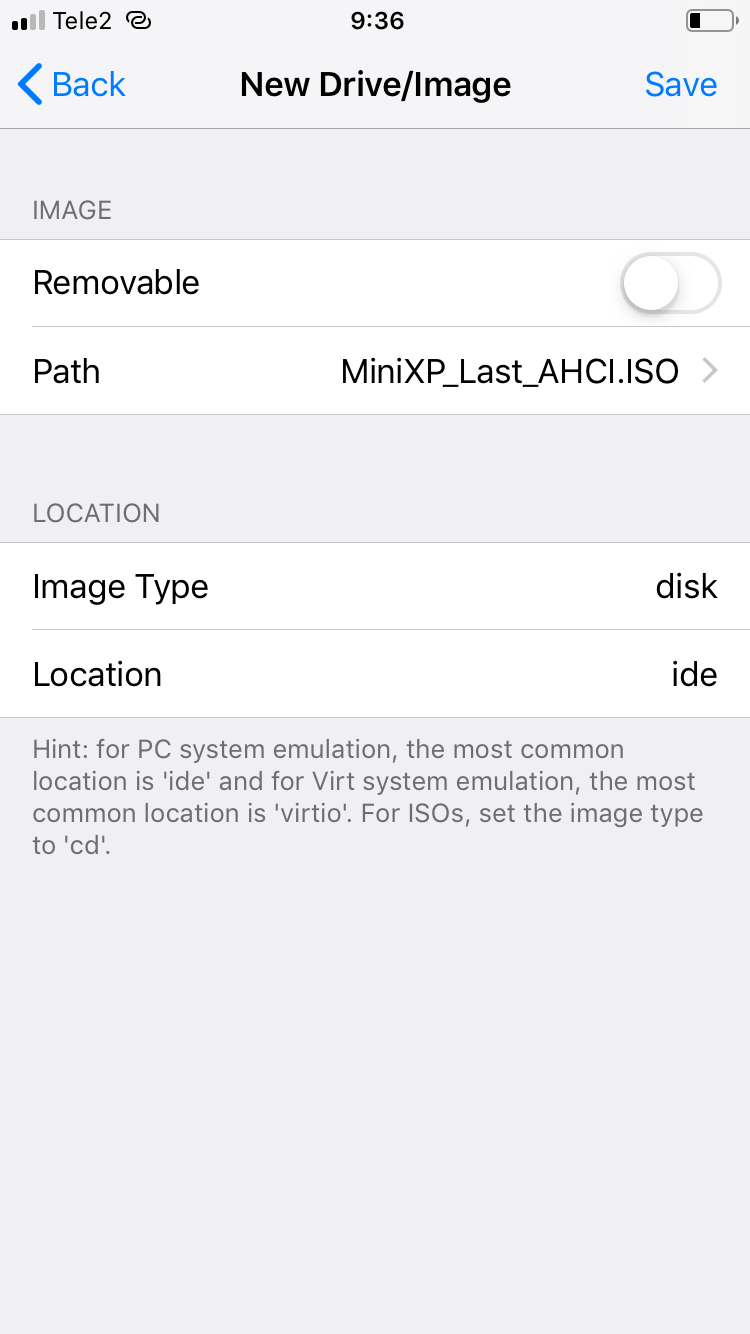
It took me a long time to get the installer to run — the VM kept throwing a “No bootable device” error, and UTM’s website provides almost no documentation on the setup process, so I couldn’t find a suitable guide. I finally got it working after a series of experiments. When creating the virtual machine, I selected this image in the Drives/Images pane by clicking the + in the top-right, then clicking Path, then + again, and Import.
 |
 |
| Mounting the distro ISO in UTM | |
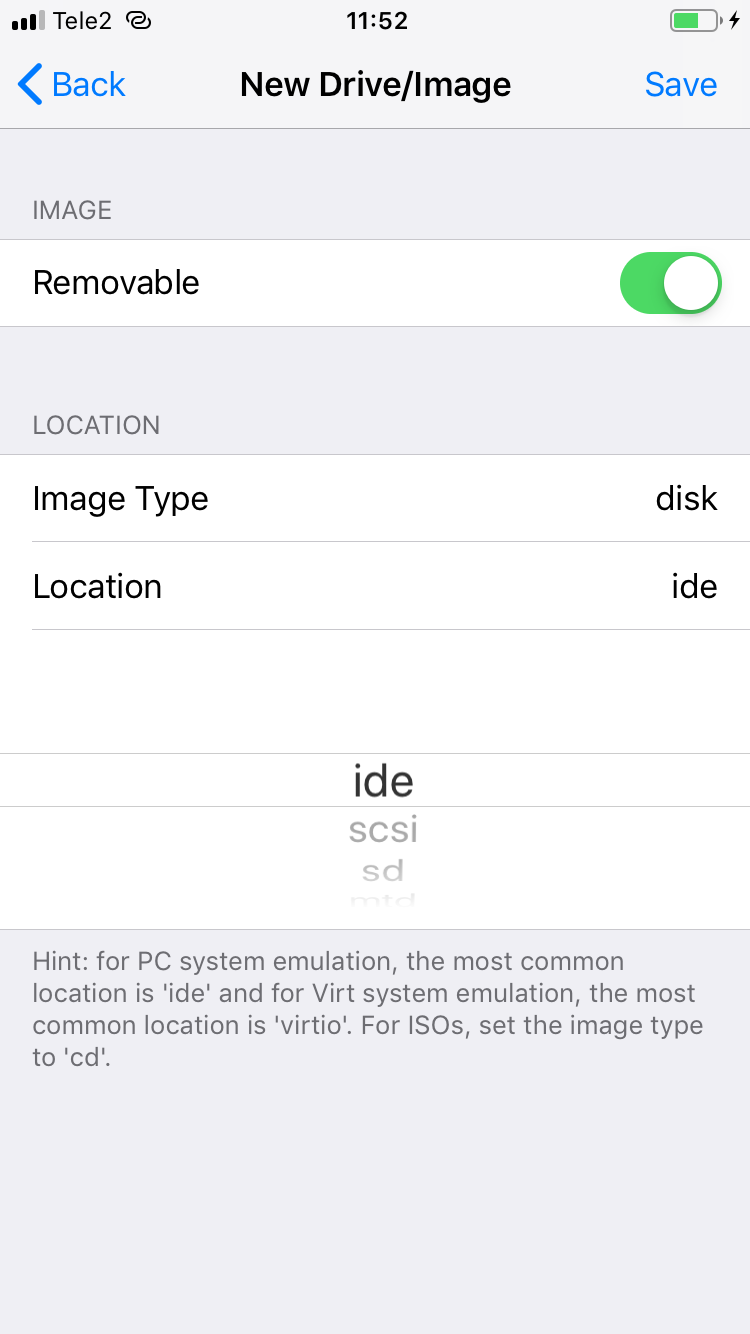
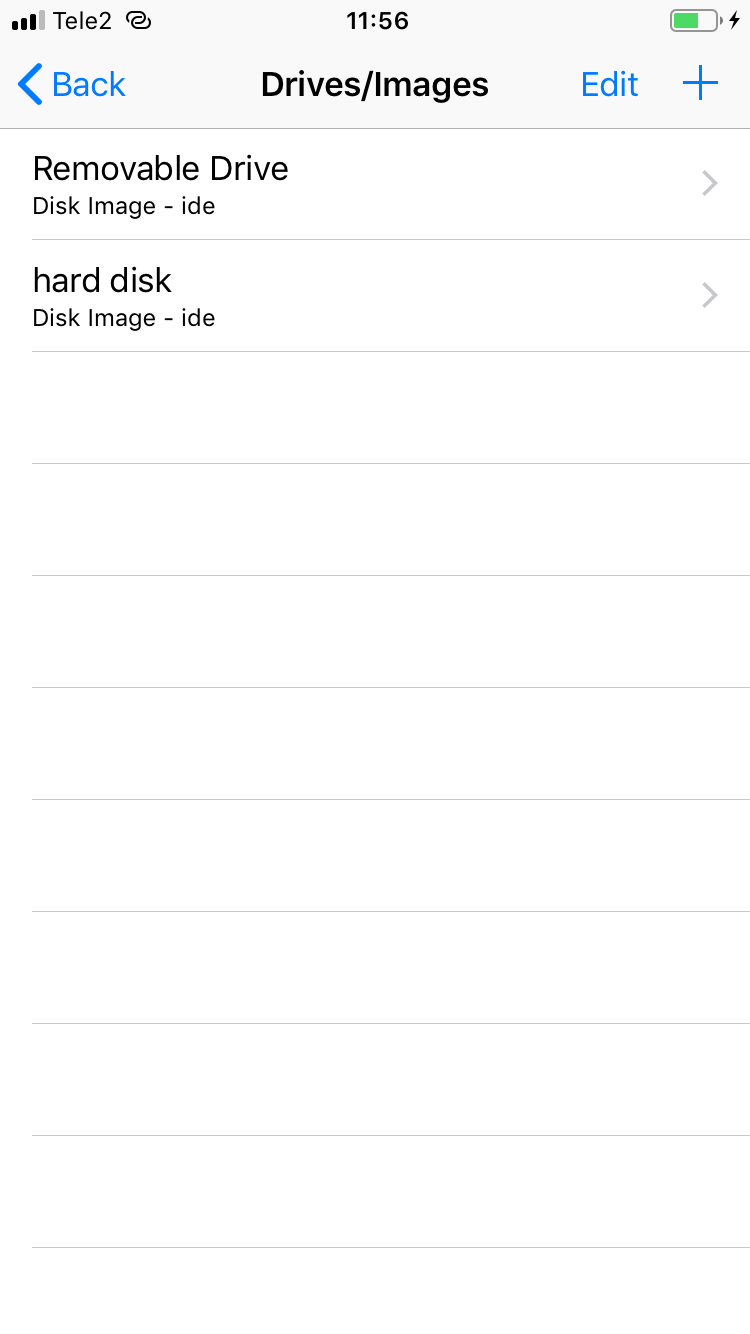
It turns out this is how you create a virtual hard drive: click +, hit Create, then enter the disk name and size. Adding a removable disk is trickier: select the IDE interface and toggle Removable on. You’ll then see two entries under Drives/Images: the hard drive you just created with the specified size, and the Removable Drive. Don’t forget to tap Save at the top of the window, or the VM won’t keep your changes.
 |
 |
| Attaching the installer ISO in UTM | |
After that, start the virtual machine. In the control panel, click the CD icon, then tap the removable drive entry. Tap Change and select the distribution image from the UTM folder on your iPhone, then tap Done in the top-right corner. Restart the virtual machine—the OS installation will begin automatically.
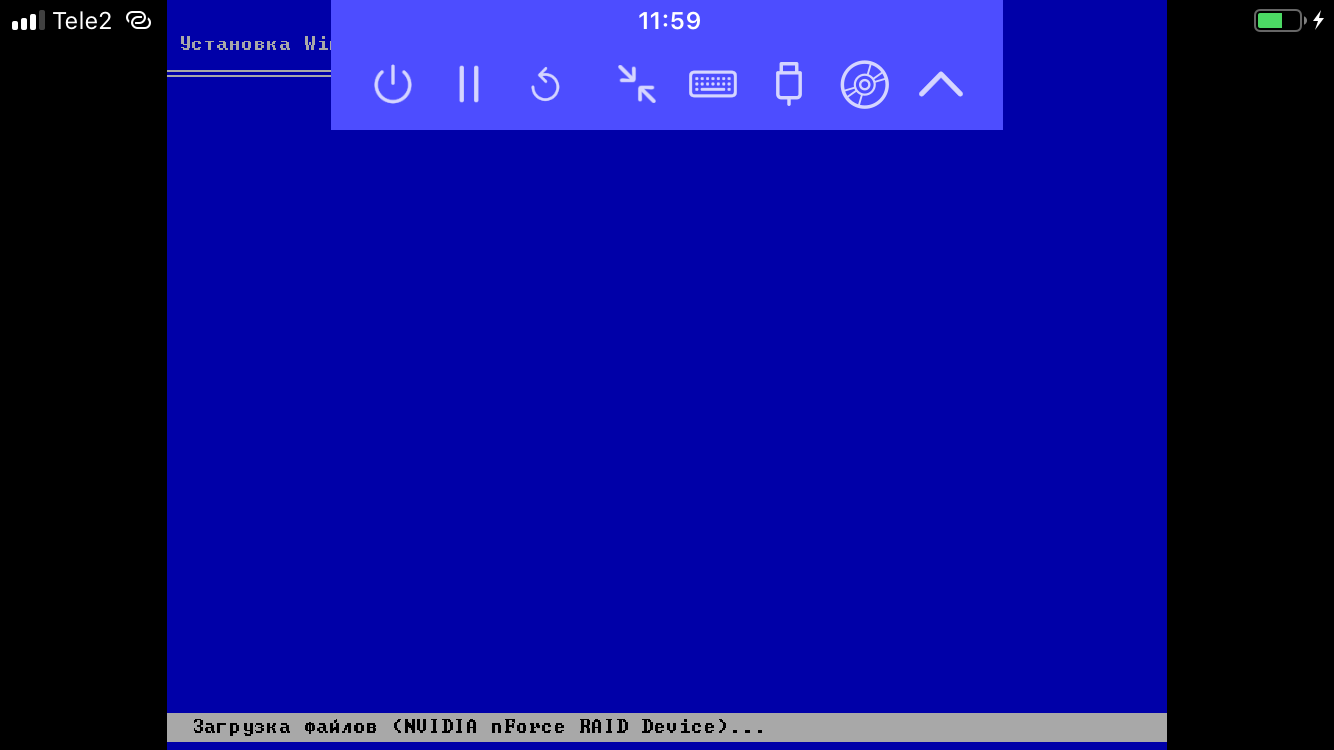
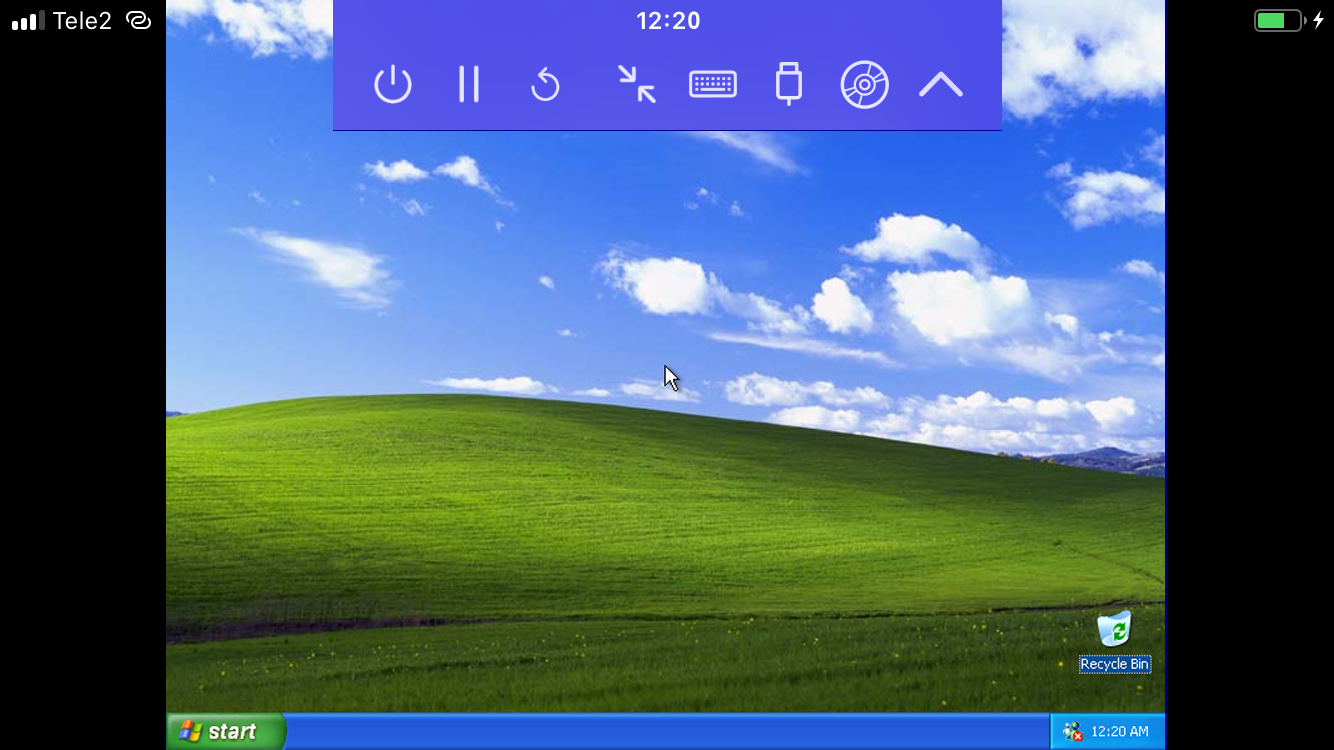
We got Windows running on an iPhone!
Conclusions
UTM includes guest tools for various operating systems that let you set up shared folders between the VM and the host OS for moving and copying files (you can find them in the same Gallery section on the developer’s site: https://mac.getutm.app). In theory, this lets you work inside the virtual machine—say, in Microsoft Office—and then save the resulting documents back to the device.
That’s the theory. In practice, the UTM project is extremely poorly documented, the guest OS runs horribly slow and laggy, and while installing Windows XP I was greeted by the BSOD about a dozen times and tried a pile of install ISOs before finally finding one that worked. And the VM itself periodically crashes with an “internal error,” the cause of which remains a complete mystery. Just an error, that’s it.
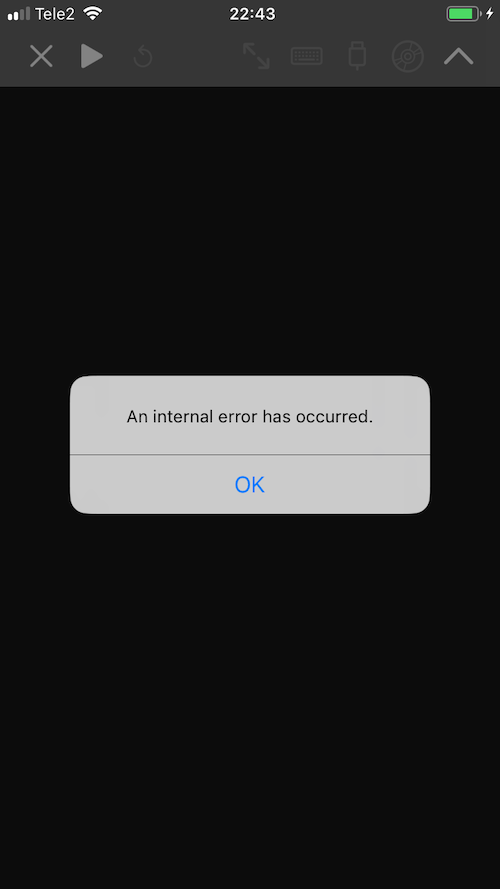
Yes. If you misconfigure the VM—for example, allocate memory close to your device’s available RAM—iOS will silently terminate UTM without any ceremony. No warnings, no dialogs, nothing.
Along the way I built up a huge collection of BSOD screenshots from a Windows XP virtual machine and even spotted a pattern: start the VM with Windows, plug in an iPhone charging cable, unplug the cable — BSOD. Sometimes it happened with no apparent trigger at all. The last time I saw a bugfest like this was about 27 years ago, when Windows 95 on my 486SX would drop into a blue screen all by itself roughly every half hour, with no warning.
Bottom line: working on documents in an online editor like Office 365 or Google Docs on an iPad is far more convenient and pleasant than messing with virtual machines, and for gaming on the iPhone there are emulators available on iOS. Still, I hope the UTM project will be polished over time, virtual machines will become more stable and faster, and the product will ship with clear, thorough documentation.
