Up front, this article is about Android 6.0 smartphones where the fingerprint scanner and access to it are implemented according to Google’s requirements. Only these devices let third-party apps use the scanner. Chinese and some other phones with fingerprint readers on Android 5.0/5.1 won’t work: they may support unlocking the device with a finger touch, but they don’t provide an API that third-party software can use.
1. Map Home, Back, or any other button to the fingerprint scanner
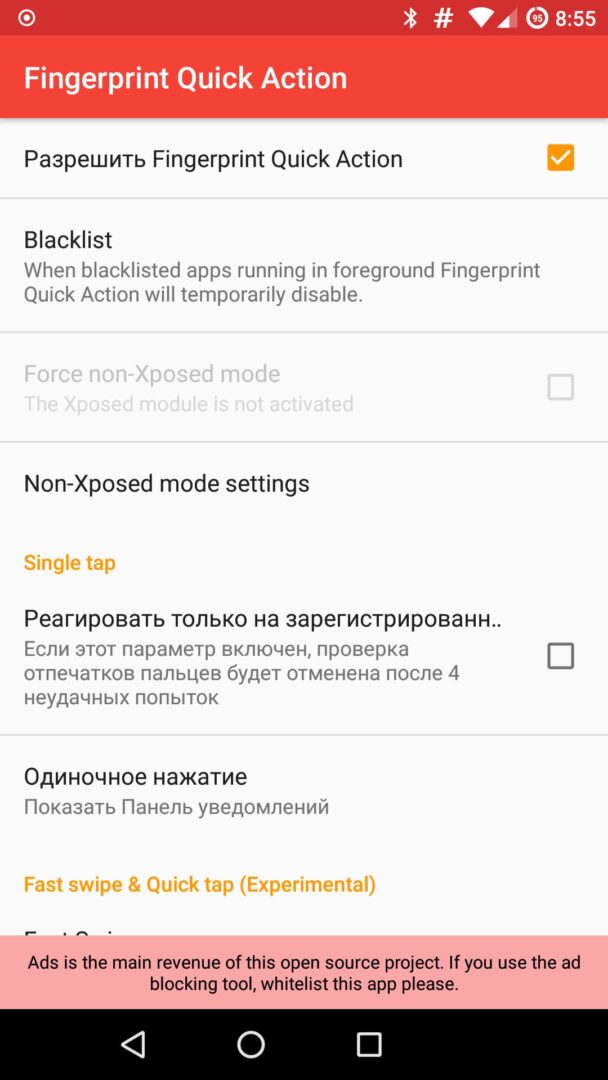
Probably the most useful thing you can do with a fingerprint scanner is map it to one of the hardware or on-screen buttons—Home, Back, or Overview. The Fingerprint Quick Action app lets you do exactly that.
Install the app and check the box next to “Enable Fingerprint Quick Action.” The Accessibility screen will open; find the app there and turn it on. You can then assign a single tap, double tap, or swipe on the fingerprint sensor to a variety of actions, including Back and Home, as well as Turn off screen, Show notification shade (like on Google Pixel), Split screen (to run two apps at once in Android 7.0), and more.
Keep in mind that the double‑tap and swipe features are experimental and work very poorly (basically not at all). It’s best to stick to single taps only.
 |
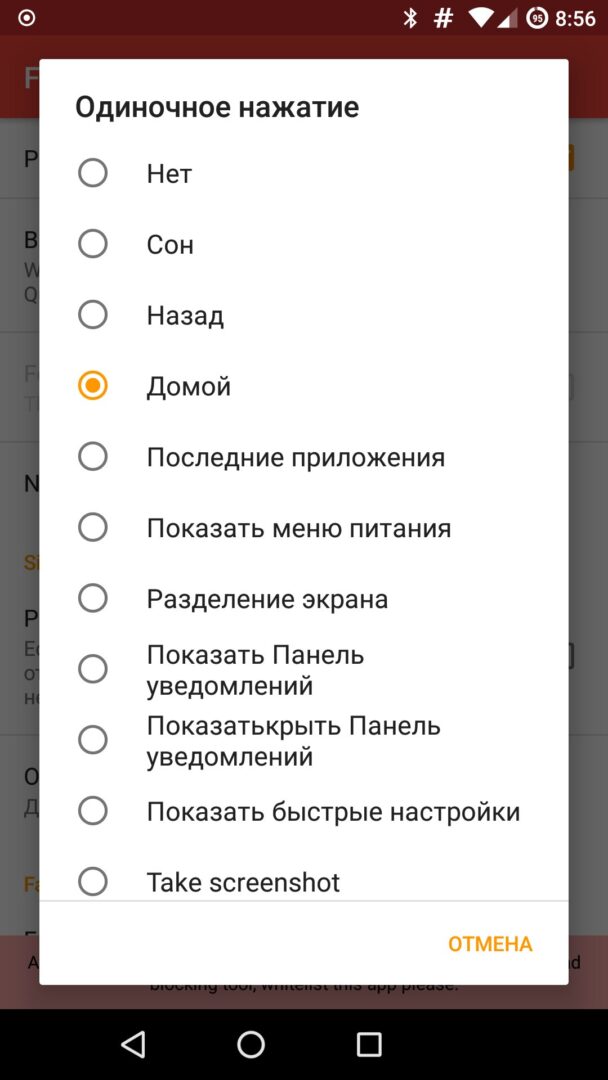 |
| Assigning the Home button to the fingerprint reader | |
2. Launch apps
Fingerprint Quick Action also lets you launch apps using the fingerprint scanner. That can be very handy if you mainly use your phone for chatting in Telegram/WhatsApp or making calls. This way, your dialer or messenger is always at your fingertips.
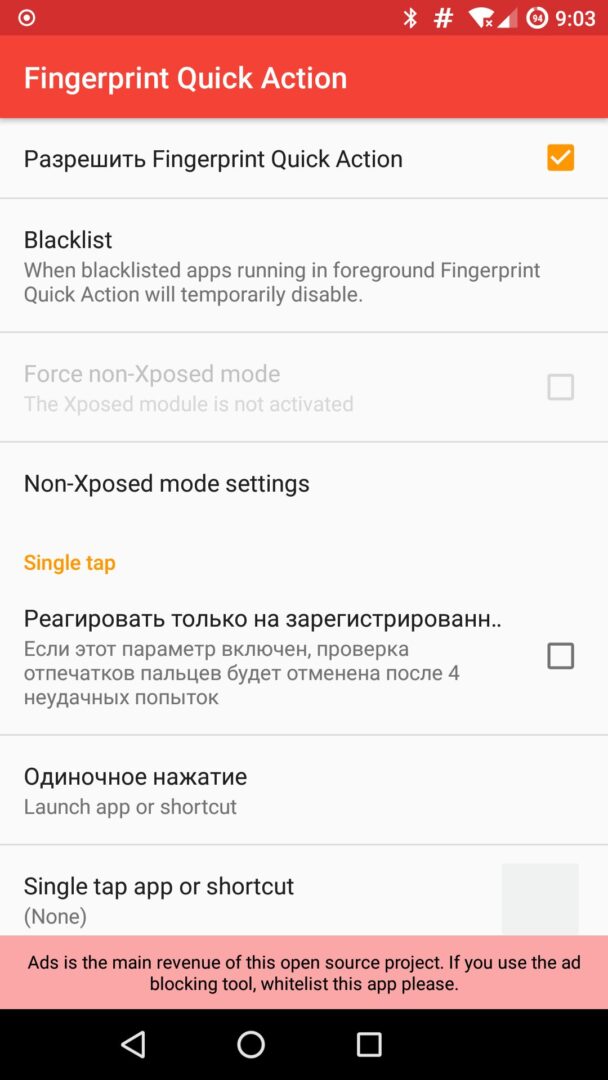
You can choose an app the same way you assign a button. Scroll to the very bottom of the action list and select “Launch app or shortcut” (yes, the app isn’t fully translated). Then, in the app’s main screen, a “Single tap app or shortcut” item will appear. There you can select the app.
 |
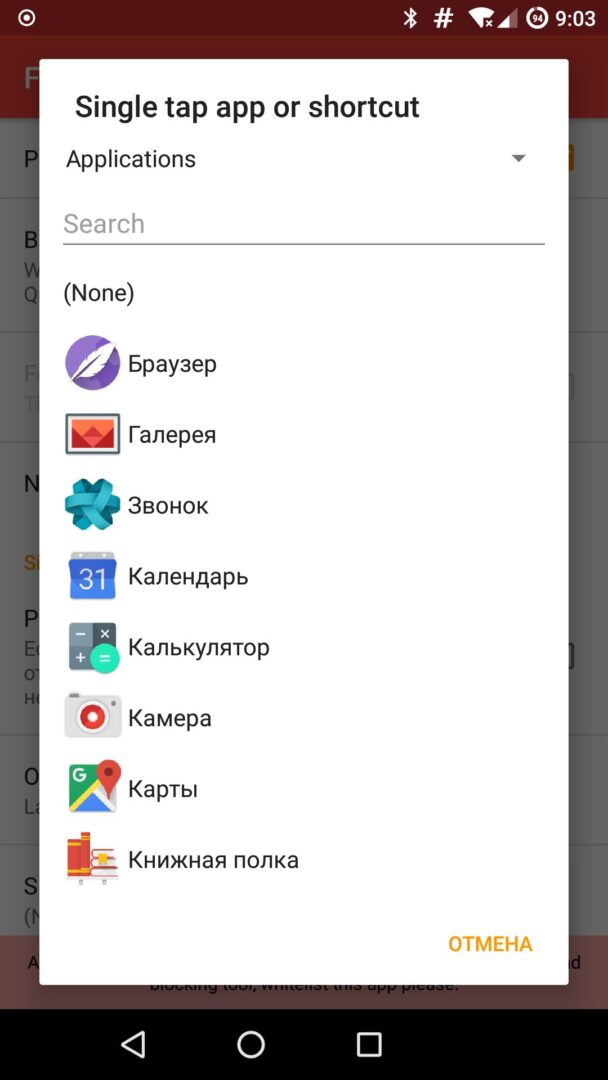 |
| Using the fingerprint scanner to launch apps | |
3. Securing Apps
A fingerprint scanner can be used not only to launch apps but also to secure them. For that, you can use App Lock — an app that lets you lock selected applications with a PIN, pattern, or fingerprint.
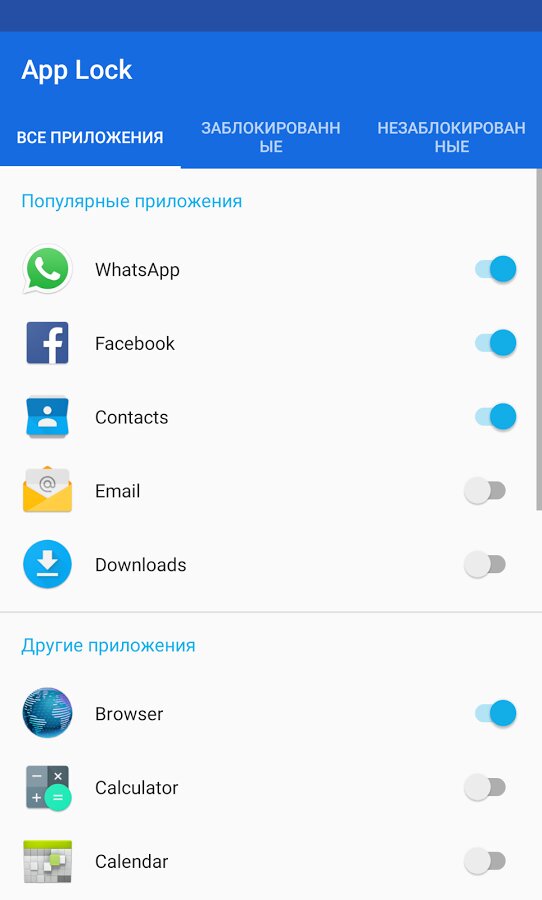
It’s very straightforward to use. Launch the app, turn on “Unlock with fingerprint,” then enter either a PIN or a pattern (labeled “drawing” in the UI). Skip the email prompt screen. On the next screen, go to Settings, select App Lock, enable it, and go back. You’ll then see a list of apps. To protect an app, just toggle the switch next to its name. From now on, when you try to open that app, you’ll be prompted to touch the fingerprint sensor.
However, don’t think of App Lock as real security. Bypassing it is as simple as killing the App Lock process or uninstalling the app. It’s basically child-proofing—or protection against non-technical users who might get hold of your phone.
 |
 |
| “Protecting” apps with App Lock | |
4. Require authentication for Google Play purchases
Google Play lets you require your Google Account password to prevent accidental purchases. This helps keep your card from being drained if your phone ends up in the wrong hands. Few people realize it also supports authentication with a fingerprint, not just a password.
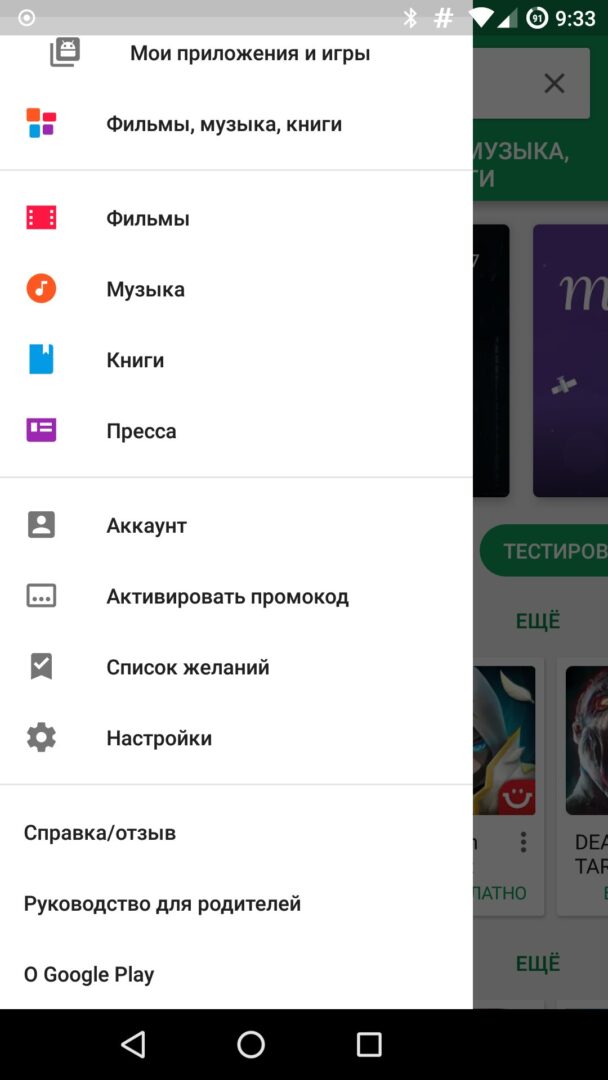
Just open the Google Play settings (at the bottom of the side menu), enable “Fingerprint authentication,” and enter your Google account password. The next time you make a purchase, Google Play will ask you to touch the fingerprint scanner.
 |
 |
| Enabling fingerprint authentication in Google Play | |
5. Use the fingerprint scanner as a shutter button
The front-mounted fingerprint scanner on your smartphone can double as a convenient shutter for photos and videos. You don’t even need to switch to a different camera app. Just install Dactyl.
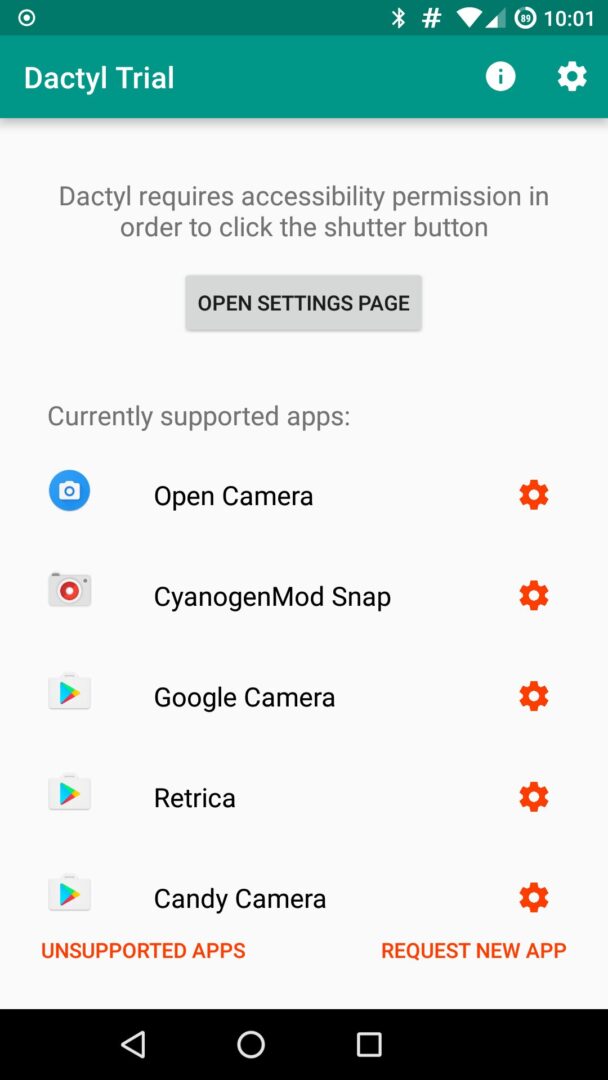
Open the app, skip the welcome screens, and grant it the same Accessibility permission. That’s it—now the camera apps installed on your phone can snap a photo when you touch the fingerprint sensor.
Among the supported cameras: Google Camera, Open Camera, Manual Camera, Snap Camera, Camera 360, WhatsApp, Prisma, Instagram, and many others. The author says the list is continually expanding, with support for new cameras delivered over the air, so you don’t need to update the app.
One downside: the trial version lets you take no more than ten screenshots, and the full version costs 130 rubles. That’s a bit steep for such a simple utility.
 |
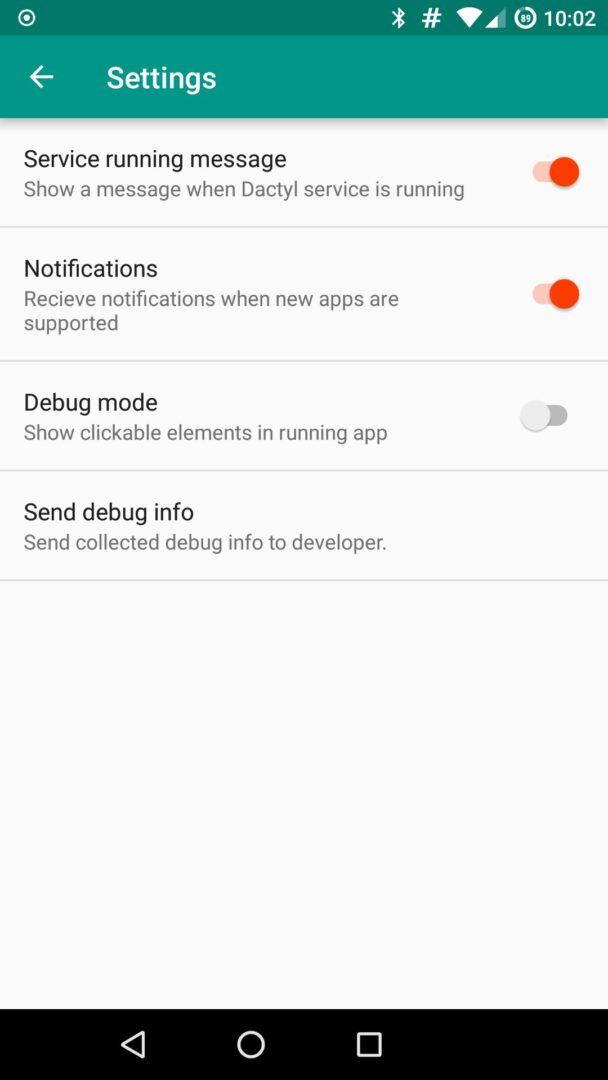 |
| Setting up Dactyl | |
6. Secure your passwords
Since Android 6.0, many password managers have added fingerprint scanner support, including the popular 1Password, the KeePass‑compatible KeepShare, and LastPass, infamous for its security holes. We won’t go into how to enable the scanner in these apps—it’s straightforward.
More interestingly, on the Play Store you can find Authenticator Plus, which essentially offers the same features as Google Authenticator and FreeOTP for generating one-time passwords, but also lets you use the fingerprint scanner to access the app’s features.
7. Protecting Your Data
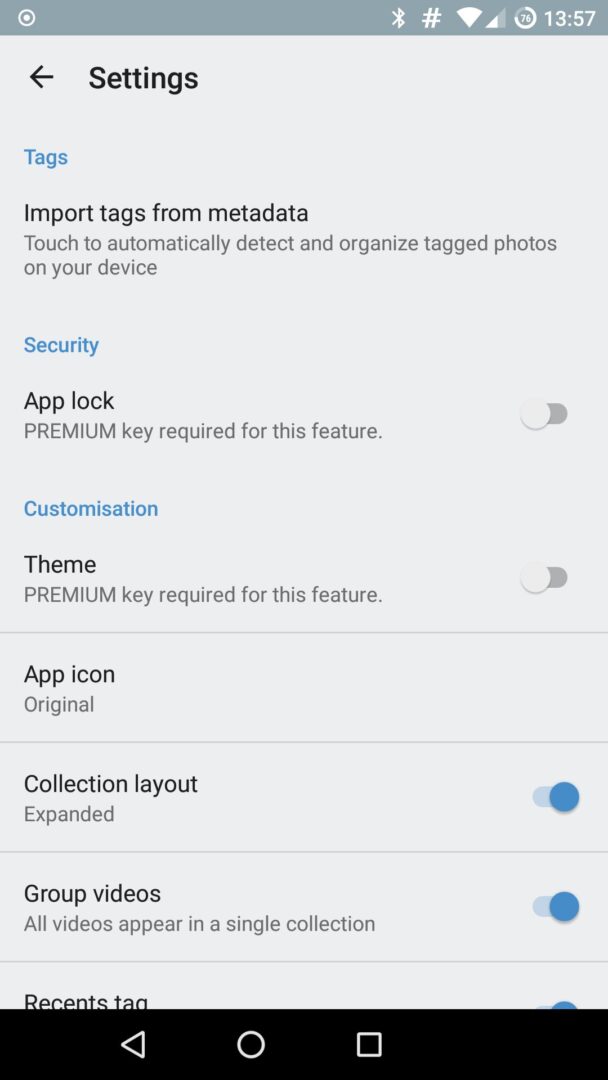
What about protecting SMS, photos, and other data? That too, please. For SMS, you can use EvolveSMS, and for photos — Focus. That said, the “protection” here is about the same as with an app locker: nothing stops someone from installing a different app to read SMS or view photos anyway. On top of that, Android typically stores photos on the SD card with no access restrictions, so even a basic file manager can open them.
Another interesting app is Solo Photo. It’s a photo viewer that doesn’t just restrict access to your gallery—it locks the gallery to a single photo. Think of it as a safeguard for when you need to show someone one picture without letting them browse the rest.
As expected, Solo Photo suffers from the “just open another photo viewer” problem. You can neutralize it by using the app together with Android’s built-in app pinning mode (Settings → Security → App pinning). In this setup, Solo Photo restricts you to a single photo, and Android pins the screen to Solo Photo. All that’s left to do is stare at the picture.
Many banking apps support fingerprint scanners. For example, Sberbank lets you access app features using your fingerprint instead of a password.
 |
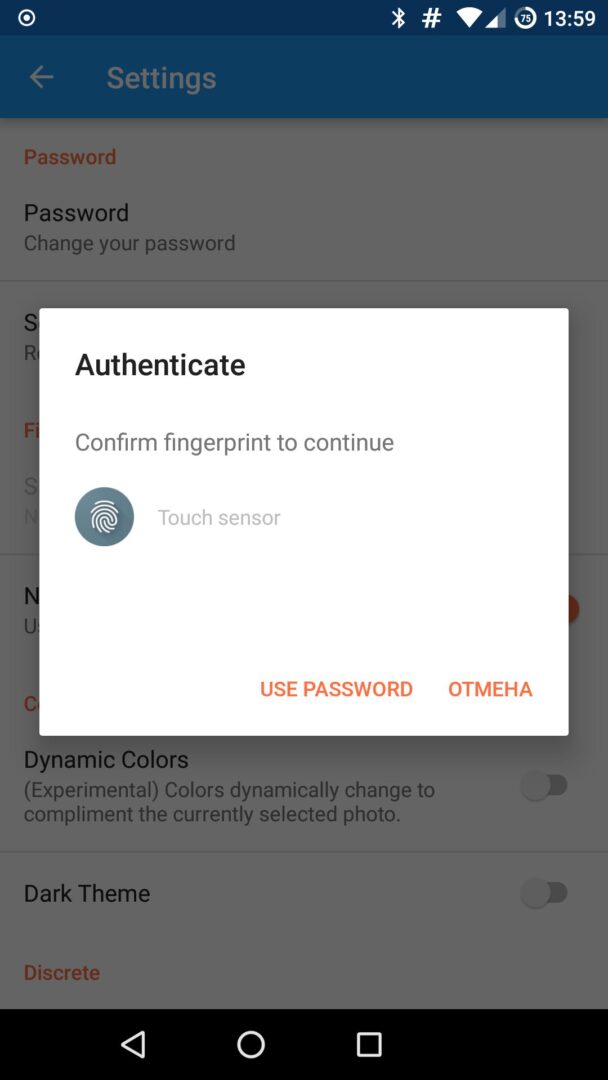 |
| Configuring the fingerprint scanner in Focus and Solo Photo | |
8. Make It Do Anything with Tasker
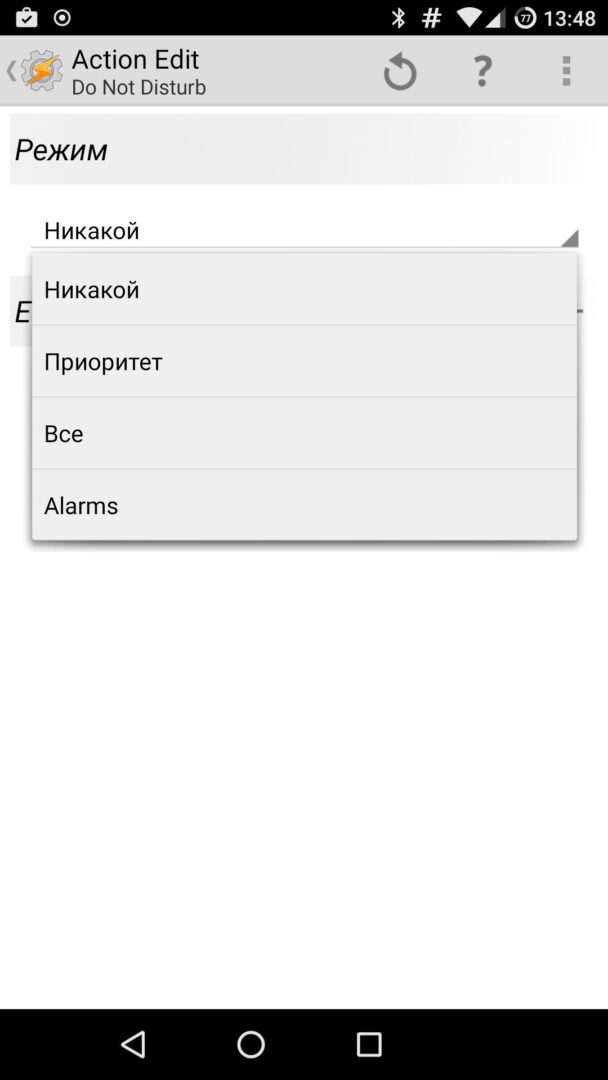
You can program the fingerprint scanner to trigger all kinds of actions—running a remote command over SSH, turning on your PC, controlling smart bulbs, and so on. However, in this case simply installing and launching a third-party app won’t be enough: you’ll need to purchase Tasker, install a few plugins for it, and set up automation rules to react to a fingerprint scan.
First, you’ll need Fingerprint Scanner Tools. It’s a less feature-rich alternative to Fingerprint Quick Action, but it supports Tasker. You’ll also need Tasker itself and a set of plugins for it. For example:
- SSH Tasker Plugin — lets you run remote commands over SSH.
- WoL — a Wake‑on‑LAN app with Tasker integration for waking your PC over the network.
- AutoHue — a plugin for controlling Hue and LIFX smart lights.
Launch Tasker, open “Settings → Misc,” and check “Allow external access.” Switch to the Tasks tab and add a new task by tapping the + button, then name the task. Tap + again and choose any of the dozens of supported Tasker actions or the required plugin (which usually needs to be configured first).
Next, launch Fingerprint Scanner Tools, switch on Enable, set Fingerprint action to Execute Tasker task, and for Task to be executed select the task you created earlier. Now, when you touch the fingerprint scanner, the desired task should trigger.
Unfortunately, configuring Tasker is far beyond the scope of this article, so we recommend reading “Using Tasker to the Full” and “Scripting Android with Tasker and AutoTools.”
 |
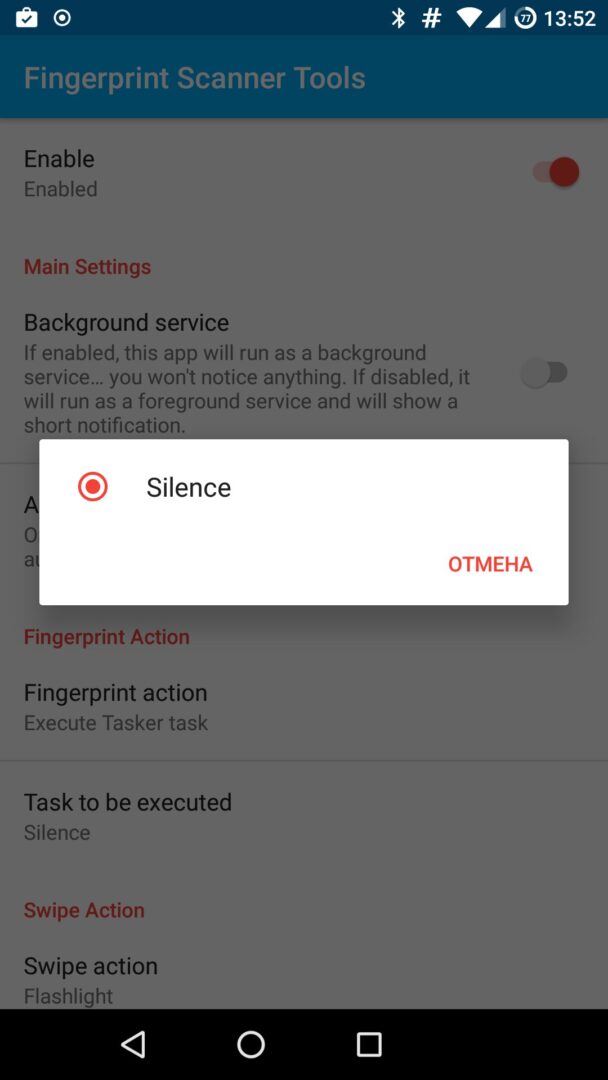 |
| Connecting the fingerprint reader to Tasker | |
Should you trust third‑party apps with your fingerprints?
Chances are this question has crossed your mind. There’s no real cause for concern. Google‑certified smartphones are required to store your fingerprint template in encrypted form inside a hardware-backed Trusted Execution Environment (TEE; on Qualcomm chips this is implemented via TrustZone). So nobody can get at your fingerprint data—unless they’re a very sophisticated attacker.
And second, Android doesn’t let third‑party apps enroll new fingerprints or access the ones already stored. All they can do is invoke the system fingerprint prompt and get a simple yes/no match result. So your fingerprints are well protected not only from attackers but also from apps themselves.
Conclusion
As you’ve seen, the fingerprint scanner can be used not only to unlock your phone but also to trigger many other actions—and with Tasker, the possibilities are practically limitless.
