
Windows & WSL
WSL Host Patcher
As is well known, Windows 10 and 11 allow you to run Linux applications. The system that enables this is called WSL — Windows Subsystem for Linux. WSL (colloquially referred to as “vessel”) has two versions, simply named WSL and WSL 2. The first version was released in 2016 and is now considered outdated. The system underwent a substantial update in 2020 with the release of Windows 10 version 2004, and to avoid confusion, it was named WSL 2. Inside WSL 2 is a Hyper-V virtual machine with resources allocated from the host.
When a process inside WSL 2 starts listening on a TCP port, wslhost. listens on the same port at the host’s 127.0.0.1, effectively proxying it to the host. The issue with this port forwarding is that the port remains inaccessible from outside the host. For example, a web service running on port 8080 within WSL is accessible to the host but is not exposed to the local network.
If you want to access such a service from outside, not just from the machine running WSL, you might find WSL Host Patcher useful. It modifies wslhost. in memory to open connections not on 127.0.0.1, but on 0.0.0.0, thereby listening on the specified port across all interfaces.
Wslgit
Continuing the exploration with WSL, I want to introduce a small utility written in Rust. This tool acts as a bridge by translating all its invocations into corresponding git commands within WSL 2. Why would you need this? Imagine you have a very large Git repository inside WSL, but you are working with a text editor on the host. To make Git work correctly with the code inside the semi-virtual Linux environment, it’s necessary to translate Git calls while adjusting paths to fit within the container. Wslgit does exactly that: it corrects the paths to access host files from the container and runs Git in WSL 2 to carry out the required action. Simple and straightforward.
There are only a few use cases for wslgit, but sometimes it’s absolutely essential.
Clearing vmmem Memory
Speaking of WSL (Windows Subsystem for Linux), let’s address another significant issue that sometimes necessitates restarting an otherwise perfectly functional computer with weeks of uptime. WSL tends to aggressively cache data in RAM but is reluctant to release it when Windows needs that memory. As a result, the vmmem process consumes all available RAM, often leading to a required restart.
The solution to the problem is simple—execute the following command as root in WSL:
# sh -c "echo 3 > /proc/sys/vm/drop_caches"
But there must be a better way. Do you know one? Share in the comments!
Web
TLS Support Check
TLS.support is a quick way to check if your browser supports modern TLS features. The service examines the support for ephemeral keys, the list of available ciphers, session resumption, and several other aspects.

The service allows you to obtain a code for the result of a specific test. This is convenient if you want someone to test the functionality and show you the results.
SSH web client
Once I needed a web terminal. I did some research and found a project called Webshell.
Webshell is essentially a terminal right within your browser window. While it functions similarly to an SSH client, for my purposes, it was sufficient to connect to 127.0.0.1 and get to work. It supports keyboard shortcuts and can run full-screen applications like htop and nano. What more could we need for happiness?
If you have your own server and want the ability to access it via SSH through a browser, this is a great option for you.
The program is installed via Docker:
docker run -d --security-opt seccomp=unconfined -p 8018:80 -e ALLOWED_NETWORKS=0.0.0.0/0 bwsw/webshell

Ots
Need to share a temporary note directly from the terminal? Here’s an equivalent of Privnote (a service for sharing disposable notes that self-destruct after being read) that works straight from the terminal!
Ots is a command-line utility that provides end-to-end encryption and allows you to share secrets in a relatively secure manner.
To install, simply use brew (brew ). However, if you’re a fan of traditional Linux installation methods, brew might not be your approach. Instead, open the terminal and type:
$ curl -L https://github.com/sniptt-official/ots/releases/download/v0.1.0/ots_0.1.0_darwin_amd64.tar.gz -o ots.tar.gz
$ sudo mkdir -p /usr/local/ots-cli
$ sudo tar -C /usr/local/ots-cli -xvf ots.tar.gz
$ sudo ln -sf /usr/local/ots-cli/ots /usr/local/bin/ots
$ rm ots.tar.gz
In addition to this build, versions are also available for ARM64 and even Windows — meaning you can install it on practically anything.
Creating a note couldn’t be easier: just type ots !

By the way, the input data is not displayed as if it were a password, which enhances privacy.
The -x argument allows you to set an expiration date for the note: even if no one opens it, it will self-destruct after the specified time period.
For sharing secret configurations, you can use the standard pipes available in Unix systems:
$ cat secret-keys.json | ots new
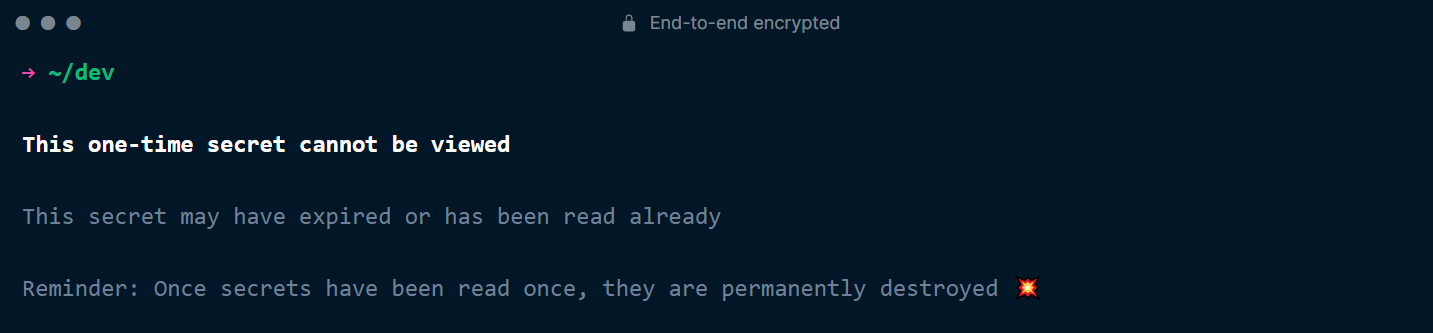
The service offers a web version at ots.sniptt.com, which emulates the ots command within a browser window.


If you try to open the note’s page a second time, you’ll get a denial because the note is no longer there!
Focalboard
I used to use Trello, but then I started looking for a free alternative and found one—it’s called Focalboard. It’s a great self-hosted service developed by the creators of Mattermost (a company Slack alternative). You can install it on your computer or any private server if you require high-level security.

You can install Focalboard on Windows, Linux, and even Mac. While the app can be easily downloaded from the official store for Windows and Mac, the Linux version traditionally requires a slightly longer process: you’ll need to manually download the latest release and extract it using tar . Then, launch focalboard-app/. It’s a bit more involved, but not much more difficult.
For those looking to deploy Focalboard on their own server, it can be done with a single command:
docker run -it -p 8091:8000 mattermost/focalboard
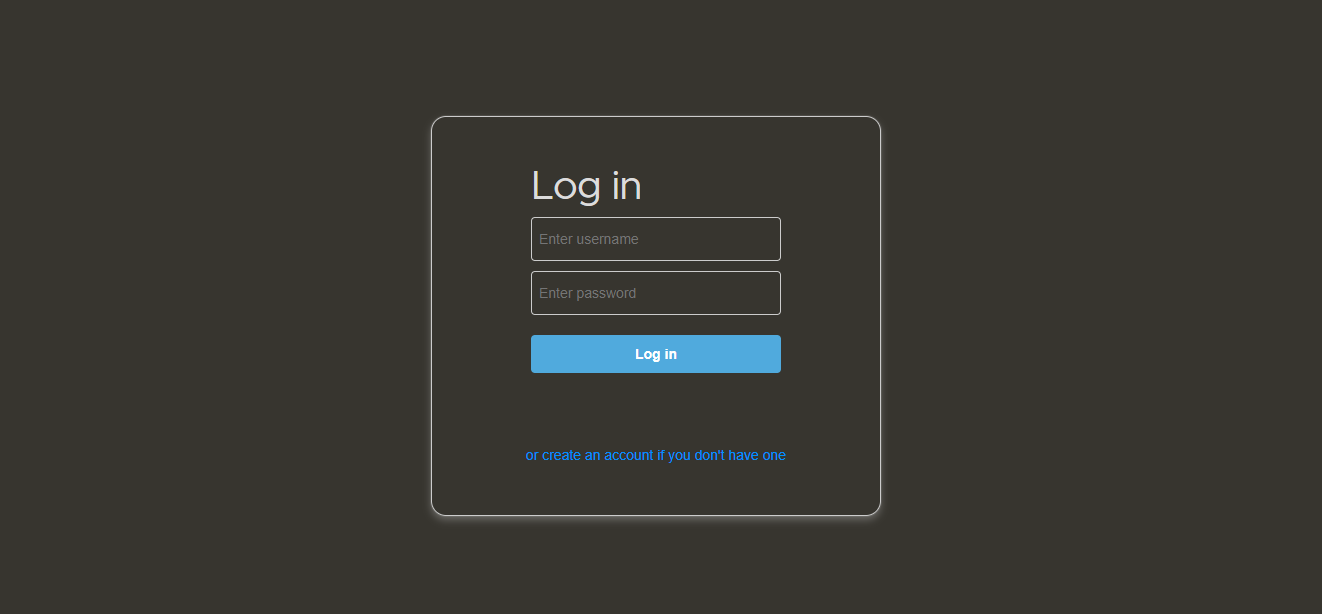
After installation, go to your-ip:, and you will see a login form (as shown in the screenshot below). Here, you’ll need to create an account (click the create button at the bottom), and you’ll access the same Focalboard interface, but through a browser. Also, note that there is no need to verify any registration information you provide.
FPS Check
Sometimes, it’s necessary to determine how many frames per second (FPS) a screen can display. More and more manufacturers are touting refresh rates as a key feature of their products, making it intriguing to test them out.
By using the TestUfo website, you can determine whether your monitor truly delivers the advertised refresh rate. The test begins as soon as the page loads.
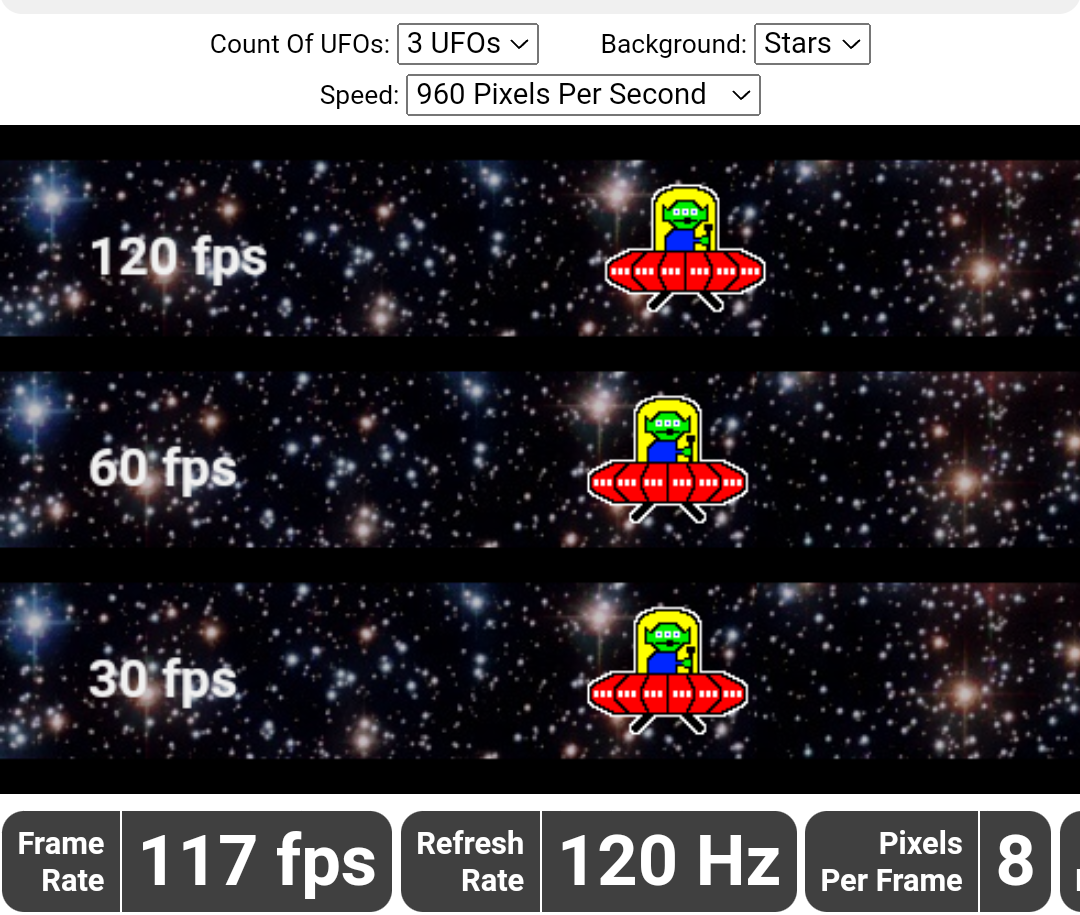
In the middle of the page, there are tracks displayed with different frame rates. The top track has the highest frame rate, while the bottom one has the lowest.
In addition to the UFO FPS test, the site offers around thirty other tests for various scenarios: from checking for PWM (Pulse Width Modulation) to measuring browser graphics rendering timings, and even a video game simulation. I found it quite interesting to try them out.
Canvas Defender
Browser fingerprints are widely used by websites to track visitors and their behavior. Each browser is assigned a unique identifier, which is linked to a wealth of information about the browser’s settings and capabilities.
One method of creating such an identifier is by using the HTML < tag. The extension Canvas Fingerprint Defender conceals the true fingerprint obtained through this method. It doesn’t block this type of tracking but adds random noise to the fingerprint. As a result, the fingerprint becomes useless for tracking purposes. It’s important to understand that this does not protect against all other tracking methods, so it’s too early to retire other protective solutions.
The fingerprint is updated every time the page is refreshed. The plugin requires no configuration and starts working immediately after installation. It is available for Chrome, Firefox, Microsoft Edge, and Opera.
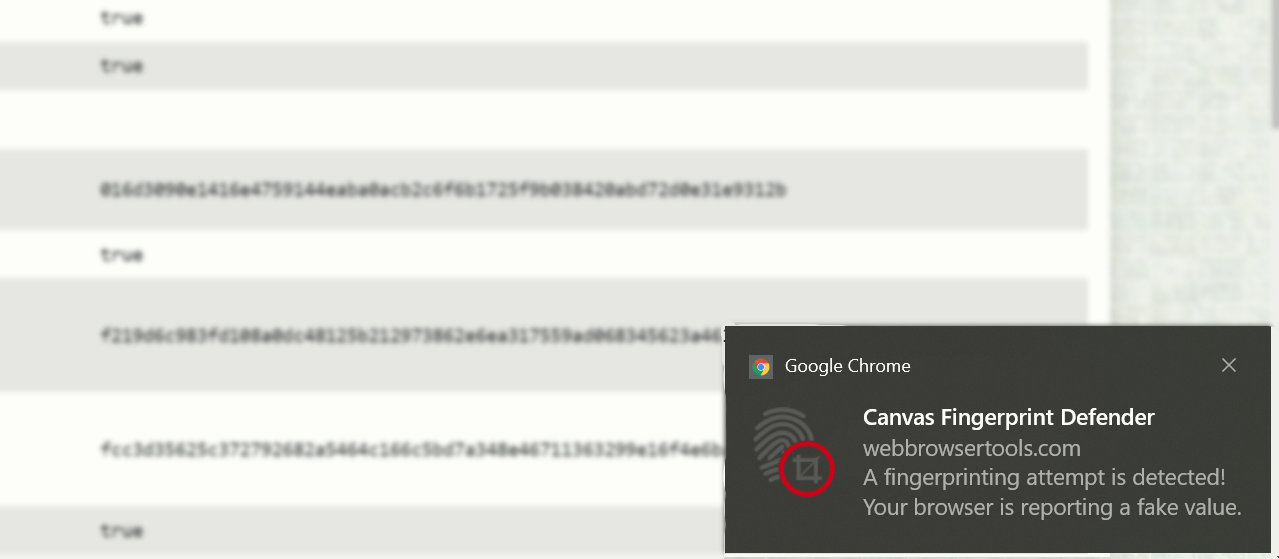
To test the extension, I used a test on WebBrowserTools.com. With each page reload, the fingerprints are indeed different.

Whenever a tracking attempt is detected, the extension sends a notification.
Uptime Kuma
Recently, I needed to set up a simple monitoring solution for several websites across different subdomains. As my needs expanded, I wanted to add a couple of network daemons to the mix. I thought Zabbix might be a bit too heavyweight for this purpose, but a lightweight container that requires minimal configuration was just what I needed!
So, I searched and found a more visually appealing alternative. Meet Uptime Kuma — a simple self-hosted tool for creating pages that allow you to monitor service uptime without the need for detailed analysis of system metrics on the monitored machines.

There are several ways to install it. The first and simplest is by using the interactive installer:
curl -o kuma_install.sh http://git.kuma.pet/install.sh && sudo bash kuma_install.sh
The second method I used requires Docker:
docker volume create uptime-kuma
docker run -d --restart=always -p 3001:3001 -v uptime-kuma:/app/data --name uptime-kuma louislam/uptime-kuma:1
For those who already have Node.js installed and wish to do everything manually, there is a third method:
npm install npm -g
git clone https://github.com/louislam/uptime-kuma.git
cd uptime-kuma
npm run setup
# Simple run for testing
node server/server.js
# Continuous deployment
# If PM2 is not installed, use "npm install pm2 -g" to install it
pm2 start server/server.js --name uptime-kuma
In all these cases, there’s a small problem: if you’re using a reverse proxy like nginx, as I do, Uptime Kuma won’t work because it requires full WebSocket support. This can be fixed for nginx as follows:
server {
         listen 443 ssl http2;
         server_name YOUR_DOMAIN_HERE;
         ssl_certificate /etc/nginx/certs/upmonitor.crt;
         ssl_certificate_key /etc/nginx/certs/upmonitor.key;
         location / {
                 proxy_set_header   X-Real-IP $remote_addr;
                 proxy_set_header   X-Forwarded-For $proxy_add_x_forwarded_for;
                 proxy_pass http://127.0.0.1:3001/;
                 proxy_http_version 1.1;
                 proxy_set_header   Upgrade $http_upgrade;
                 proxy_set_header   Connection "upgrade";
         }
 }
And for those whose server is an old Android smartphone, here’s method number four. You need to download the latest version of Termux, but not from the Play Store, where it hasn’t been updated for a long time. Instead, get it from F-Droid. Then, launch it and run the following commands:
pkg upgrade
pkg install clang make python nodejs-lts binutils git
npm install npm@6 -g
git clone https://github.com/louislam/uptime-kuma.git
cd uptime-kuma
npm run setup
node server/server.js
Just remember that Android tends to close apps running in the background quite often.
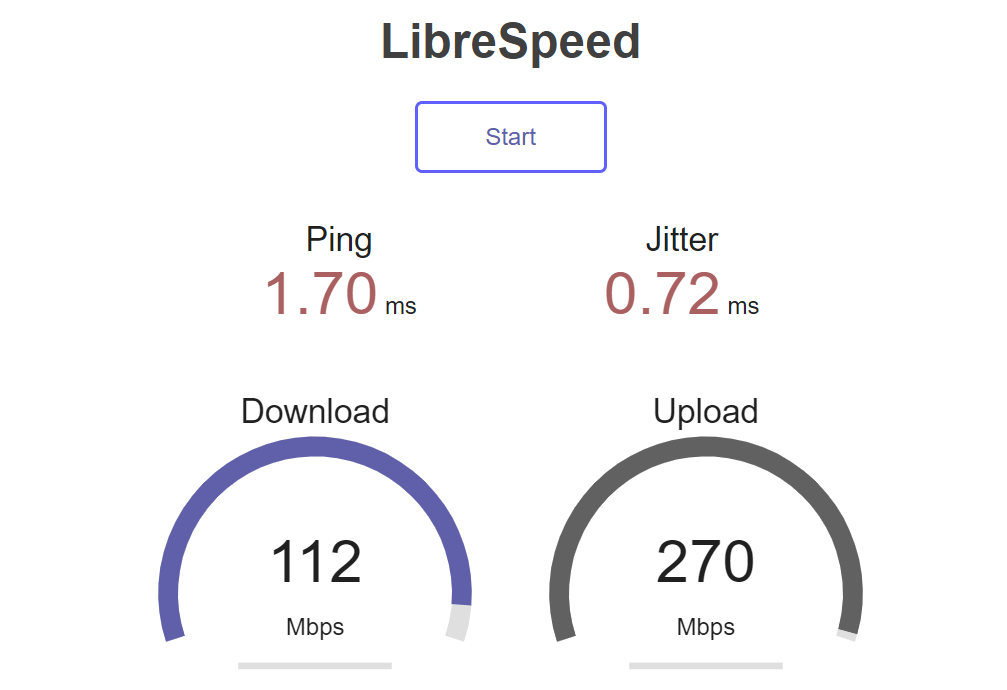
LibreSpeed
We all know and use speedtest.net. However, there are cases where it may not be suitable, such as if you are in a highly secure government agency where access to the uncontrolled internet is strictly monitored.
For such cases, keep LibreSpeed handy—it’s the simplest script for setting up speed testing on a server. It can be installed with a single command using Docker:
docker run -e MODE=standalone -p 8080:80 -it adolfintel/speedtest
And that’s basically it. It just works!
Console
Reclaiming Space from Deleted Files Without Restarting the Process
As we know, not all processes close file descriptors (references to a file on disk) even after the file is deleted. In such cases, du won’t find these files, but df will still show that space is being used.
If you’re not sure if this applies to you, you can check by running lsof .
The simplest way to solve the problem is to simply restart the process. However, if that isn’t possible, there is another option.
- Identifying deleted files:
- Clearing file(s):
Quickemu
The Quickemu project is designed to simplify the creation of desktop virtual machines. Now, there’s no need to hunt down a distribution, set it up in a virtual environment (which often requires configuration beforehand), configure the guest OS, and only then start using it. Instead, you just need to run two commands to get a ready-to-use system.
You can install it on Ubuntu with just a couple of commands:
sudo apt-add-repository ppa:flexiondotorg/quickemu
sudo apt update
sudo apt install quickemu
For other distributions, simply clone the repository to your system.
But the adventure doesn’t end there: you’ll still need to install a long list of dependencies.
- QEMU (version 6.0.0 or later) with GTK, SDL, SPICE, and VirtFS support.
- bash (version 4.0 or later).
- Coreutils.
- EDK II.
- grep.
- jq.
- Linux Standard Base (LSB).
- procps.
- Python 3.
- macrecovery.
- mkisofs.
- usbutils.
- util-linux.
- sed.
- spicy.
- swtpm.
- wget.
- xdg-user-dirs.
- xrandr.
- zsync.
Next, you can launch any distribution with just two commands:
quickget ubuntu focal
quickemu --vm ubuntu-focal.conf
You can just as easily install macOS, for example:
quickget macos catalina
quickemu --vm macos-catalina.conf
In addition to Catalina, high-sierra, mojave, big-sur, and monterey are also supported. For more details on running macOS, check the repository.
You can even install the newest Windows 11!
quickget windows 11
quickemu --vm windows-11.conf
You can easily modify virtual machine configurations by adding lines to the config files. The following configuration will create a virtual machine equipped with six CPU cores, 24 GB of RAM, and a 640 GB disk:
cpu_cores="6"ram="24G"disk_size="640G"You can even forward ports:
port_forwards=("5050:5050" "8888:80")Overall, it’s an excellent tool for easily deploying any number of virtual machines. I highly recommend giving it a try!
Miscellaneous Tools
FaPro
If you suddenly need a honeypot, take a look at Fake Protocol Server. It can mimic various server software and handle requests using the appropriate protocols.
The project’s GitHub page hosts several videos that effectively demonstrate the utility’s capabilities. I’ll share some of them here so you don’t have to spend time reading the official documentation.


There’s just one small issue: the source code isn’t available, only the binary in the archive, which raises some questions. In the issues section, people have repeatedly asked about the source code, but the author mentioned that the code is still too raw.
132 e’s
e30e/e98e — This is a playful repository on GitHub filled with a sequence of the letter ‘e’.

Age
We all know how to compress a file or pack multiple files into a single container. But what about encrypting these containers? For this purpose, there’s a utility called age—a modern and fast file encryption tool written in Go.
It is available in the repositories of all popular distributions and can be installed by the package name age. If you’re using Windows, you can download the latest version from the link in the project’s official binary repository.
In age, everything is based on keys rather than passwords. You can generate a key using age-keygen or use an existing SSH key.
Let’s start by generating a key:
age-keygen -o age.key
Public key: age1ql3z7hjy54pw3hyww5ayyfg7zqgvc7w3j2elw8zmrj2kg5sfn9aqmcac8p
Now, let’s encrypt something:
tar cvz ~/data | age -r age1ql3z7hjy54pw3hyww5ayyfg7zqgvc7w3j2elw8zmrj2kg5sfn9aqmcac8p > data.tar.gz.age
And let’s decrypt:
age --decrypt -i age.key data.tar.gz.age > data.tar.gz
The utility supports encryption for multiple recipients, password-based encryption (with some caveats), and more. For further details, refer to the repository’s readme.
Privatezilla
Privatezilla is a comprehensive tool for enhancing privacy on Windows 10. Although Windows 11 has already been released, Windows 10 will remain relevant for quite some time.
www
For Windows 11, try using the utility ThisIsWin11 from the same developer.
So, what can this all-in-one tool do:
- Remove certain pre-installed applications;
- Uninstall OneDrive;
- Unpin items from the Start menu;
- Disable telemetry for third-party applications (such as Office, Firefox, Dropbox);
- Remove Windows Defender;
- Block telemetry through the firewall and the hosts file.
The creator of the utility strongly advises against removing the firewall—it’s integrated for a reason. It’s a sensible recommendation, especially if you aren’t planning to use an alternative solution.
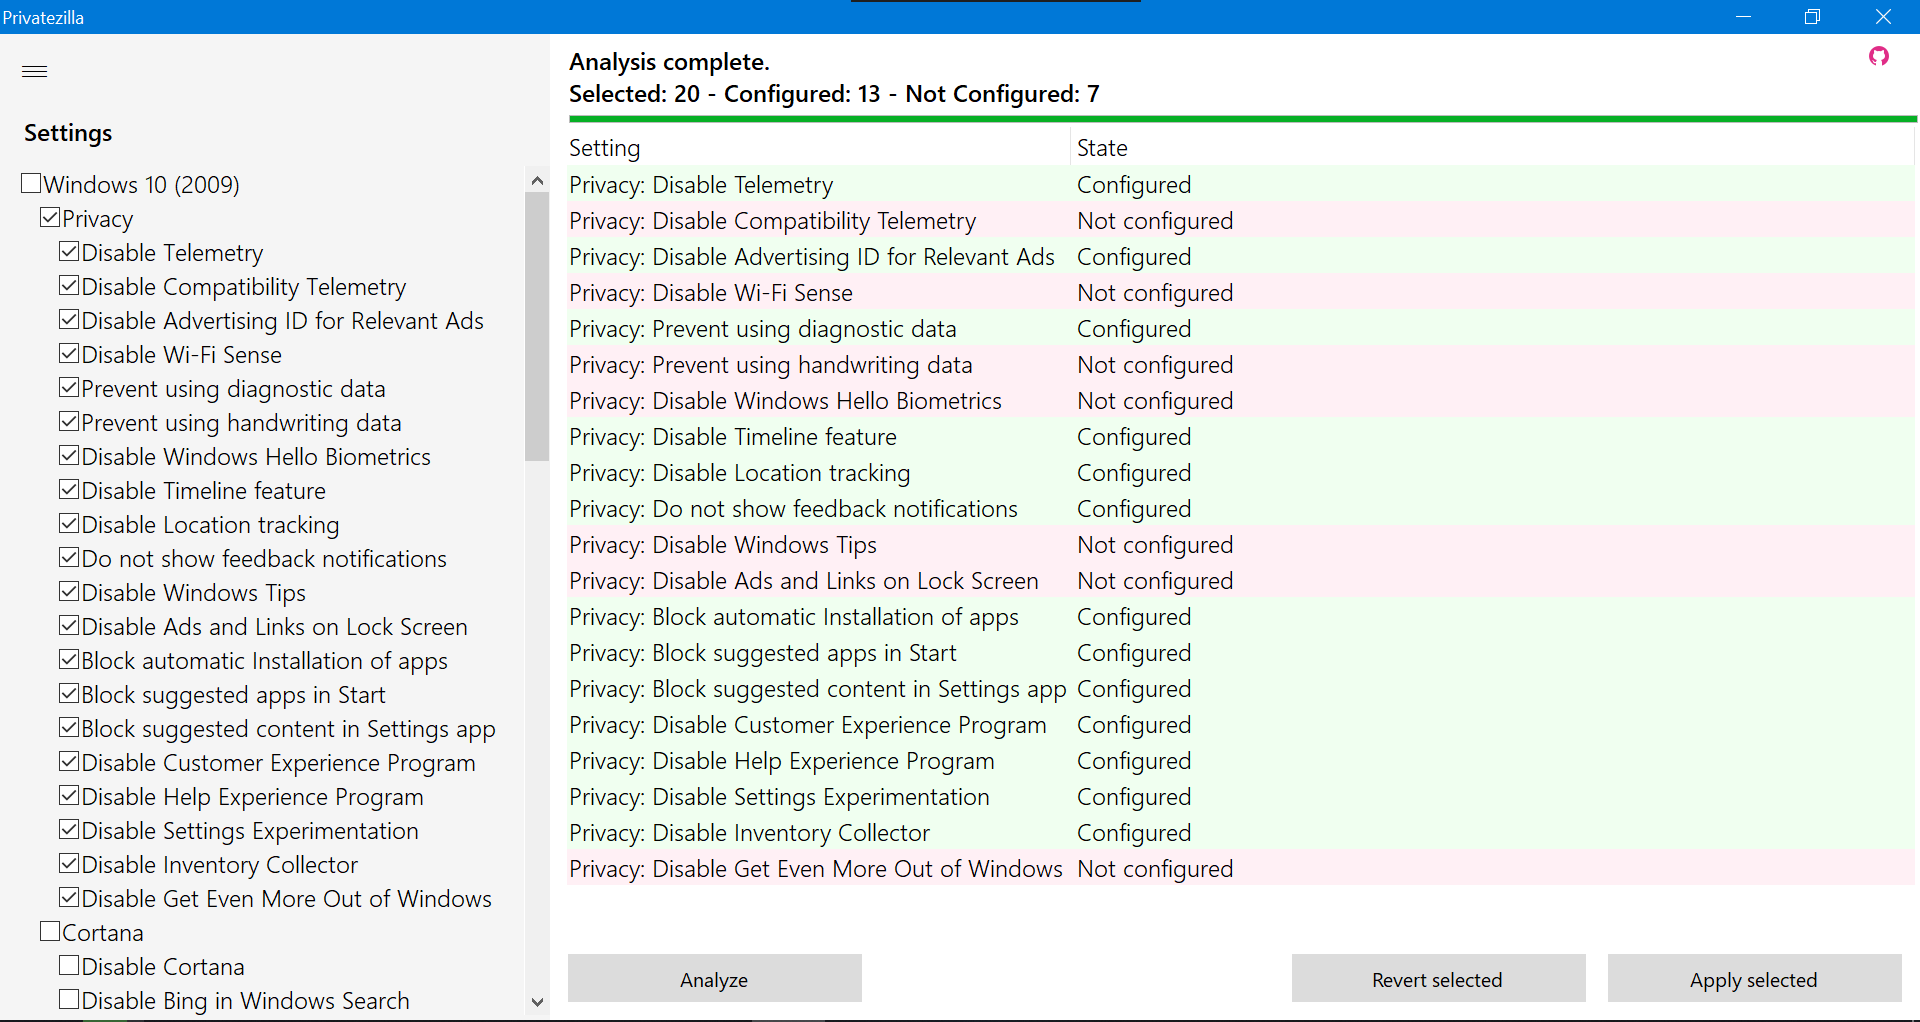
The program is capable of analyzing existing configurations and avoids performing unnecessary actions.
Takeaways
I’m sure you’ve discovered some new useful tool for yourself. If we haven’t written about your favorite utility yet, let us know in the comments, and we might include it in our next roundup. Enjoy!