
There’s no shortage of so‑called private messengers, but the security of some of them is questionable. Let’s immediately rule out WhatsApp, Viber, Skype, and social networks. Why? Perhaps the best explanation is a tweet from Telegram’s founder, Pavel Durov.

That leaves us with the following list of well-known messaging apps that are generally considered secure:
- Telegram;
- Signal;
- Threema;
- Wickr.
There are some lesser-known options too, but they all share the same drawback: they’re tied to a phone number. Sure, you could jump through hoops and buy a virtual SIM, but that’s inconvenient—and you’d also need to think about keeping the payment anonymous.
The Anonymity Handbook
The articles in this series are free to read and available to everyone. We believe everyone has the right to basic knowledge about protecting their data.
Other articles in the series:
- [How authentication tokens work and how they differ from passwords
- Email encryption: theory and practice
- Traffic encryption and protection: methods and software choices
- Building a “spy” USB stick with the Tails secure OS
If this material is old hat to you—great! But you can do a good deed by sharing the link with your friends, acquaintances, and family who are less tech-savvy.
]Let’s outline the criteria a messaging app needs to meet to be genuinely anonymous. Here’s the list I came up with.
- Does not require a phone number.
- Requires no personal data.
- Do not skip encryption or use unsecured chats.
- There should be some evidence of privacy—at minimum, signs like being blocked in certain countries.
Since most modern messengers fall short in one way or another, the best option for secure communication remains Jabber—it’s well known that even NSA specialists have used it for messaging.
A Few Words on Privacy
The word “privacy” typically refers to two rather different things. The first is protecting your data from government surveillance and corporate exploitation. The second is safeguarding against targeted eavesdropping by third parties (for example, for blackmail or industrial espionage). Both matter, but in the second case there are no absolute guarantees. You can anticipate technical deanonymization methods (for instance, any messenger with end-to-end encryption will protect against MitM), but there are others as well. A seasoned adversary will try to leverage every scrap of information you reveal, not to mention social engineering.
To make Jabber truly secure, it needs to be configured properly—and that’s exactly what we’re about to do. For clarity, I’ve broken the process down into several steps.
Step 1: Download the client
First, we need to download the client itself. For example, I’ll use Pidgin — it’s cross-platform and easy to set up.
We’ll also need the OTR (Off-the-Record Messaging) plugin, which provides encryption. You can download the installer for the Windows version of Pidgin or the source code to build on Linux from the project’s website.
The first time you run Pidgin, it will prompt you to sign in to an account, but we’ll hold off for now. The thing is, registration would happen from our real IP address, and we’d prefer to keep that hidden even from the service owners (in case they’re a bit too eager to hand that info to anyone who asks). You can use any type of proxy for this, but for extra assurance we’ll use Tor.
Step 2: Route traffic through Tor
If you have Tor Browser installed, you can set up traffic proxying directly from the sign-up window on the Proxy tab.
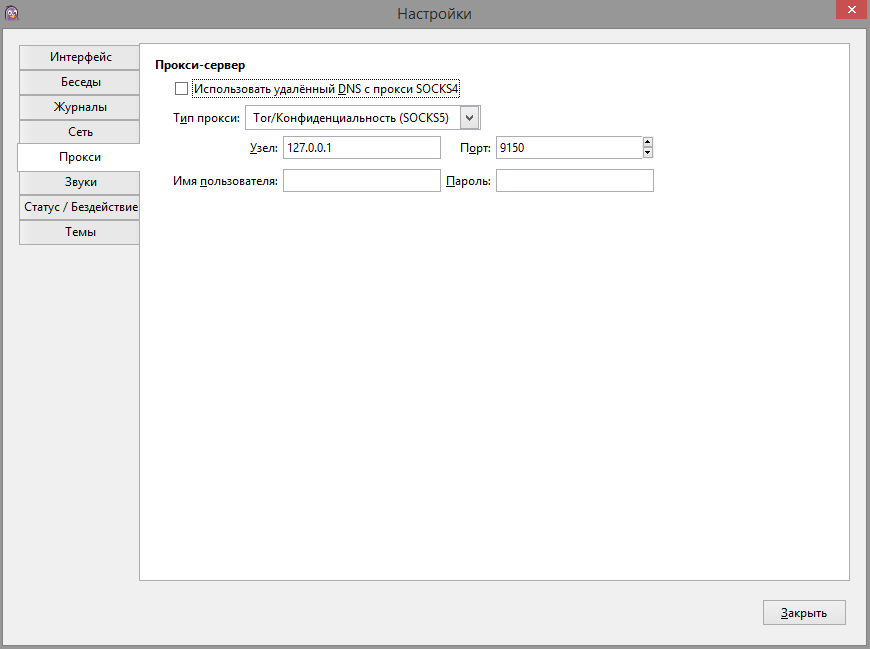
After launching Tor Browser and your Jabber client, open the Tools menu and select Settings, then go to the Proxy section. Check the box for “Use remote DNS with SOCKS4 proxy,” and set “Proxy type” to “Tor/Privacy (SOCKS5).”
In the “Host” field, enter 127.0.0.1 and use port 9150. That’s Tor’s default port (though you’ll sometimes see 9050 as well).
As you’ve probably guessed, Tor Browser needs to be running with its proxy port listening the entire time you’re chatting. Start it before launching Pidgin, so Pidgin won’t complain about the lack of a server connection.

Pidgin traffic is now routed through Tor, so we can move on to registration. First, we need to choose the server where we want to create an account. You could set up your own server, of course, but staying anonymous would be even harder that way.
Step 3: Choose a server
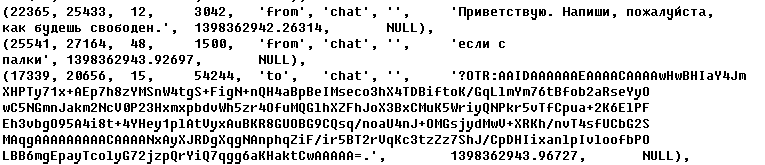
There are countless servers out there, and many owners claim they don’t keep logs. But there’s no way to verify that. If you’re wondering what a leaked log dump looks like, check the image.
When choosing a server, the first thing to consider is the country it’s located in. The EU, the US, and your home country are generally poor choices. Ideally, pick a server in a jurisdiction where collecting logs is prohibited by law. Here’s a short list of servers trusted by many hackers across the CIS and abroad. But note that some of these servers are located in the US.
| Server | Country | Notes | Logs | Onion mirror |
|---|---|---|---|---|
| securejabber.me | Germany | Accounts may be suspended upon request from German authorities | No | giyvshdnojeivkom.onion |
| jabber.calyxinstitute.org | Netherlands | No | ijeeynrc6x2uy5ob.onion | |
| sj.ms | Switzerland | No | No | |
| swissjabber.ch | Switzerland | No | No | |
| xmpp.jp | Japan | No | No | |
| wallstreetjabber.biz | US | Formerly securetalks.biz | No | wsjabberhzuots2e.onion |
| thesecure.biz | Singapore | No | No | |
| exploit.im | France | No | No | |
| fuckav.in | France | Has a Cyrillic character filter | No | No |
| jabber.otr.im | Canada | Server by the creators of OTR | No | 5rgdtlawqkcplz75.onion |
| jabber.ccc.de | Austria | No | okj7xc6j2szr2y75.onion | |
| xmpp.rows.io | US | No | yz6yiv2hxyagvwy6.onion | |
| jabber.cryptoparty.is | Romania | No | cryjabkbdljzohnp.onion | |
| neko.im | Netherlands | Previously based in Norway | No | No |
| riseup.net | US | No | 4cjw6cwpeaeppfqz.onion |
Details Matter
Take picking a handle, for example. It seems trivial, but it’s where a lot of people give themselves away. You might not remember you’ve used it somewhere else, but Google remembers everything.
Another subtle point: it’s best not to use handles with characters that have Cyrillic look‑alikes. Not every server has filters to block these tricks, so you could end up with a “twin” whose name looks identical but uses different character codes.
Step 4: Register on the server
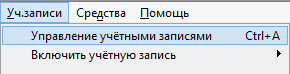
Once you’ve decided on a username and password, you can start registering on the server. Open the client and go to the “Accounts” tab, then select “Manage Accounts” (or just press Ctrl+A).
In the window that appears, click «Добавить» — this will open the registration and sign-in window.

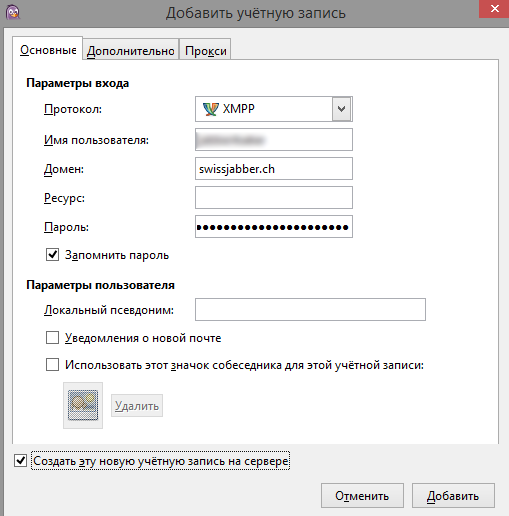
We need to do the following:
- Select XMPP as the protocol from the dropdown.
- Enter your desired username.
- Enter the domain of the server where you plan to create the account.
- You can leave the Resource field blank—it doesn’t affect registration. It simply indicates which device this login is tied to; your contacts’ rosters will show which resource you used.
- Enter your desired password.
- Choose whether to enable “Remember password” (I recommend leaving it off and not storing the password anywhere except in your head—if someone gains access to your computer, the password will already be filled in).
- Be sure to check “Create a new account on the server” (unless you’ve already registered before).
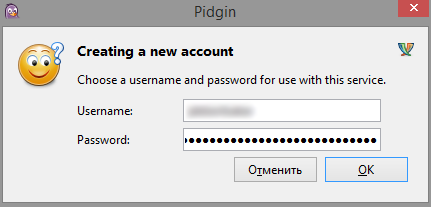
After you’ve entered all the data, a separate user registration window may appear. You’ll need to enter everything again and click OK.
Step 5: Enable OTR
The account is ready, so we can proceed to configuring encryption. I recommend one of two options: PGP or OTR. For this example I’ll go with OTR—it provides strong security and is easy to set up. However, it doesn’t encrypt messages written to logs, so for maximum security it’s best to disable logging. On the server side, it looks roughly like this.

Since we’ve already downloaded and installed the plugin, we can enable it from the client. Open Pidgin, click “Tools,” and select “Plugins.”
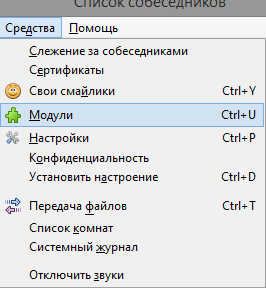
Enable the Off-the-Record (OTR) plugin.
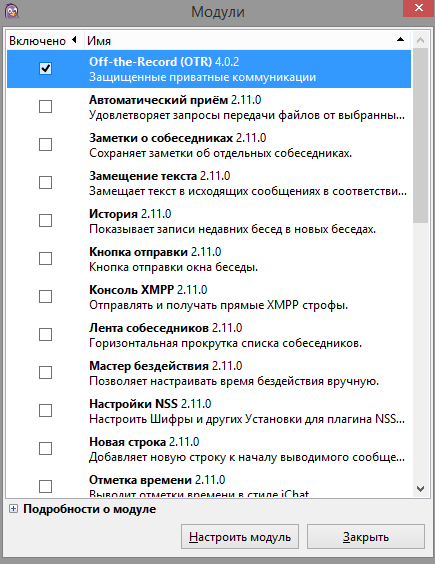
Next, we need to configure this module. To do that, go to the very bottom of the modules list and click “Configure Module.”
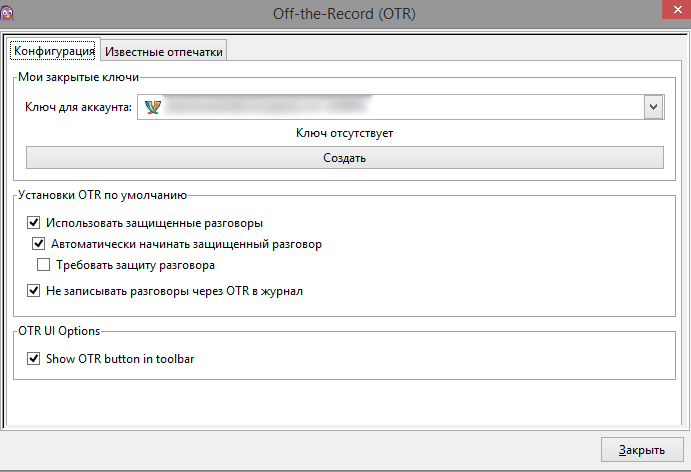
In the module settings window, the first thing we need to do is generate a key for our account. Select the account you want to create the key for, and click Create. A key generation window will appear.
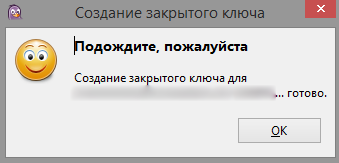
Keys are generated quickly, but this step may pause briefly. Don’t worry—Pidgin hasn’t frozen; it’s just working. When it’s done, click OK and you’ll see your 40-character fingerprint (five groups of eight).
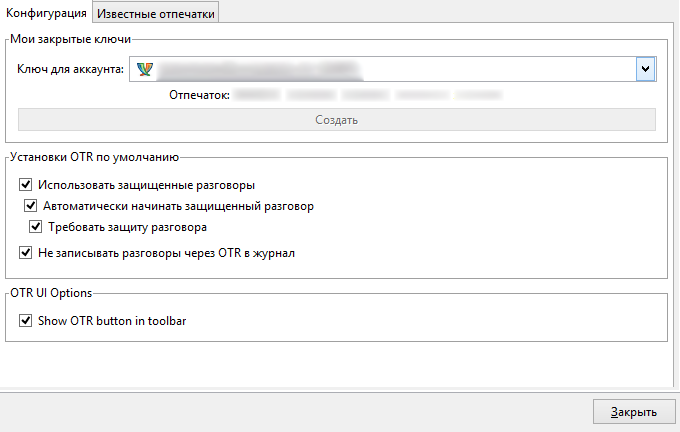
Now check the following boxes:
- Use secure chats
- Automatically start a secure chat
- Require encryption for chats
- Don’t log OTR chats
Logging is entirely optional. Turn it on if you need it; otherwise remember that anyone who gains remote or physical access to your computer will be able to read it.
And the last checkbox is Show Otr button in toolbar. It simply adds a toolbar button for OTR chat encryption and authenticating your contact.

Step 6: Verify your contact and secure the chat
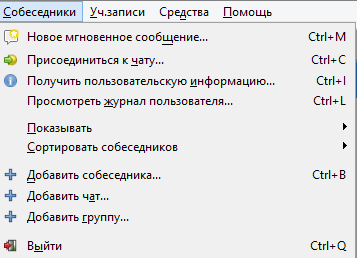
Essentially, you already have a secure communication channel. To add a contact, tap “Contacts” and select “Add contact.”
Choosing a conversation partner.
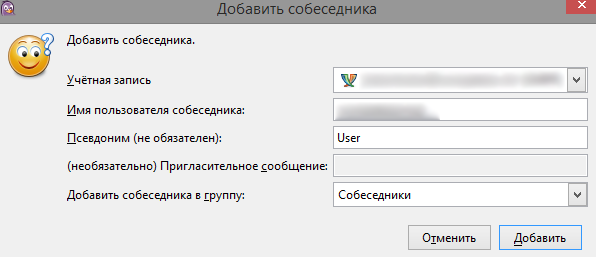
Then click “Add.”
Your contact will receive a request, and once they confirm it, you can start chatting. You can view the security status directly in the chat window. If encryption isn’t enabled, it will say “Not secure.” Click or tap it to open a menu.
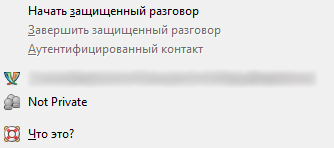
If you start an encrypted conversation, the label will change to “Unverified”—meaning the chat is protected, but you still need to authenticate the other party to be sure they are who they claim to be.
There are three ways to verify the identity of the other party.
- Question-and-answer challenge. You ask the other party a question, and they must reply with the correct answer.
- Shared secret.
- Manual key verification. Use this when the key needs to be exchanged out-of-band rather than via Jabber.
Once the other party is authenticated, the button will finally display a green “Protected” label.
Step 7: Set up the mobile client
There are Jabber (XMPP) clients with encryption support for mobile devices too. For example, ChatSecure for iOS and for Android. Just a heads-up: the Android app isn’t listed on the official website and requests quite a lot of permissions, so use it at your own risk.
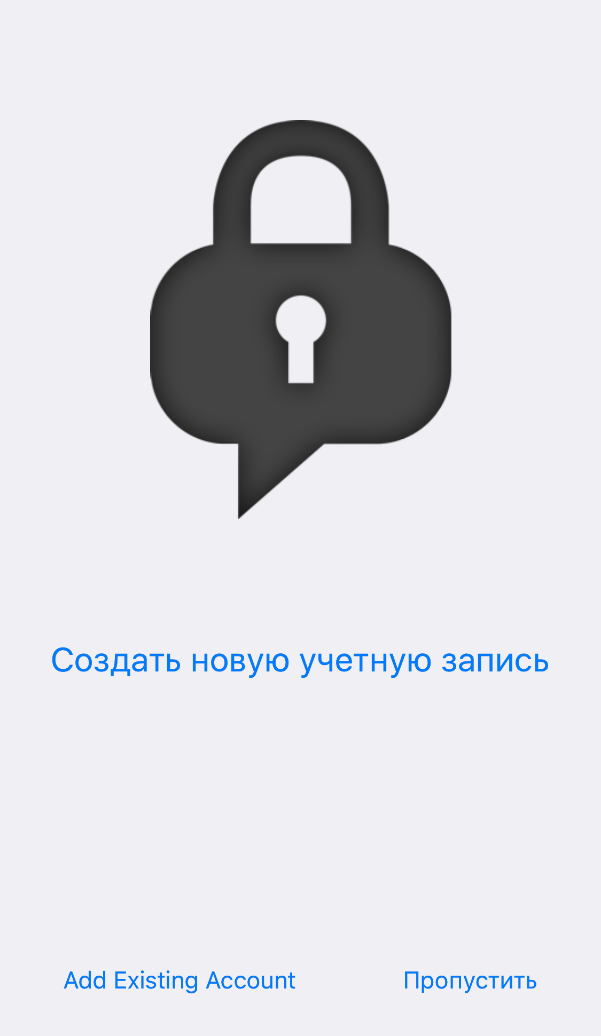
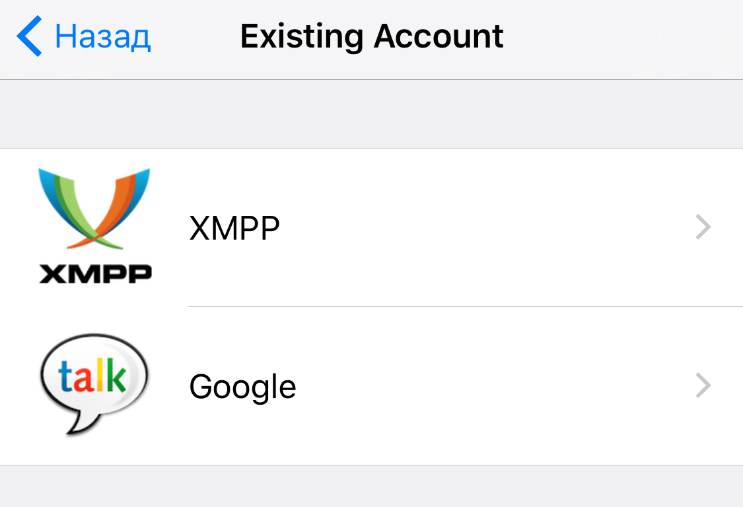
Sign-up in the app works the same as on the computer. If you already have an account, instead of creating a new one, choose “Existing Account” on the home screen.
Next, choose XMPP.
Then enter your details.
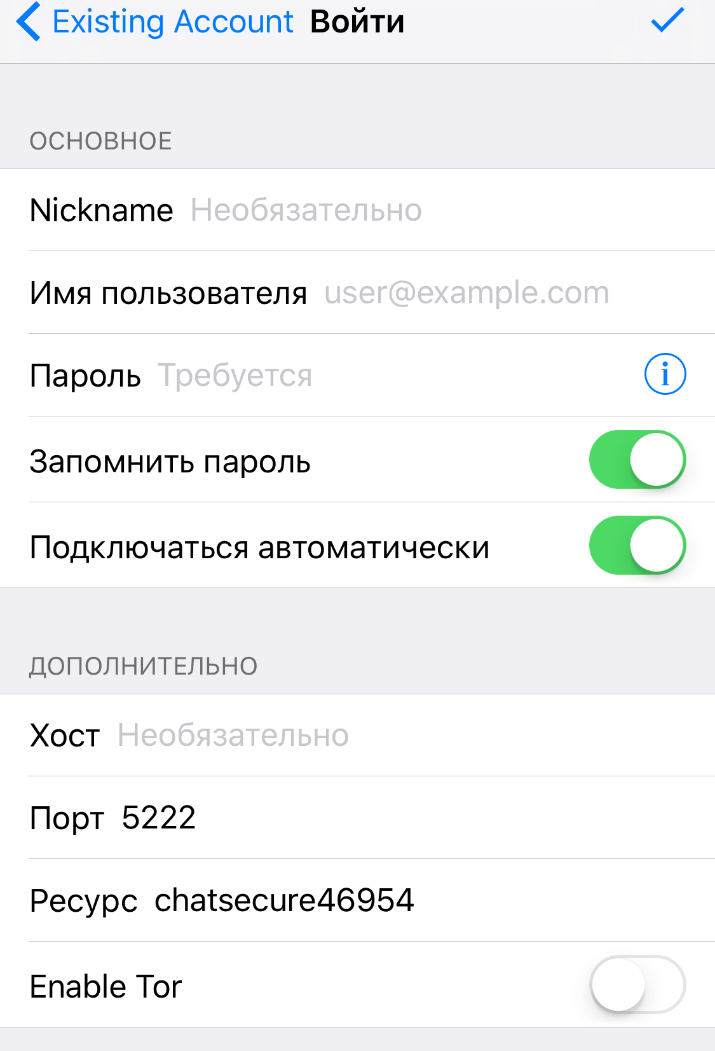
If you want to set up a new account, tap “Create New Account” and fill in the details. A major advantage of ChatSecure is that it can route its traffic through Tor with no extra configuration.
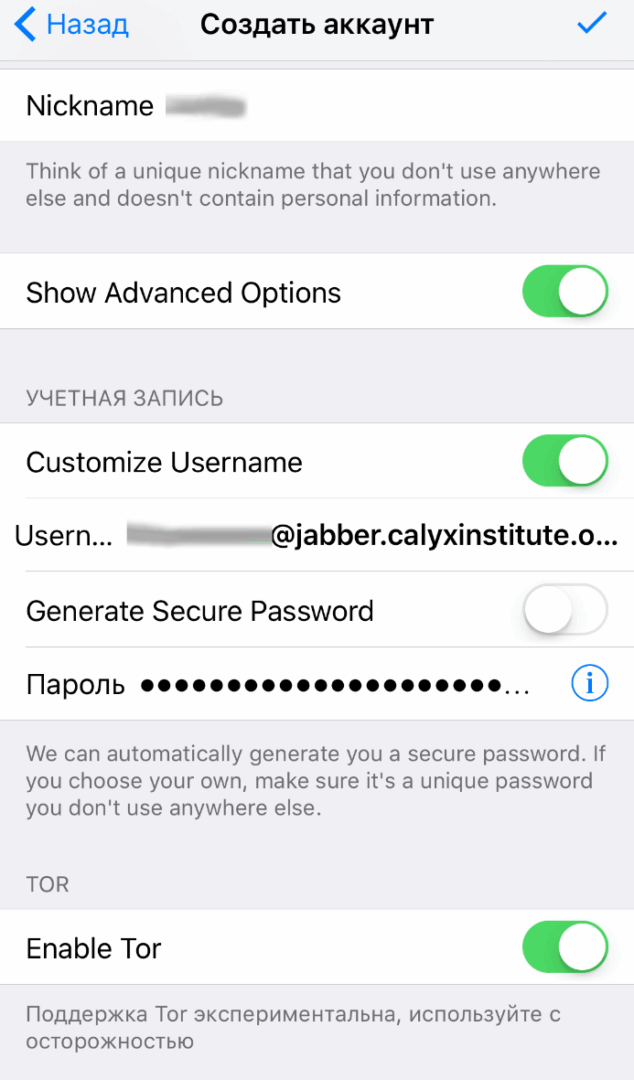
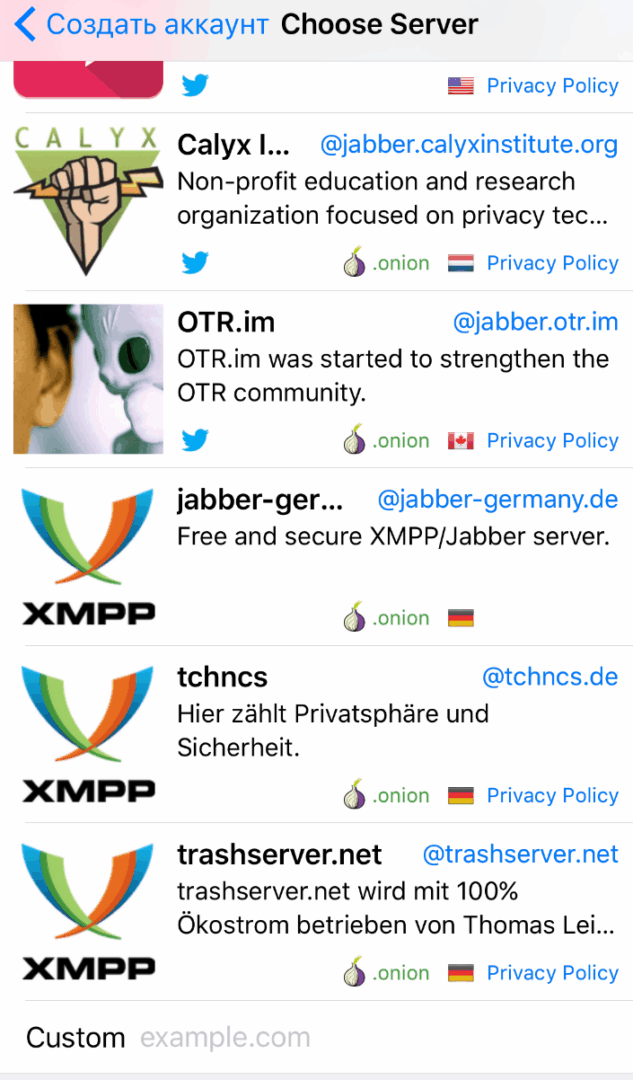
ChatSecure also has a built-in list of private servers—pick the one you like, or, if you’ve already chosen one before, enter its address in the Custom field at the very bottom.
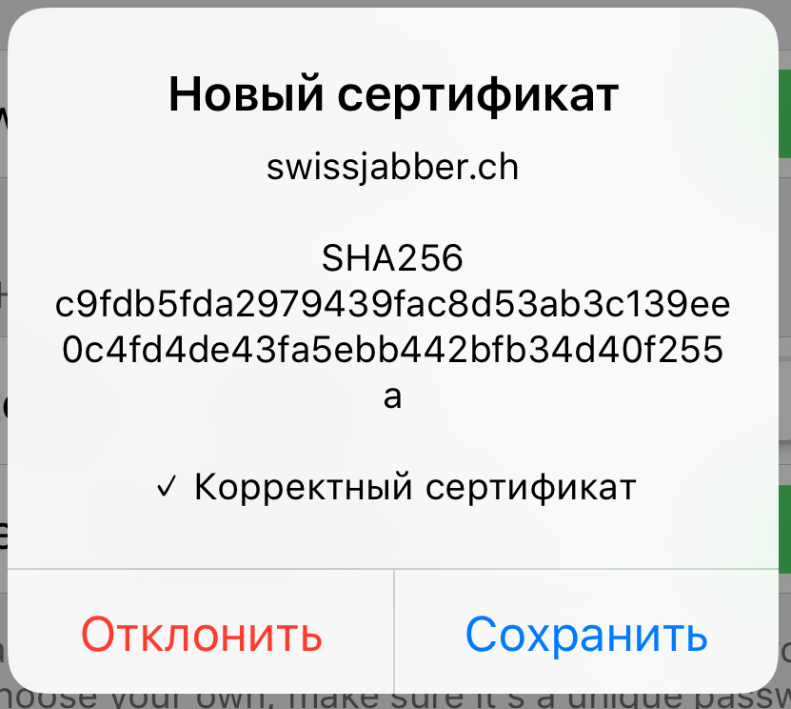
At the end, you’ll be prompted to save the certificate. Save it and wait for the registration to finish.
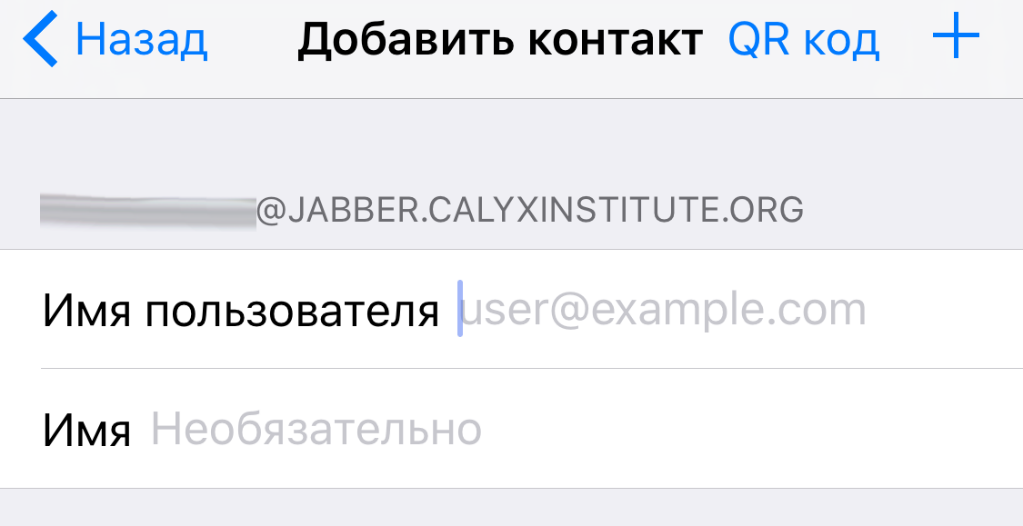
Now simply click the new message icon and, in the menu that appears, select “Add contact.”
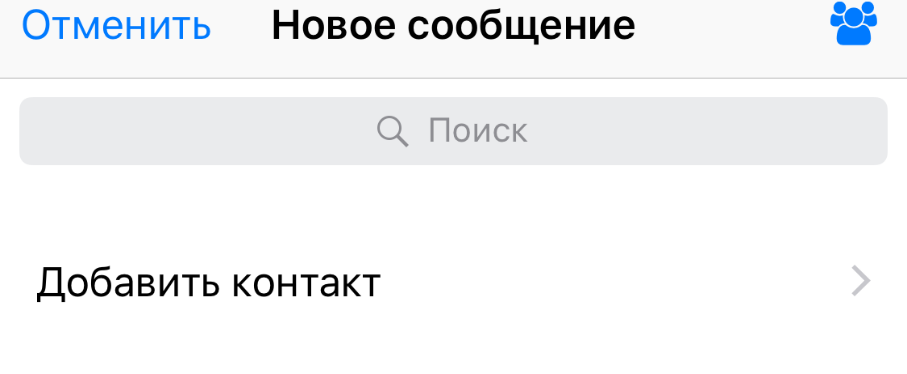
Enter the contact address.
And authenticate it using one of the methods we’ve already covered.
U’r awesome and private 🙂
Congratulations—you now know how to set up a communications channel that’s reasonably well protected against tracking and interception! However, to achieve top-tier privacy, you’ll need to go further: roll up your sleeves and deploy your own server, and replace OTR with PGP. But that’s a topic for another time.