ADB
Let’s start with the go-to tool for advanced Android users: ADB. We’ve written about it many times, but it’s worth repeating. ADB stands for Android Debug Bridge, and it’s essentially a way to control your smartphone from a computer. With ADB, you can install and run apps, push and pull files to and from the device, and handle a wide range of other tasks.
To set up ADB on Windows you’d need to install drivers and reboot the machine; on Linux it just works. Just enable ADB on your phone (Settings → Developer options → USB debugging) and install the adb package on your system:
// Ubuntu/Debian/Mint
$ sudo apt-get install adb
// Arch Linux
$ sudo pacman -S android-tools android-udev
Next, connect your smartphone to your computer and start issuing commands.
Listing connected devices:
$ adb devices
Installing an APK on a connected device:
$ adb install file.apk
Transferring a file to the device:
$ adb push file /sdcard/
Downloading a file from the device:
$ adb pull /sdcard/DCIM/Camera/photo.jpg photo.jpg
Capture a screenshot and download it to your computer:
$ adb shell screencap /sdcard/screenshot.png
$ adb pull /sdcard/screenshot.png
$ adb shell rm /sdcard/screenshot.png
Power button press:
$ adb shell input keyevent 26
And of course, you can use ADB to access the smartphone’s command line:
$ adb shell
It’s worth noting that ADB can work not only over USB but also over Wi‑Fi. However, for this you’ll need root access on the device and the WiFi ADB app. Launch the app, toggle it on, and connect to the phone using adb with the IP address shown in the app:
$ adb connect IP address
warning
On some distributions, ADB may not work without root privileges. This happens because the distro is missing the necessary udev rules. You’ll need to either install them as a separate package (android-udev on Arch Linux) or configure udev manually.
Adb-sync
You can use ADB to sync files between devices (there’s even a sync option), but it’s more convenient to use the adb-sync script. Just download it and run it. For example, here’s how you can sync the music on your device and your PC:
$ adb-sync ~/Music/ /sdcard/Music
And here’s how to perform the same sync, but also delete files that were removed on the PC:
$ adb-sync --delete ~/Music/ /sdcard/Music
An easy way to download files to your computer (reverse sync):
$ adb-sync --reverse /sdcard/Download/ ~/Downloads
Adbfs
Another handy way to access files on a device via ADB is to use adbfs, a pseudo-filesystem that lets you mount the device as if it were a USB drive or any other storage volume.
The easiest way to install adbfs is on Arch Linux. It’s available in the AUR, so you only need to run a single command:
$ yaourt -S adbfs-rootless-git
On Ubuntu and other distributions, you’ll need to build adbfs manually:
$ sudo apt-get install libfuse-dev android-tools-adb
$ git clone git://github.com/spion/adbfs-rootless.git
$ cd adbfs-rootless
$ make
Next, you can mount the file system:
$ mkdir ~/Android
$ adbfs ~/Android
To disable:
$ fusermount -u ~/Android
Go-mtpfs
Another way to mount the device as a file system is go-mtpfs, a file system that lets you transfer data over the MTP protocol. This is the protocol used by smartphones without a memory card.
On Arch Linux, installing go-mtpfs is very straightforward:
$ yaourt -S go-mtpfs
On other distributions, it’s a bit more complicated:
$ sudo apt-get install golang-go libusb1-devel
$ mkdir /tmp/go
$ export GOPATH=/tmp/go
$ go get github.com/hanwen/go-mtpfs
$ go install github.com/hanwen/go-mtpfs
From here on, it’s just as straightforward as with adbfs:
$ mkdir ~/Android
$ go-mtpfs ~/Android
To disable:
$ fusermount -u ~/Android
SSH
The idea of using ADB to talk to a device might seem odd, given that Android has several SSH servers that don’t require root. And that’s fair—SSH will often be more convenient and efficient. For the server, I recommend SimpleSSHD, a lightweight, free wrapper around the time-tested Dropbear SSH server for embedded systems. If you have root, I also suggest installing BusyBox On Rails, a set of command-line utilities that most closely mirrors what you get with standard Linux distributions.
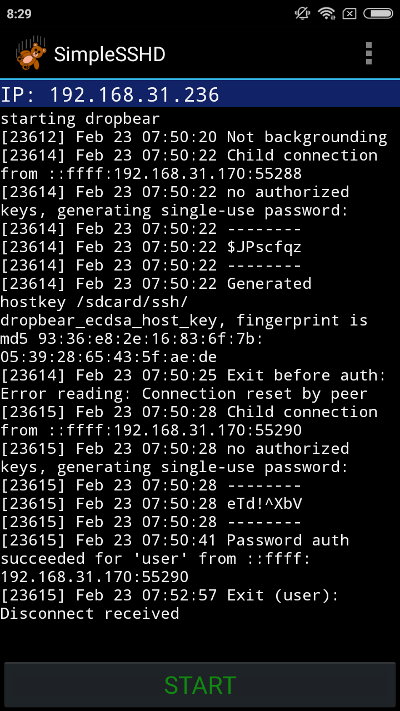
Using SimpleSSHD is straightforward: launch the app, tap START, and connect to the indicated IP address (port 2222).
$ ssh 192.168.31.236 -p 2222
When you connect, a one-time password will appear on the screen; enter it in your client. That’s not a very convenient way to authenticate, but you can switch to key-based authentication. Just rename your public key (~/.) to authorized_keys and place it in the ssh directory on the smartphone’s SD card.
 |
 |
| SimpleSSHD | |
Bash, tmux, mc
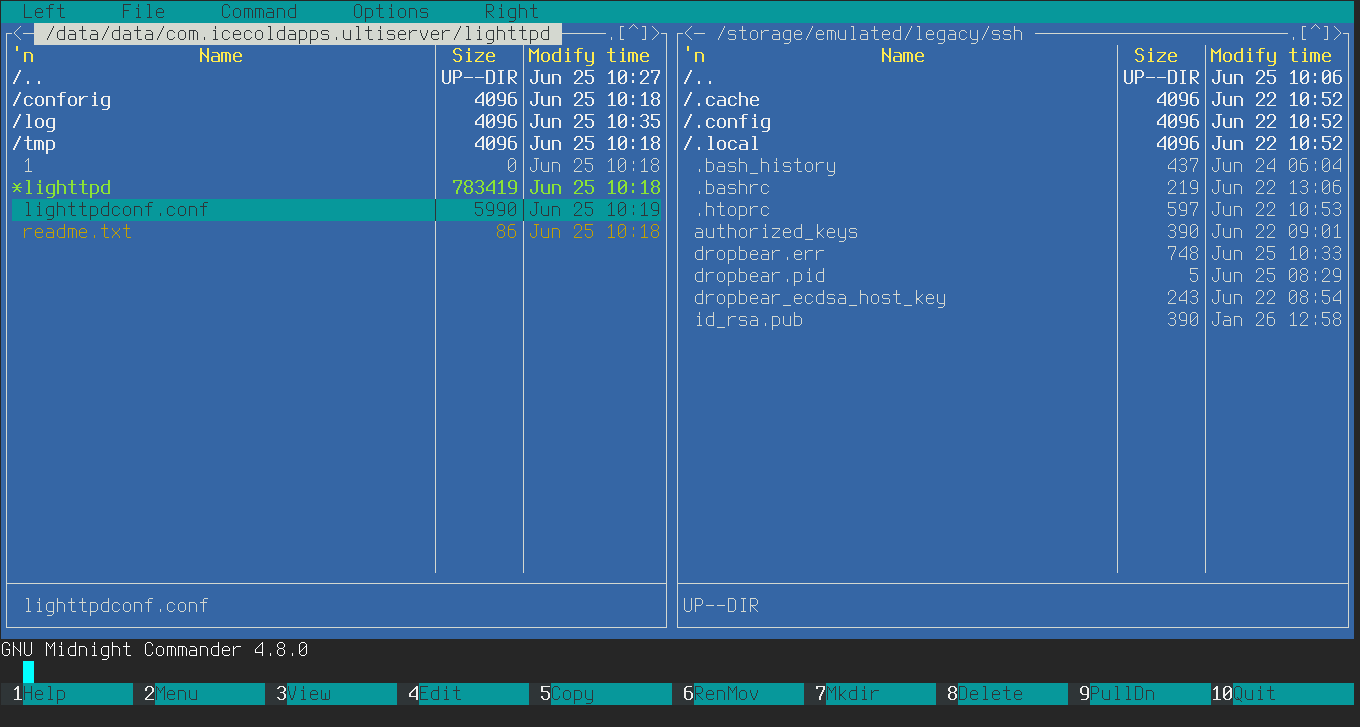
An SSH server on a smartphone already unlocks plenty of possibilities, but you can go even further by installing classic tools like bash, tmux, and mc (Midnight Commander). The latter makes it easy to browse the SD card and tidy things up when needed.
I’ve already covered how to install bash, tmux, mc, and nano on a smartphone in an earlier article, but let me recap. And a heads-up: you’ll need root access on your phone.
Download Terminal IDE, rename the APK file to .zip, extract it, find the file assets/, rename it to remove the .mp3 extension, and extract it. Inside you’ll see lots of folders and files; the only ones we care about are system/ and system/. The first contains the tools you need—copy whichever ones you plan to use into a separate folder. The second is required for those tools to work correctly.
Copy the selected utilities and the terminfo directory to the smartphone’s memory card. Then connect to it over SSH and run the following commands to enable modifications to the system directory:
$ su
# mount -o remount,rw /system
Next, copy all the required utilities to / and set the executable bit on them (using bash as an example):
# cp bash /system/xbin/
# chmod 755 /system/xbin/bash
Then create the file / and add the following lines to it:
export TERMINFO=/sdcard/terminfo
export TMPDIR=/data/local/tmp
export PS1="\u@\h:\w \$ "
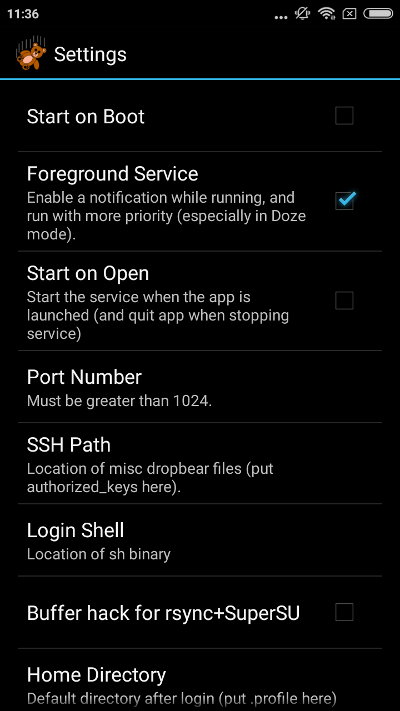
Open the SimpleSSHD settings on your smartphone and set the Login Shell to /, then stop and restart the server. The next time you connect over SSH, bash will start, and the utilities you copied will be available.
To ensure Vim and mc work properly, also copy the etc/ and etc/ directories to the SD card, and add the following lines to the / file:
export MC_DATADIR=/sdcard/mc
export VIMRUNTIME=/sdcard/vim
Rsync
An SSH server lets us use rsync, a powerful utility for file synchronization and backup. Rsync enables fast bi-directional syncing between two machines (or a computer and a smartphone, as in our case), transferring only new and changed files and supporting resume for interrupted syncs.
A simple example of using rsync with a smartphone:
$ rsync --update --progress -e 'ssh -p 2222' -azv 192.168.31.236:/sdcard/DCIM/Camera ~/Photos
This command will copy all photos from the smartphone into the ~/ directory, skipping any that are already there. The -azv option bundle here means the directory should be transferred as-is with all subdirectories and permissions preserved (-a), and compression should be used (-z).
The reverse command—copying data from the computer to the smartphone:
$ rsync --delete --progress -e 'ssh -p 2222' -azv ~/Books 192.168.31.236:/sdcard/Books
Here, we used the --delete flag to remove from the destination any files that had been deleted from the local ~/ directory.
By default, if the connection drops, rsync deletes partially transferred files. To prevent this, use the --partial flag, which tells rsync to keep incomplete files and resume their transfer the next time you run the command.
SSHButton
Okay, we’ve connected to the smartphone and synced the files, but what if we need an SSH session in the opposite direction—from the phone to the computer? In that case, any of the many SSH clients for Android will work (for example, ConnectBot), assuming you’re fine typing commands on a small touchscreen keyboard.
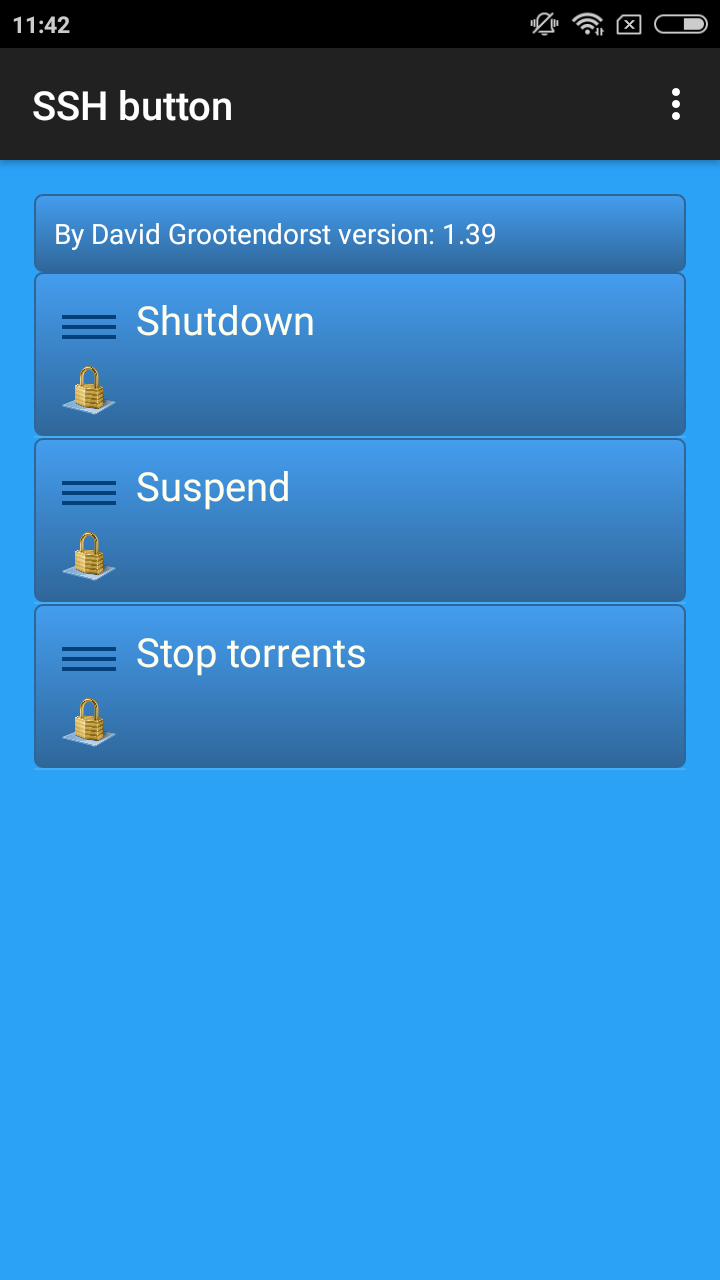
If that’s too much, use the SSH Button app, which lets you run a command on the target machine with a single tap. The interface is ugly, but it works great. Just launch SSH Button, go to Menu → Add…, and enter the command, the SSH server address, username, and password.
An SSH button is handy for shutting down or putting your computer to sleep (using systemctl and halt), starting and stopping torrents, and controlling music—for example, the mocp player I mentioned in a previous article can be controlled from the command line.
 |
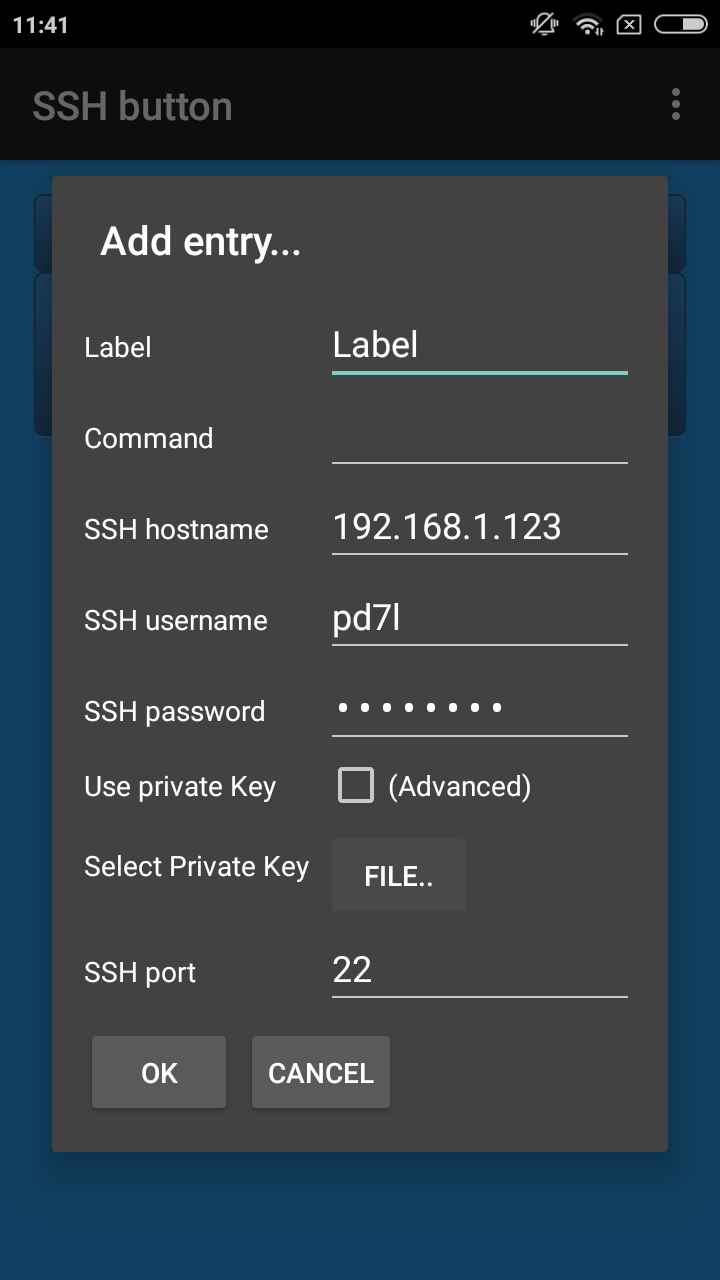 |
| SSH button | |
Conclusion
Using Android alongside Linux is genuinely convenient. Unlike Windows, you don’t need extra drivers, dedicated servers, or other oddities. In most cases, standard Linux tools like SSH and rsync are enough, but you can always find more interesting tools online.
