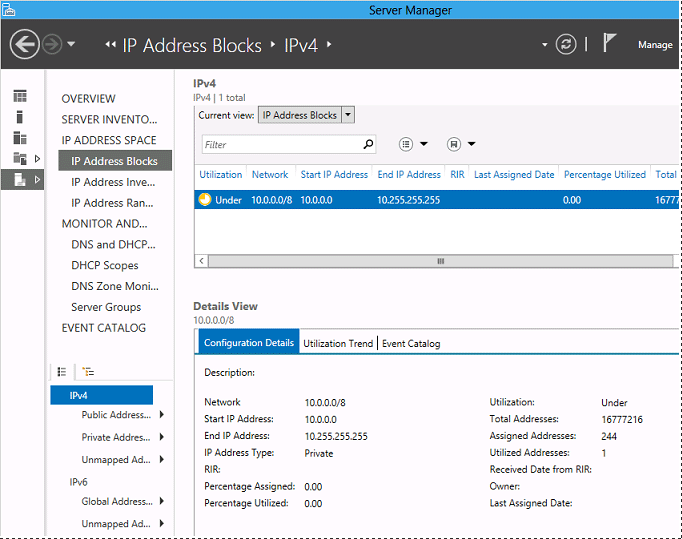
IPAM (IP Address Management) first appeared in Windows Server 2012 and is described in the official documentation as a built-in toolset for planning, deploying, administering, and monitoring IP address infrastructure. It automatically discovers IP address infrastructure servers and lets you manage them from a single console. IPAM also assists with various network services, including DNS and DHCP.

Key benefits of IPAM include: the ability to inventory in-use IP addresses, IPv6 support, automatic generation of DNS and DHCP configuration files, efficient address space management, role-based delegation between senior and local administrators (clear separation of responsibilities), and visual auditing of specific network segments. In short, as you’ve probably gathered, it’s a serious tool for large networks.
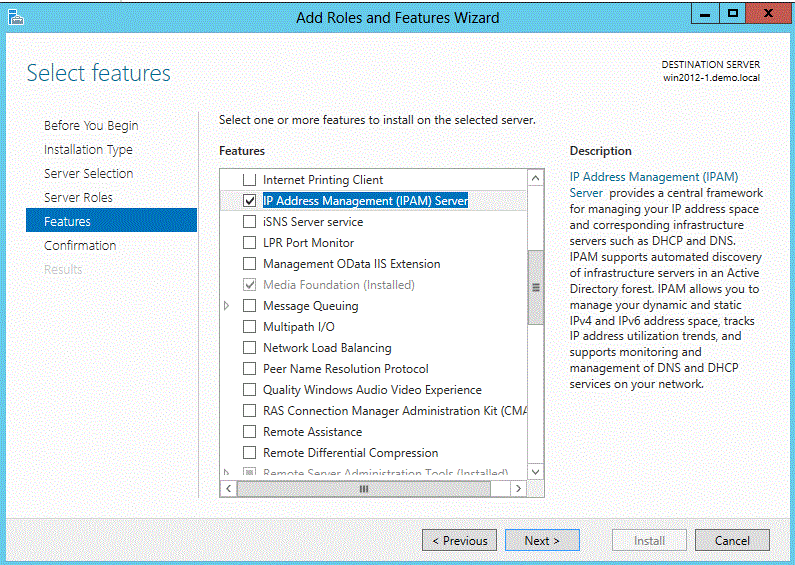
If you’re interested and want to get started with IPAM, you’ll need to install it first. There are two ways to do this. The first is via PowerShell. Open PowerShell and run:
Install-WindowsFeature IPAM -IncludeManagementTools
Alternatively, you can accomplish the same by assigning roles (see screenshot).

The installation itself is straightforward and basically just a matter of clicking Next. Configuration, however, depends on your network setup and goals. As a reference, you can check out this IPAM article on TechNet: статью про IPAM с TechNet.
As you can see, it’s an interesting tool and worth learning if you’re aiming to advance your career as a system administrator.
