At first sight, Android seems a rather simple operating system; however, it contains a lot of hidden functions and settings (especially in the latest versions) which can make your life much easier. So, before you hurry to get root rights and install tons of software on your smartphone, you should learn about this functionality.
Safe mode
Android has a so-called safe mode. In this mode, the operating system disables all the apps installed by the user, which can save you if your smartphone is infected with a screen blocker. To activate it, just to press the power button until the Power off button appears and then long press it. Your smartphone will reboot.
Safe mode: third-party applications turned off
Blacklist
Blacklist numbers have always been a stumbling block for Android users. The system itself doesn’t provide such options, and the apps available in the market block numbers through dirty hacks and not always correctly (most of these apps only pretend to be a third-party dialer which picks up the receiver and puts it down straightaway).
However, the stock version of Android can block numbers too; you just need to forward undesirable subscribers to voice mail. To do this, tap the required contact, then press Edit (the pencil), then menu, and select All calls to voicemail. By the way, you can set an individual ringtone for the subscriber here as well.
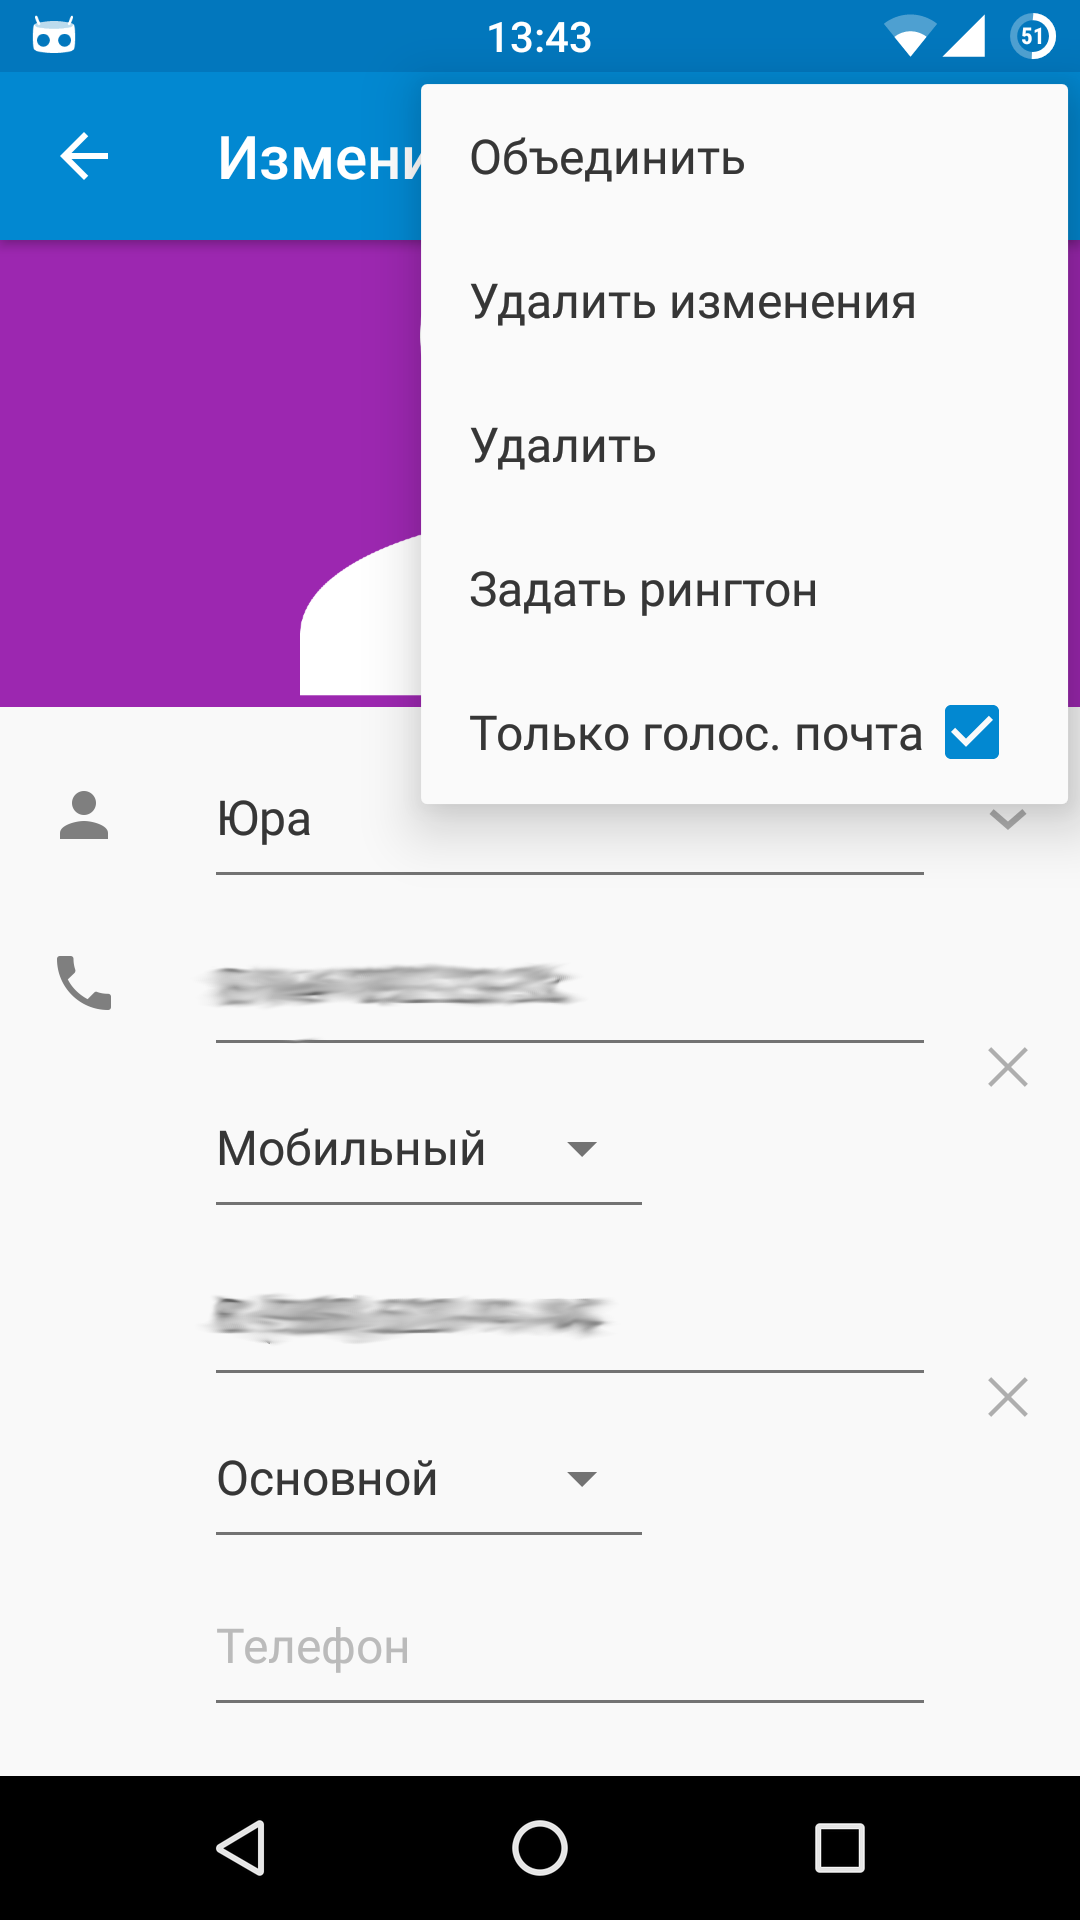
Blacklisting a contact
Quick responses
The decline with message function allows you to send an SMS in response to a call. There are four default message options such as “Can’t talk” and “I’ll call you back later.” But these are rather boring. If you want something more creative, you can edit the messages: Phone -> menu -> Settings -> Quick responses.
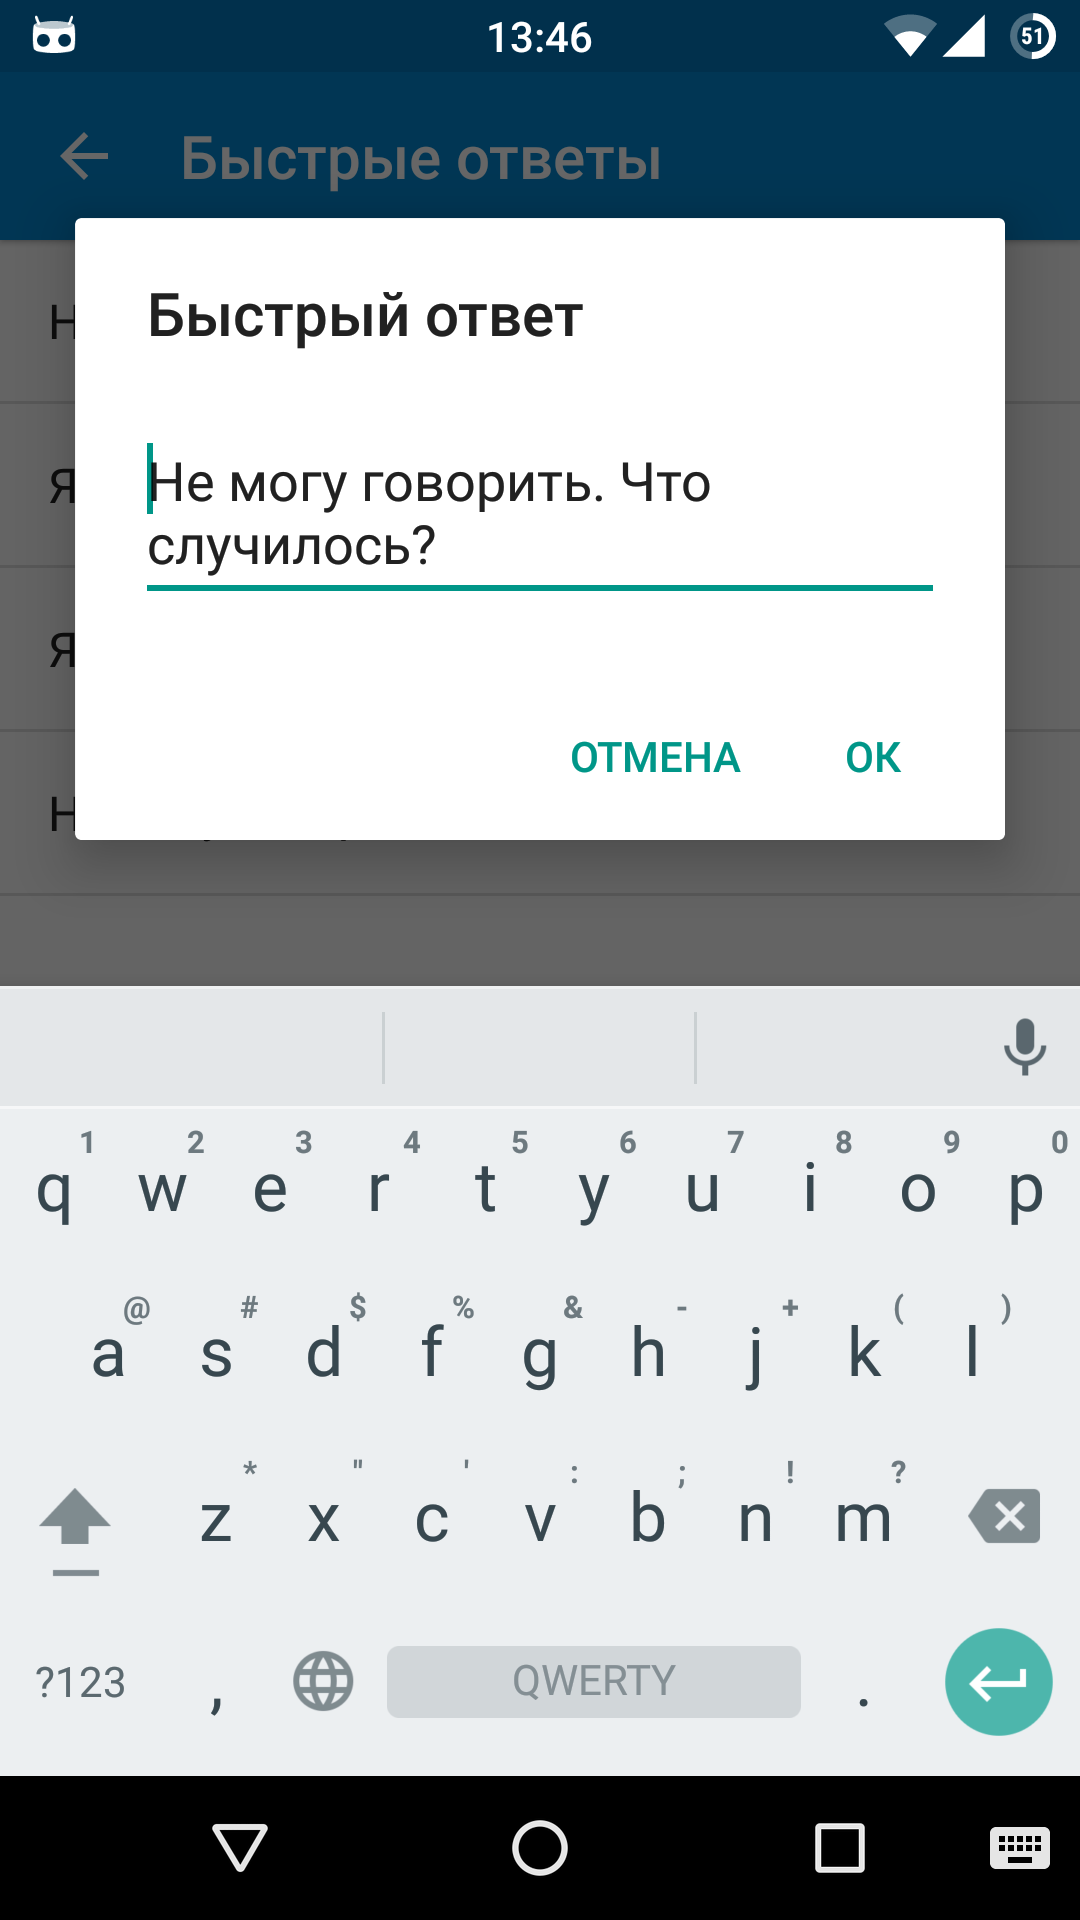
Editing quick responses
Little tricks
- To change letter case or to make words or sentences in messages start from a capital letter, just press the Shift button until you get the required result.
- In Android 5/6, you can access Quick Settings by pulling down the notification shade with two fingers.
- You can quickly turn on vibration mode in Android 5/6 by pressing the volume button and then tapping the icon on the left side of the slider that appears.
- Android has a screen magnifier. To turn it on, go to Settings -> Accessibility -> Magnification gestures. Now any part of the screen can be magnified if you tap it three times.
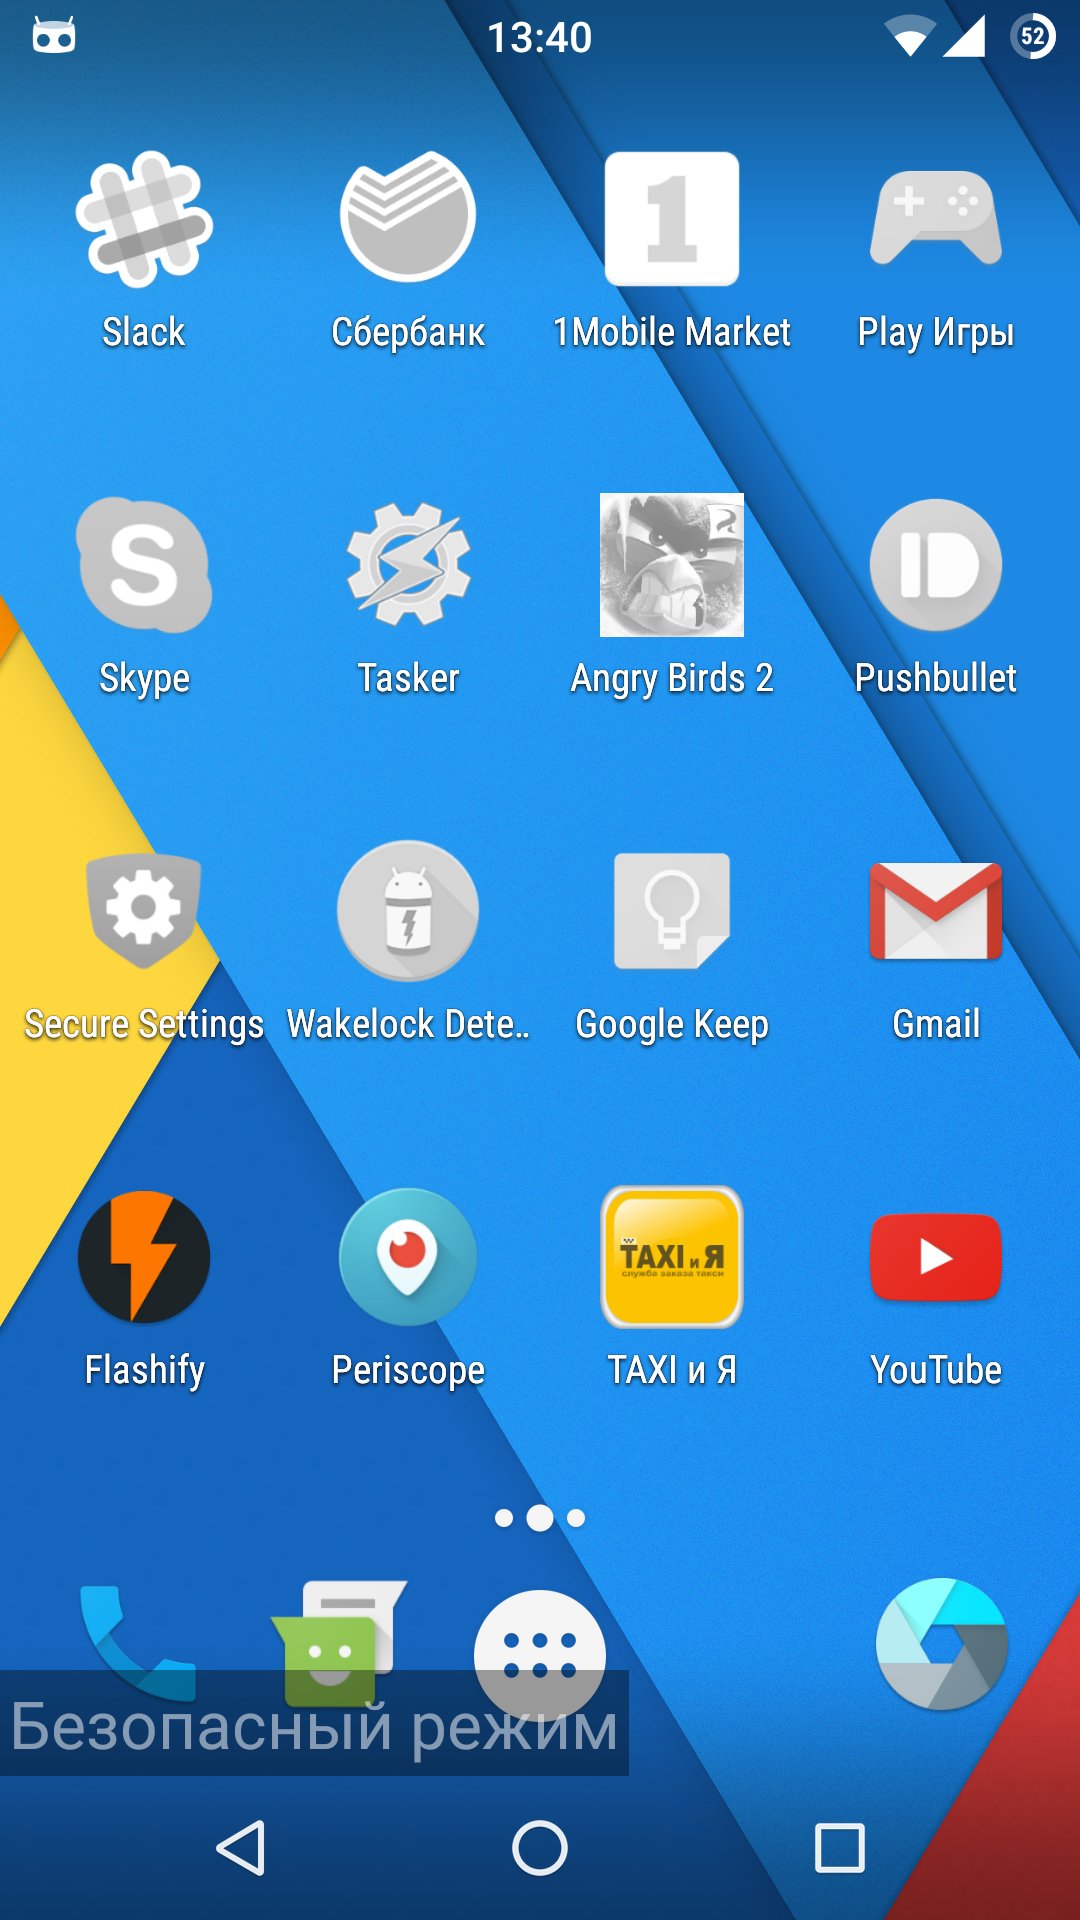
- To disable the automatic creation of icons on the desktop, launch Play Store, proceed to settings and untick the menu item Add icons.
##Wi-Fi advanced settings
Android has additional Wi-Fi options which are unknown to most users. To access it, go to Settings -> Wi-Fi, then press the menu button and select Advanced. Here you can turn off notifications on identified networks, turn off Wi-Fi in sleep mode (I don’t recommend that: in passive mode the Wi-Fi module consumes less power then when you turn it on/off), prohibit the use of Wi-Fi networks with a bad signal and set up Wi-Fi Direct (direct pairing of devices without using a hotspot).
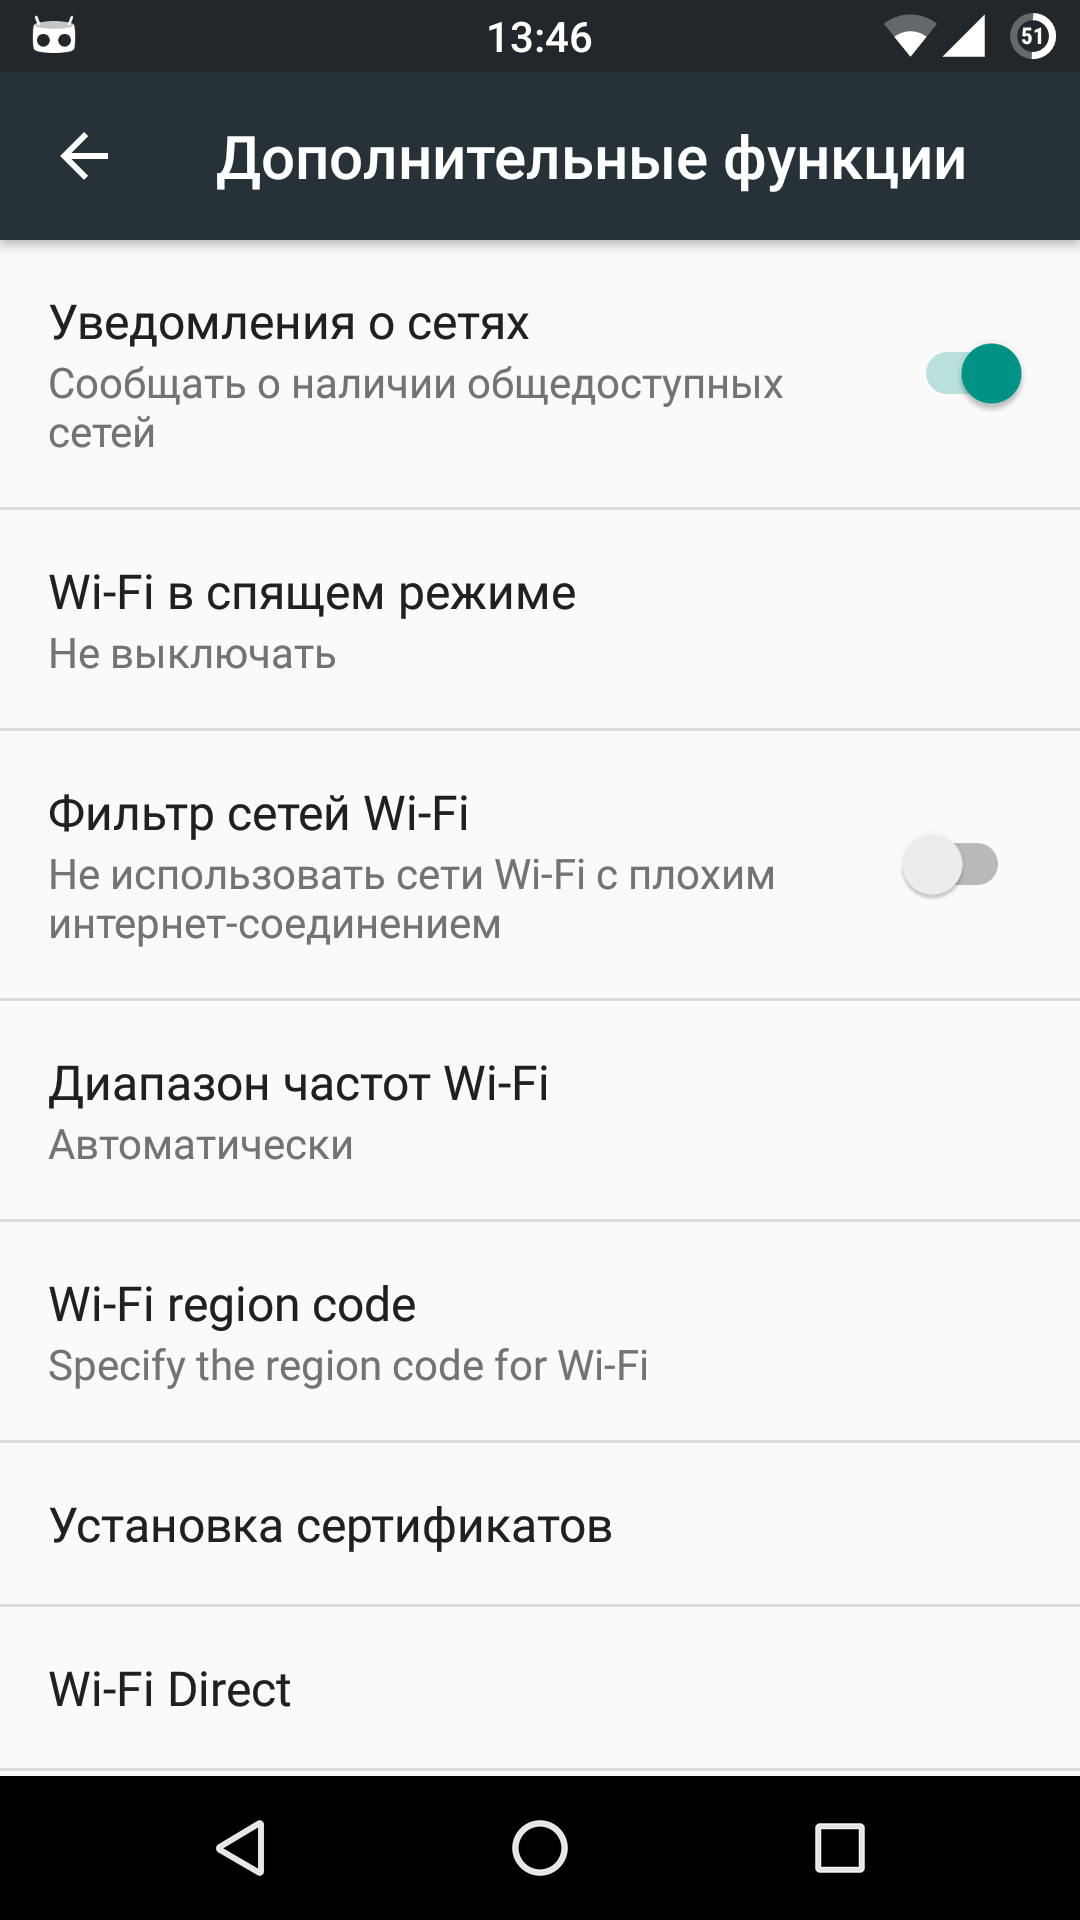
Wi-Fi advanced settings
Disabling sync
By default, Android turns on auto-sync (push notifications) with all services added to the section Settings -> Accounts. This mainly refers to your Google account, as well as Skype and other services. You might not need most sync types (for instance, Google+ sync), so you should turn them off; you can do this for all of them by pressing the three dots in the top of the window and unticking Auto sync data. You can also do it for selected types of data: tap any account, select the account and tick (untick) them.
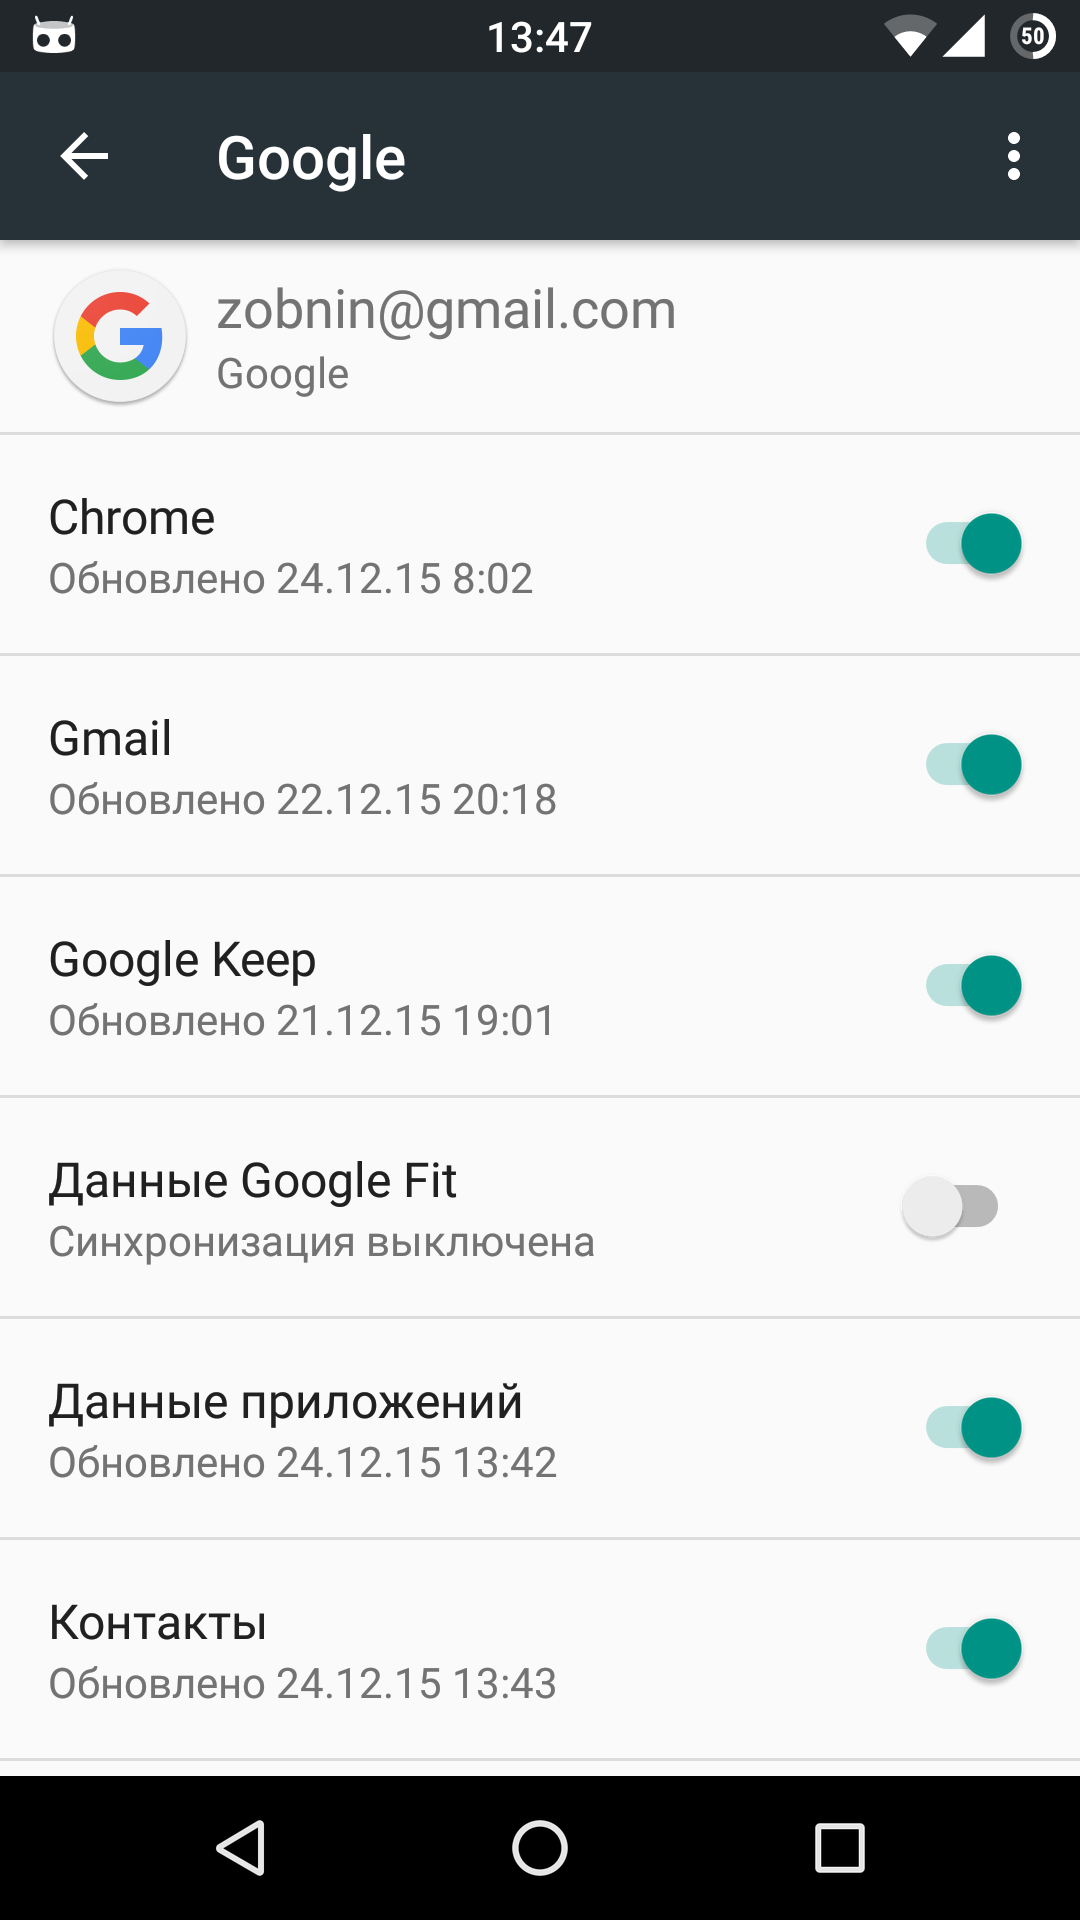
Disabling sync
Disabling stock applications
Have you always dreamed of removing the trash pre-installed by the manufacturer, which can launch itself in the background or which simply irritates you with an unnecessary launch icon in the app list? Fortunately, Android lets you disable many pre-installed apps. Go to Settings -> Apps and open the tab All. Now you need to go through the list. Select the required app and tap Disable. I also recommend pressing Clear data. There is a separate Disabled tab for disabled apps. Unfortunately, not all apps can be disabled. It depends on the developer.
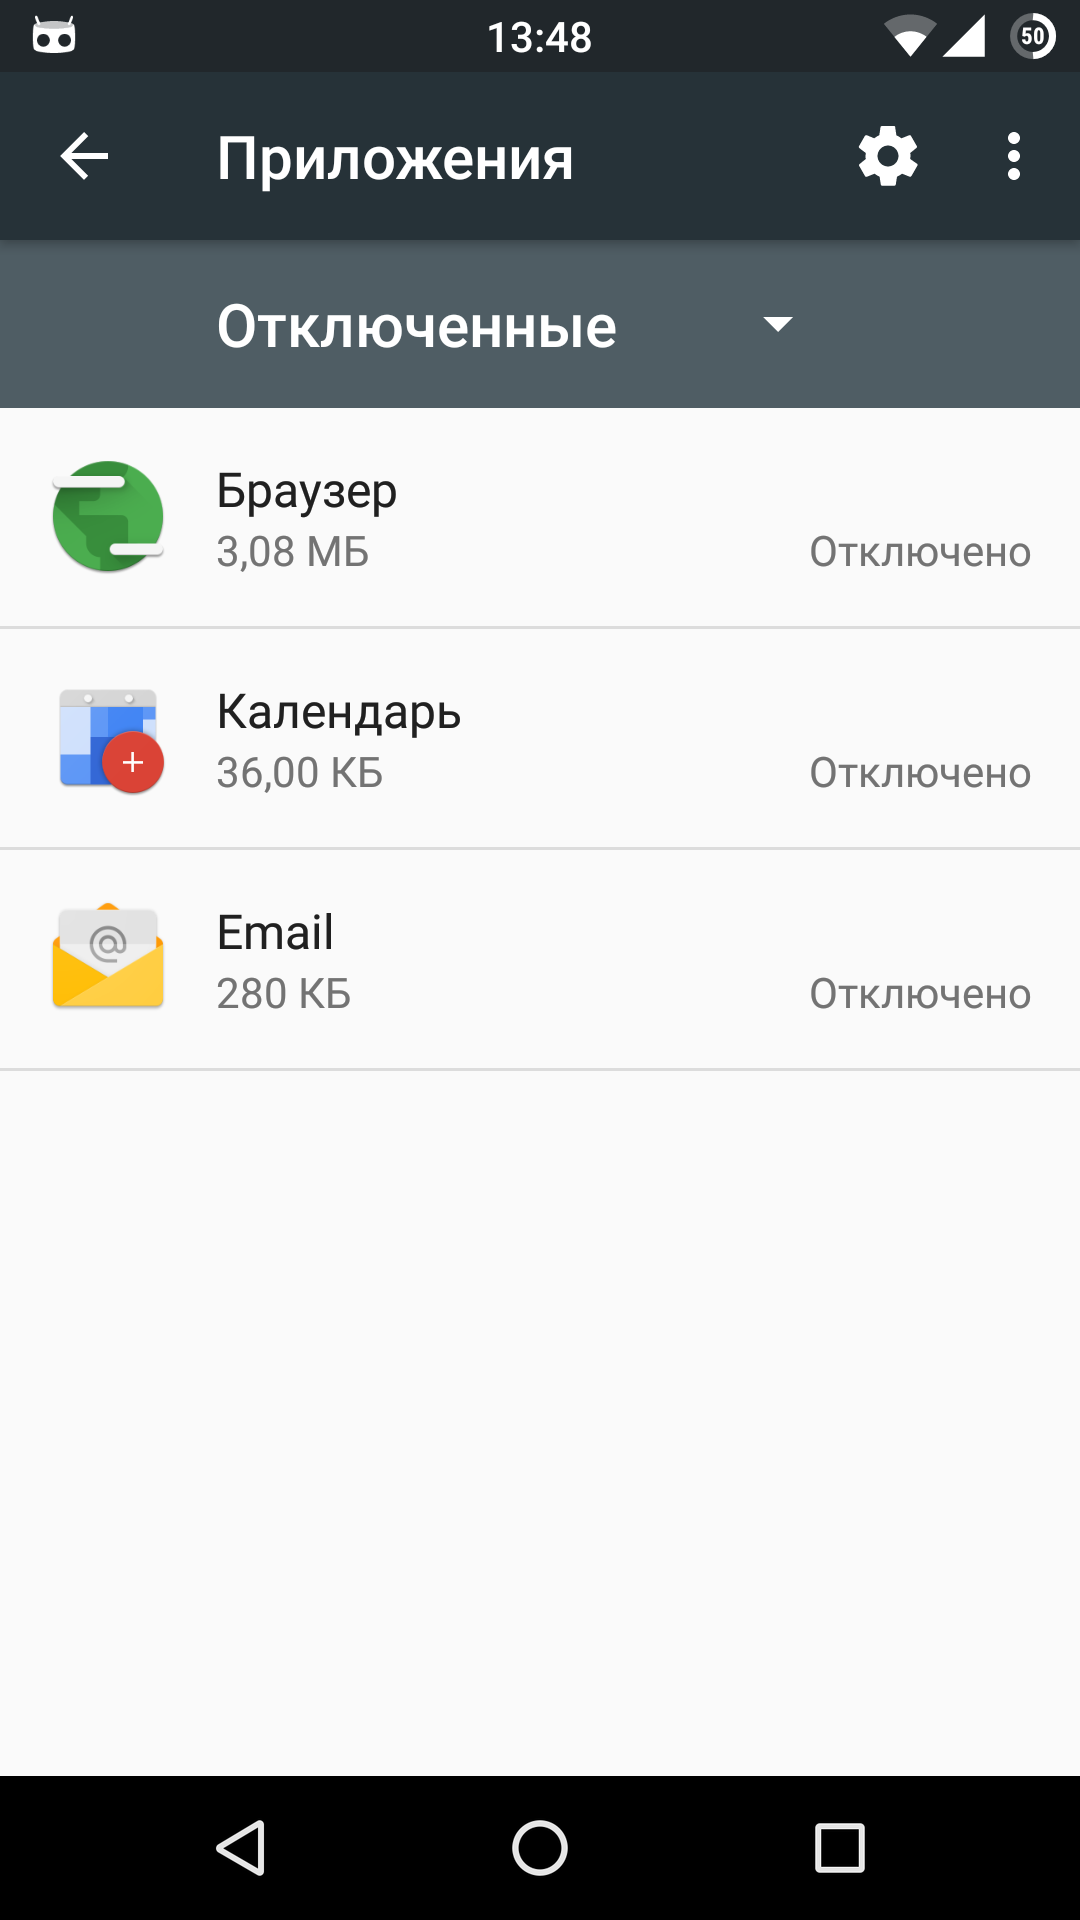
List of disabled applications
Control mobile data usage
Android allows you to monitor data usage without third-party apps. There is a special Data usage menu in the settings. You can set a data limit which, when reached, will display a notification, and a limit which, when exceeded, will automatically disable data transfer. Data statistics and a graph are shown for each application in background and foreground modes. Starting from Android 5.0, this interface is also available in the Quick Settings (notification shade) by tapping the mobile network icon.
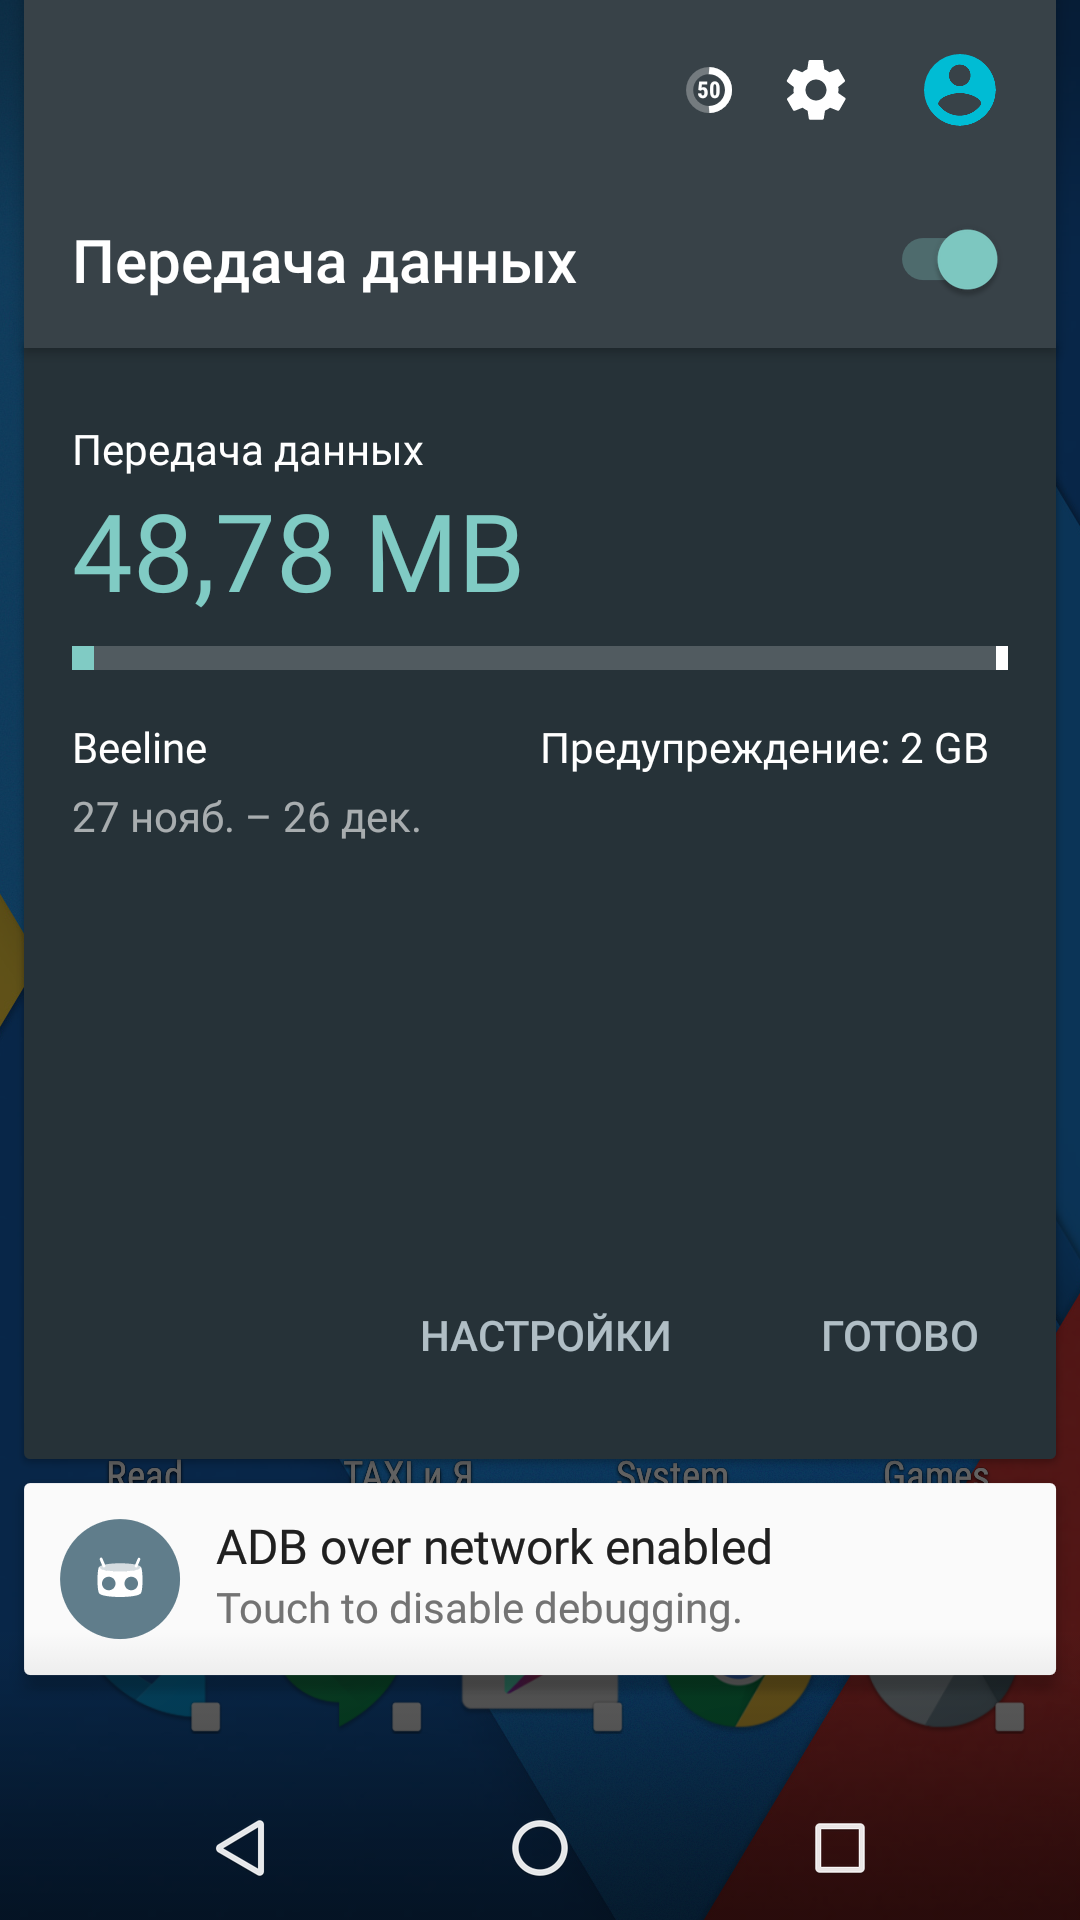
Controlling data usage without extra apps
Disabling PIN at home
A PIN is a good way to protect information on your smartphone from prying eyes. But it is annoying to always have to enter your PIN, especially at home when you don’t really need it much. For this reason, Android has a mechanism for disabling the PIN in so-called safe places. To activate it, go to Settings -> Security -> Trust agents and activate Smart Lock. Return to the Security section, press Smart Lock, enter a PIN. Then select the menu item Trusted places and add any place you want.
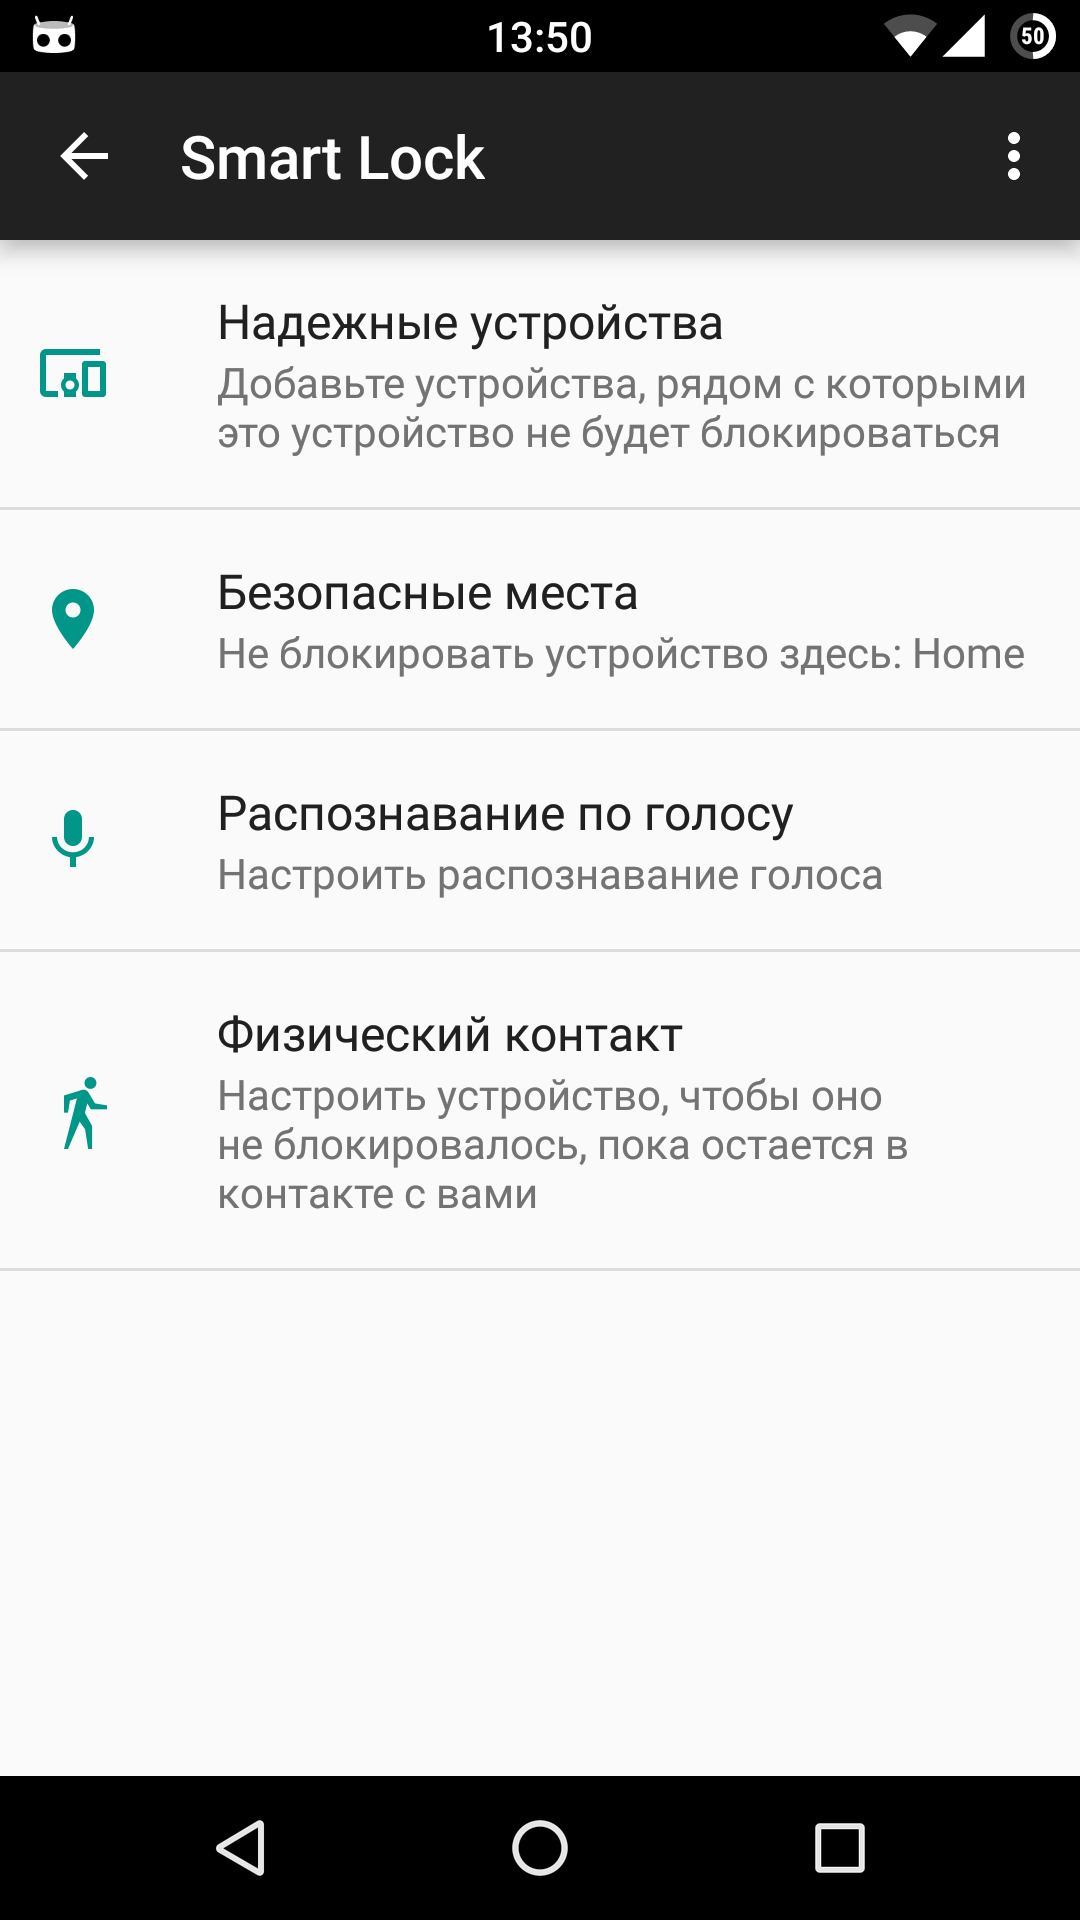
Smart Lock settings window
Do not disturb mode and important contacts
Android 5.0 boasts a new Do not disturb mode (in version 5 by pressing the volume button, in version 6 through an icon in Quick Settings) which makes your smartphone absolutely silent for a certain time (or until the alarm clock sounds). This seems like a good idea, but, by default, your smartphone will still wake you up with calls. Fortunately, you can change this behavior.
Open Quick Settings, press Do not disturb, press Settings in the opened menu, select Priority only. Among other settings on the screen, you will see two items: Messages and Calls. By default, they indicate Contacts only, which means that you will receive calls and messages from anyone on your contact list. The best choice is Favorite contacts only, i.e. those you have marked with asterisk in the dialer. You can also select From no one.
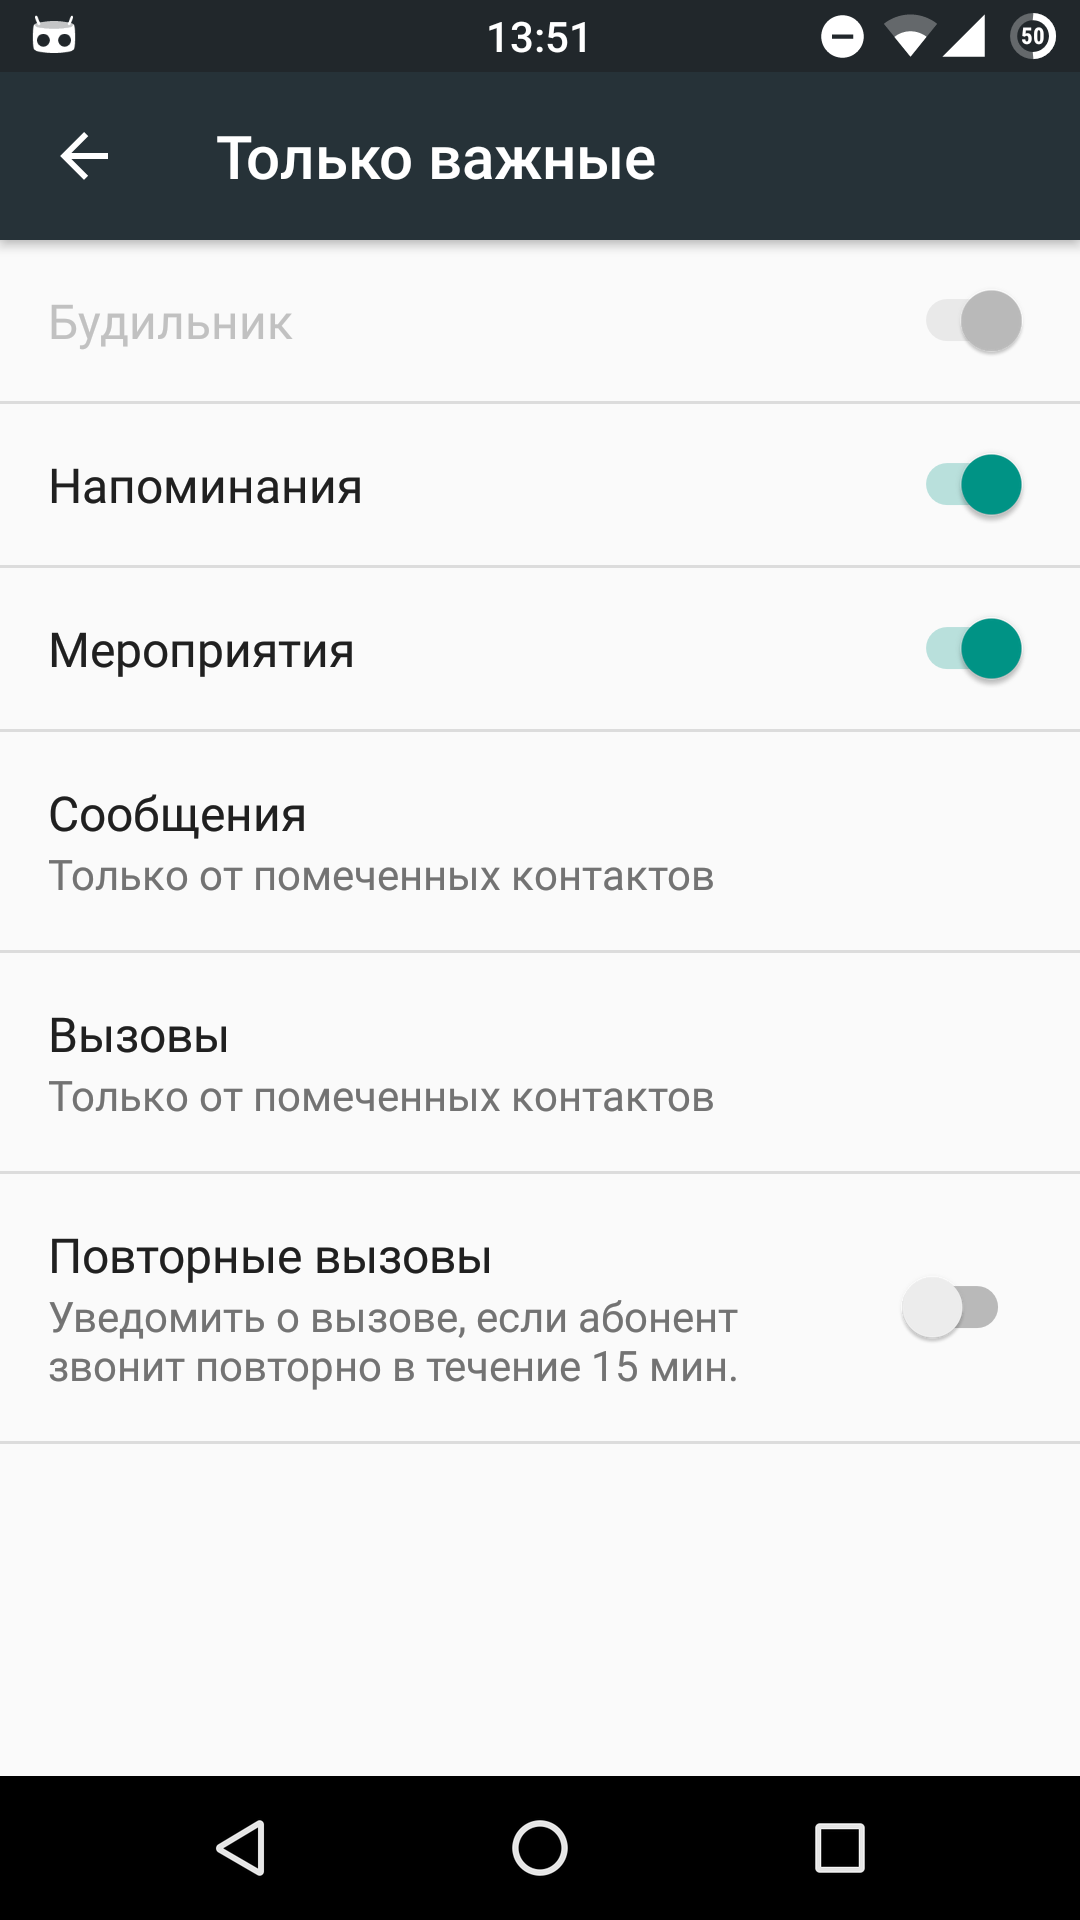
Do not disturb mode settings
Disabling notifications
Many applications like to spam you with notifications, this is particularly a problem with games, but ordinary apps can also be a nuisance. Fortunately, you can disable notifications. Open Settings -> Apps -> All, find the troublemaker and select Notifications. Here you can disable all notifications (Block all), and allow only swiped off notifications (Short notifications).
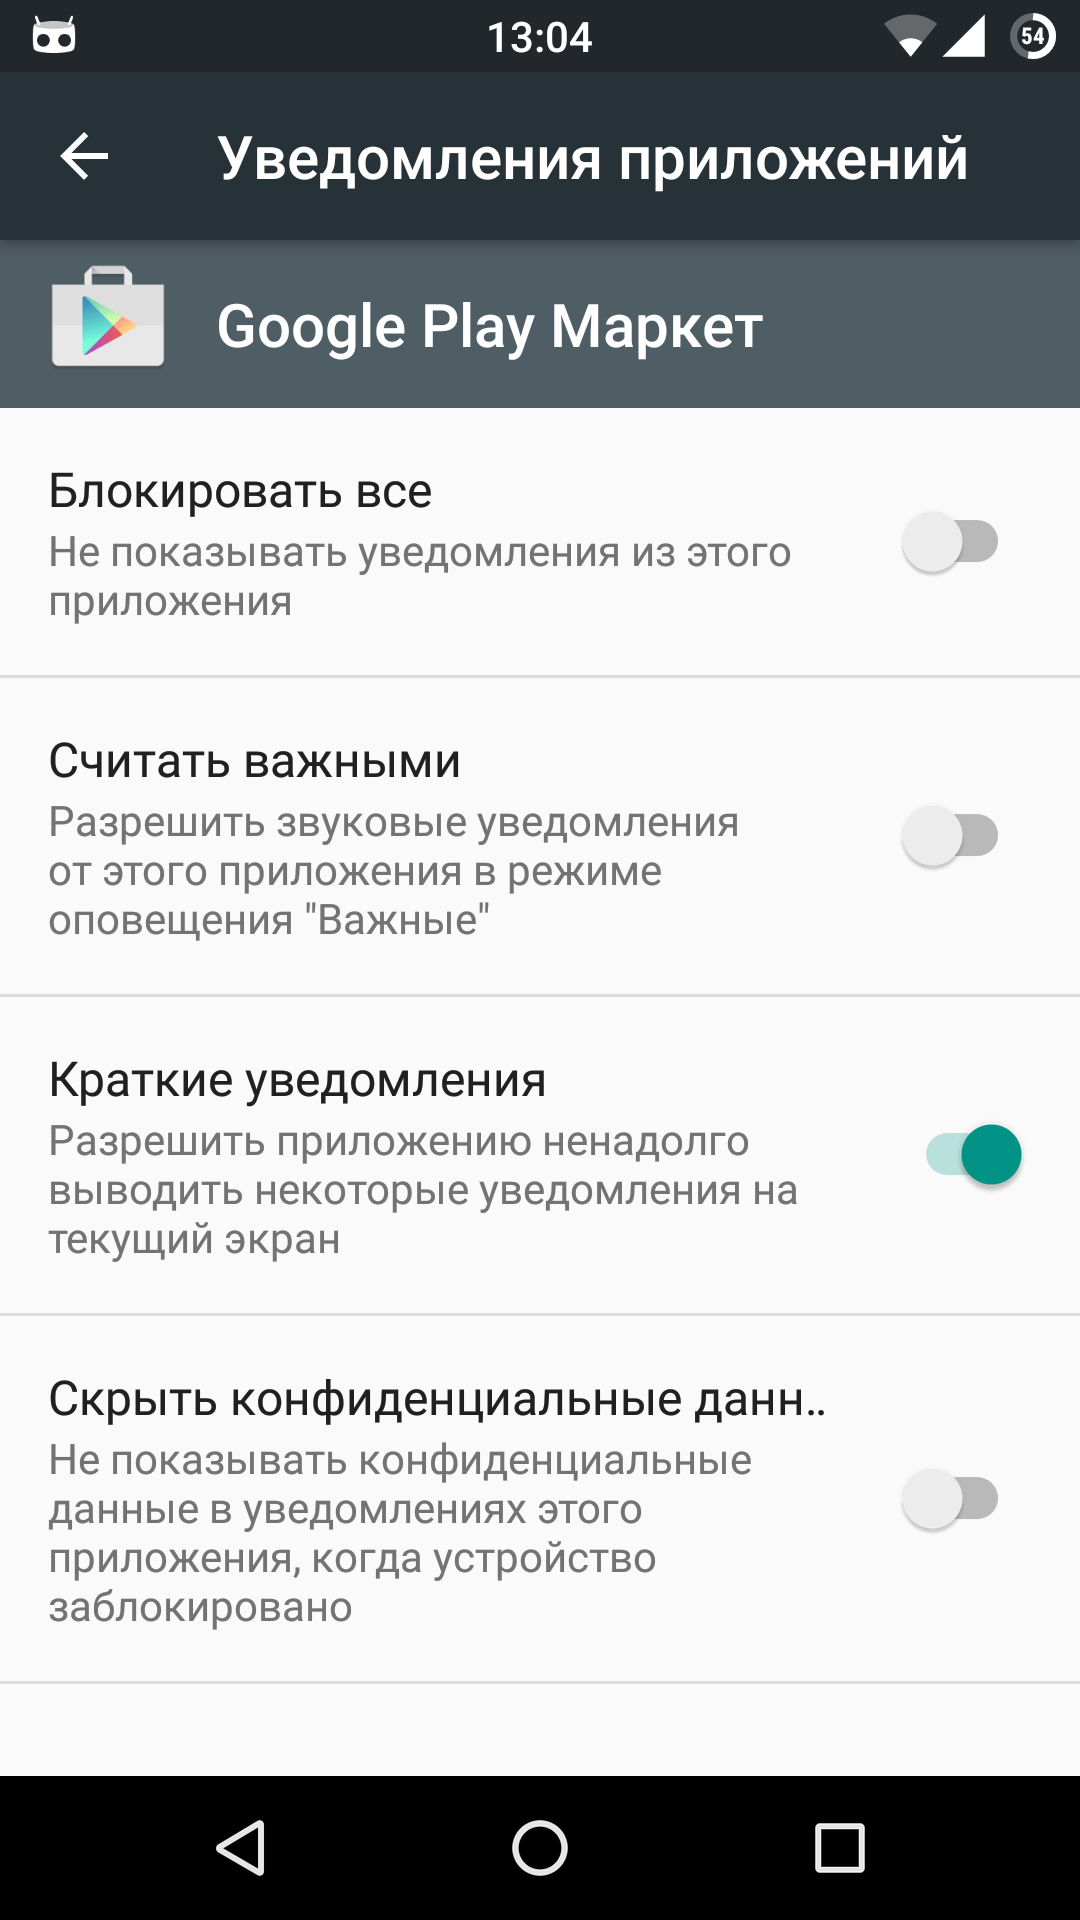
Google Play notification settings
Expanding your device’s internal memory
Android has always had a problem with expanding the smartphone’s internal space. A connected SD card didn’t help, it was a just external storage. The function of moving apps to a memory card, which appeared in Android 2.2, didn’t make much difference. Finally, in Android 6.0 Google decided to fix the whole problem. Now, when you connect a USB flash drive or an SD card, the system provides you with two options:
- use it as a removable drive (normal mode, just like in previous versions);
- make it an internal storage medium. In this case, the device will format the USB flash drive in ext4 using 128-bit AES encryption and will mount it as system partition. Then it will be tested for read and write speed. Now, unfortunately, all memory cards are significantly slower than the memory built in the device, which in theory can lead to poor device performance. Fortunately, only the time for opening a specific app or loading part of it (game location, for example) depends on the processing power of the disk subsystem. All computations are performed outside the disk. So FPS will not lag when you play your favorite game.
Screen pinning mode
When you give your smartphone to a third person, there is always a danger that this person may want to examine your messages and other confidential information. To prevent this, you can use the Screen pinning function available starting Android 5.0. It will be impossible to minimize the opened application using the Home and Overview buttons, even turning the screen off and on won’t work.
To activate this function, open Security in settings, press Screen pinning and switch the setting on at the top of the screen. Then, to pin a selected app, press the Overview button then the paperclip icon near the selected app. To unpin – press and hold Back and Overview at the same time.
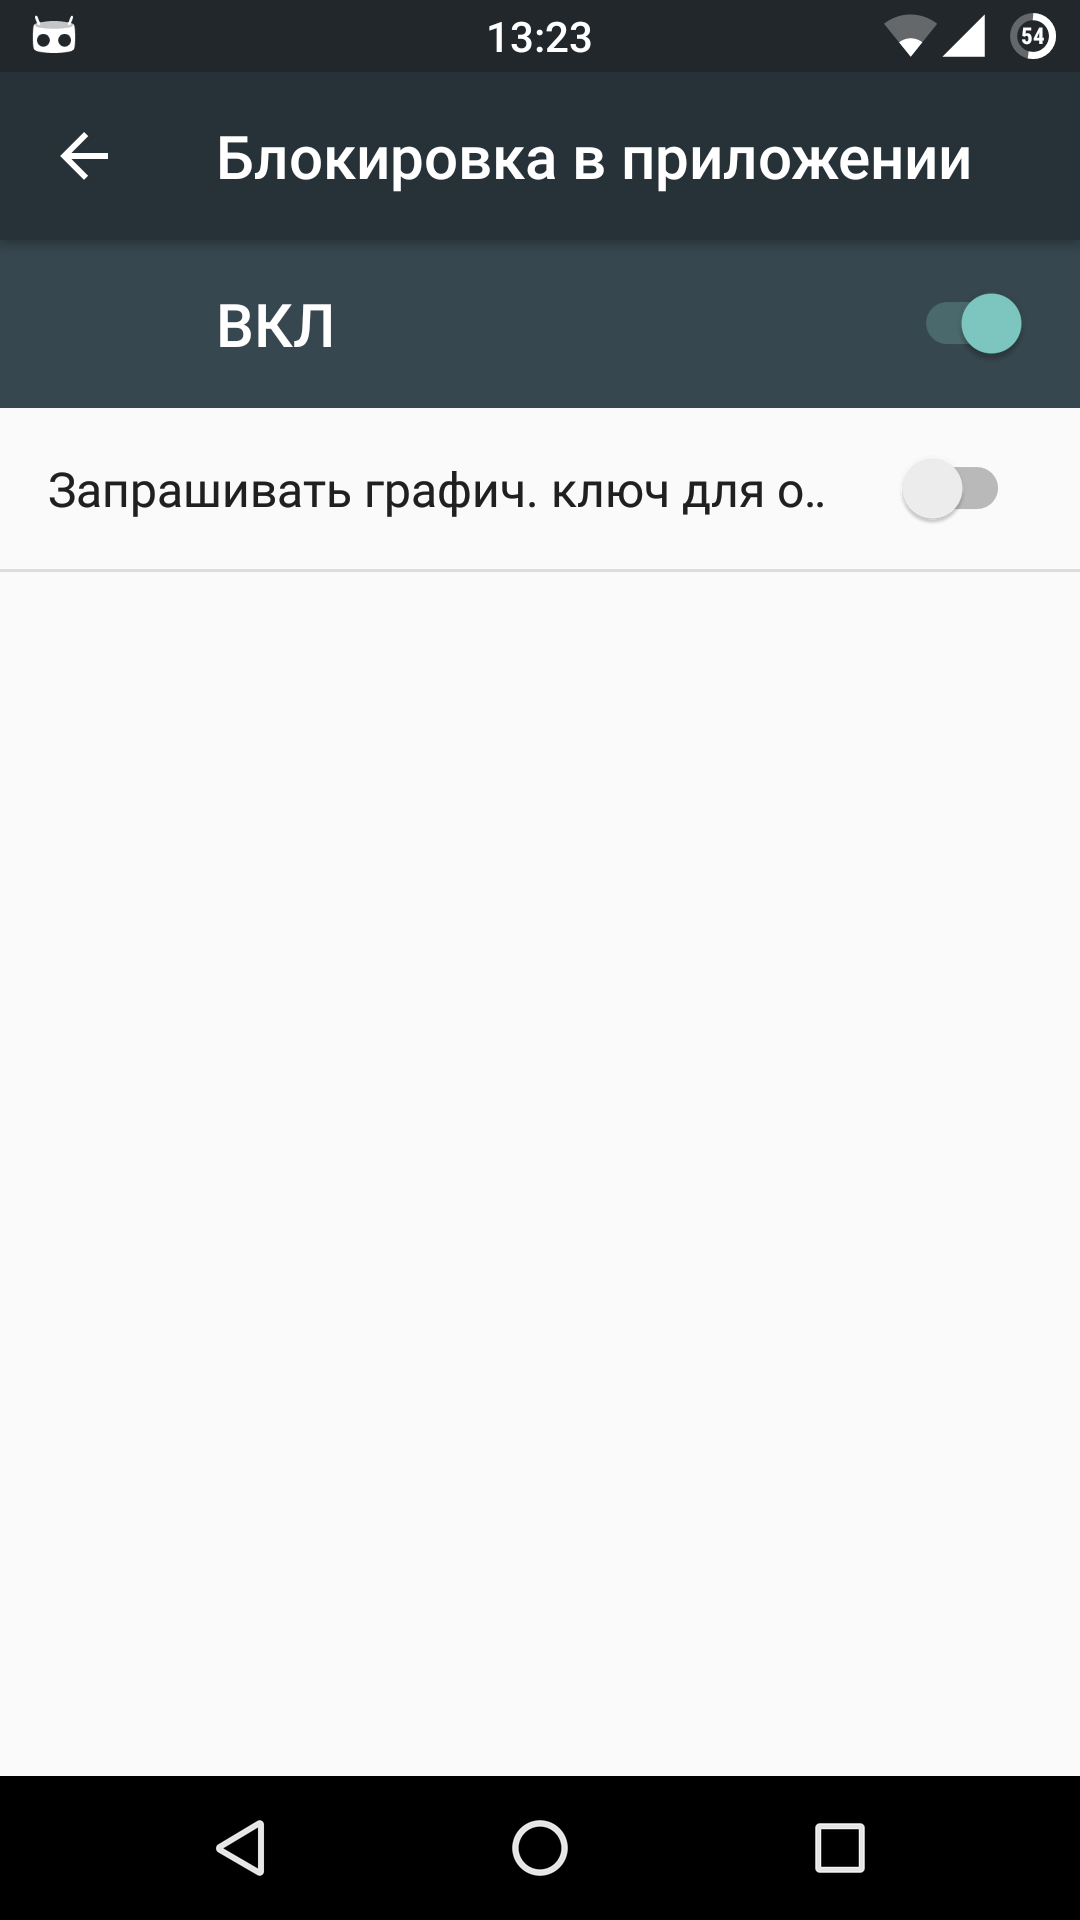
Enabling screen pinning
Developer options
In the settings, press About device and find Build number. Tap it seven times. Now return to the settings and you will see a new section called Developer options.
- USB debugging. This allows your phone to connect to the computer using Android Debug Bridge (ADB). It is used in the Android development environment or to execute ADB commands.
- Pointer location. This will help check the number of simultaneous touches of the screen, test the touchscreen. It shows touch coordinates and movement trajectory.
- Window animation: scale, transition animation – allows to set up animation speed. The smaller the value, the better. By the way, the settings apply only to the system, without affecting the apps.
- GPU acceleration. Basically, it doesn’t change anything in modern versions.
- Do not disable data transfer – even after connection to a Wi-Fi network, data transfer through mobile networks won’t be terminated (but the data itself will not be transferred). This is to quickly switch to a mobile network if there is no Wi-Fi signal. Energy consumption increases a bit.
- Limit background processes. Maximum number of processes executed in background mode. By the way, these settings don’t apply to system apps.
- Show CPU usage. In the upper right corner above all windows, you will see the name of processes using the CPU in real time, along with a CPU scale.
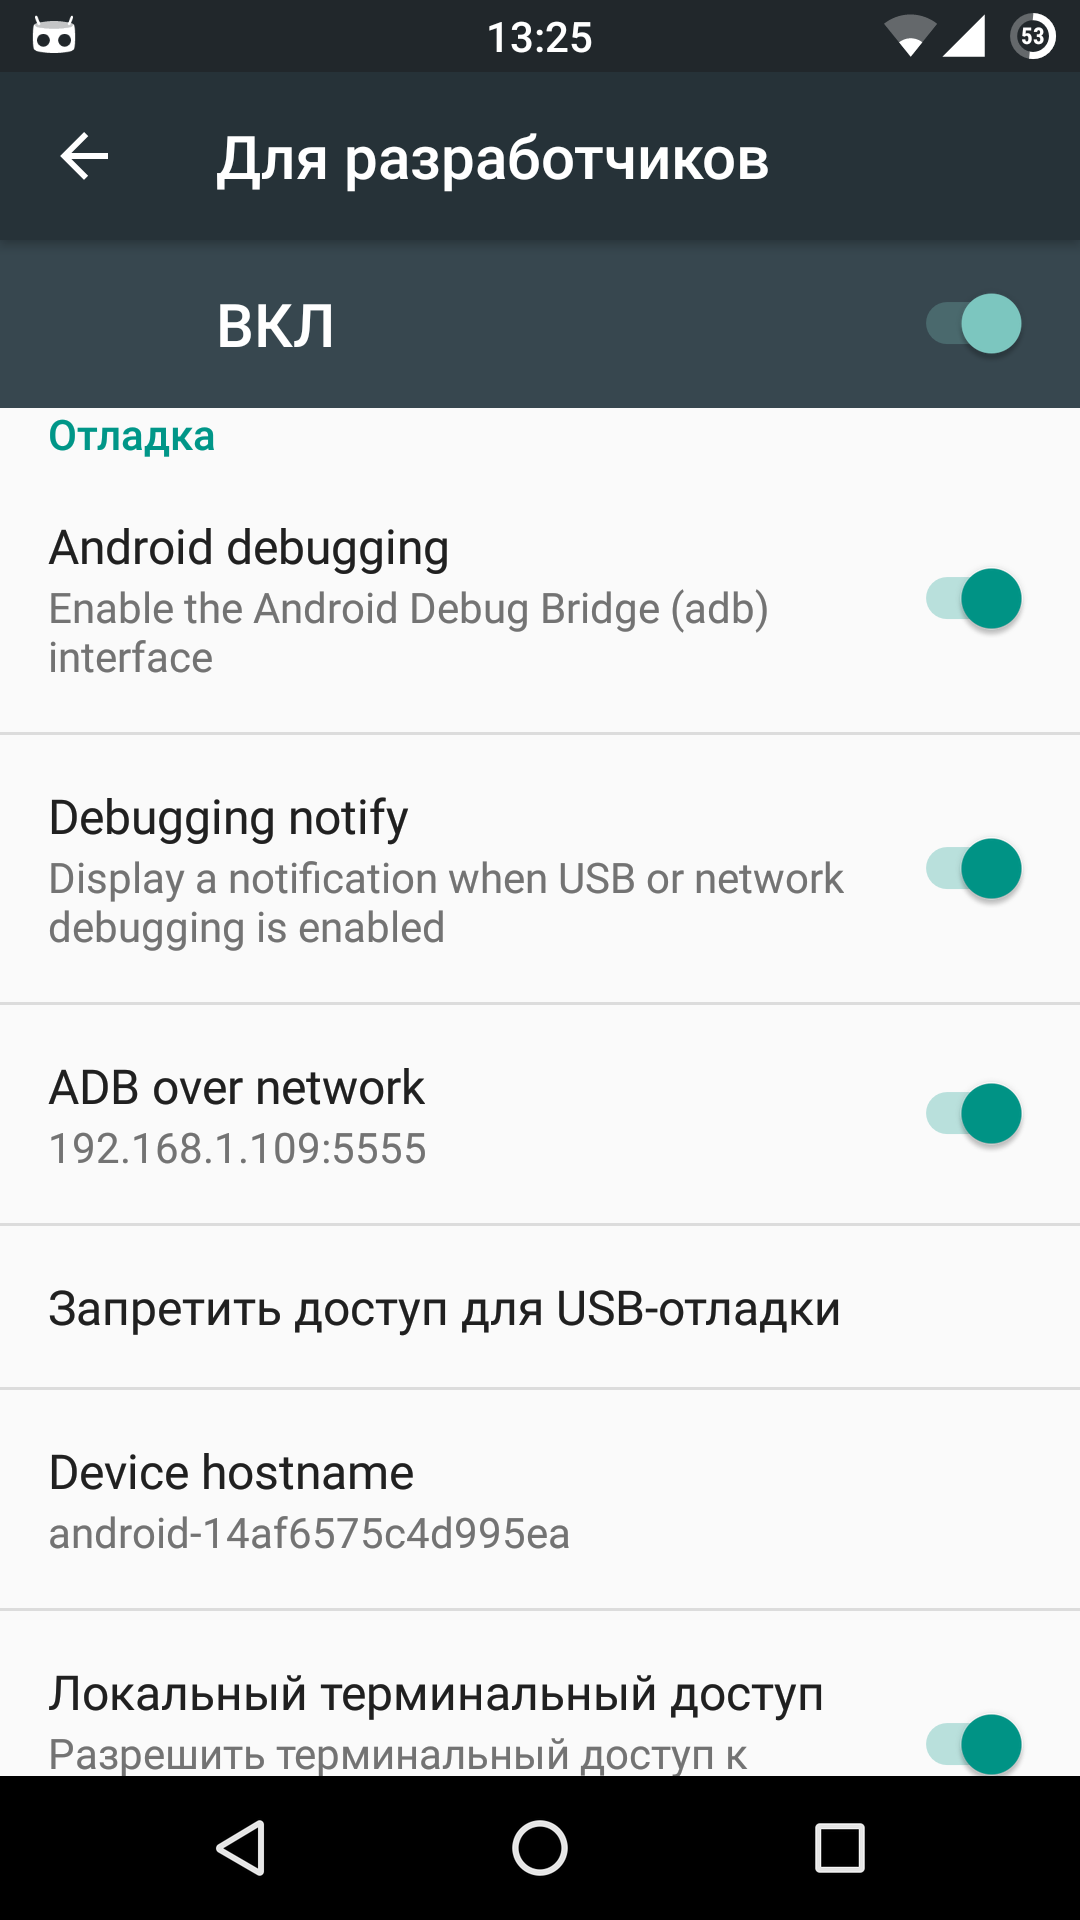
Developer options
INFO
Developer options can be hidden. Just go to Settings -> Apps and find the application Settings. Select it and press Clear data. Don’t worry. The settings will not be reset.
Fine-tuning the interface
Android 6.0 boasts a set of options for customizing the interface, but just like Developer options, it is hidden by default. To see them, pull down the notification shade and hold your finger on the gear-wheel on top of the screen (it should start rotating) until you see a message on the screen. Now, System UI Tuner should appear in the settings, which you can use to change the position and set of buttons in Quick Settings, activate the display of the battery charge percentage and set up icon display in the status bar.
Multi-window mode
Another hidden but very useful function of Android 6.0 is the multi-window mode. In theory, it should be activated with a switch in the Developer options, but it is available only in custom Android assemblies from source codes or custom firmware devices. To enable this mode in stock firmware devices, you need to root, add a line “ro.build.type=userdebug” in the file “/system/build.prop” and reboot. It’s easier to do with any terminal available in the market:
su
mount -o remount,rw /system
echo ro.build.type=userdebug >> /system/build.prop
reboot
Now, after activating the multi-window mode, any two apps can be launched on the same screen (divided by a vertical line) using the Overview button and tapping the icon of the open square on the required app.
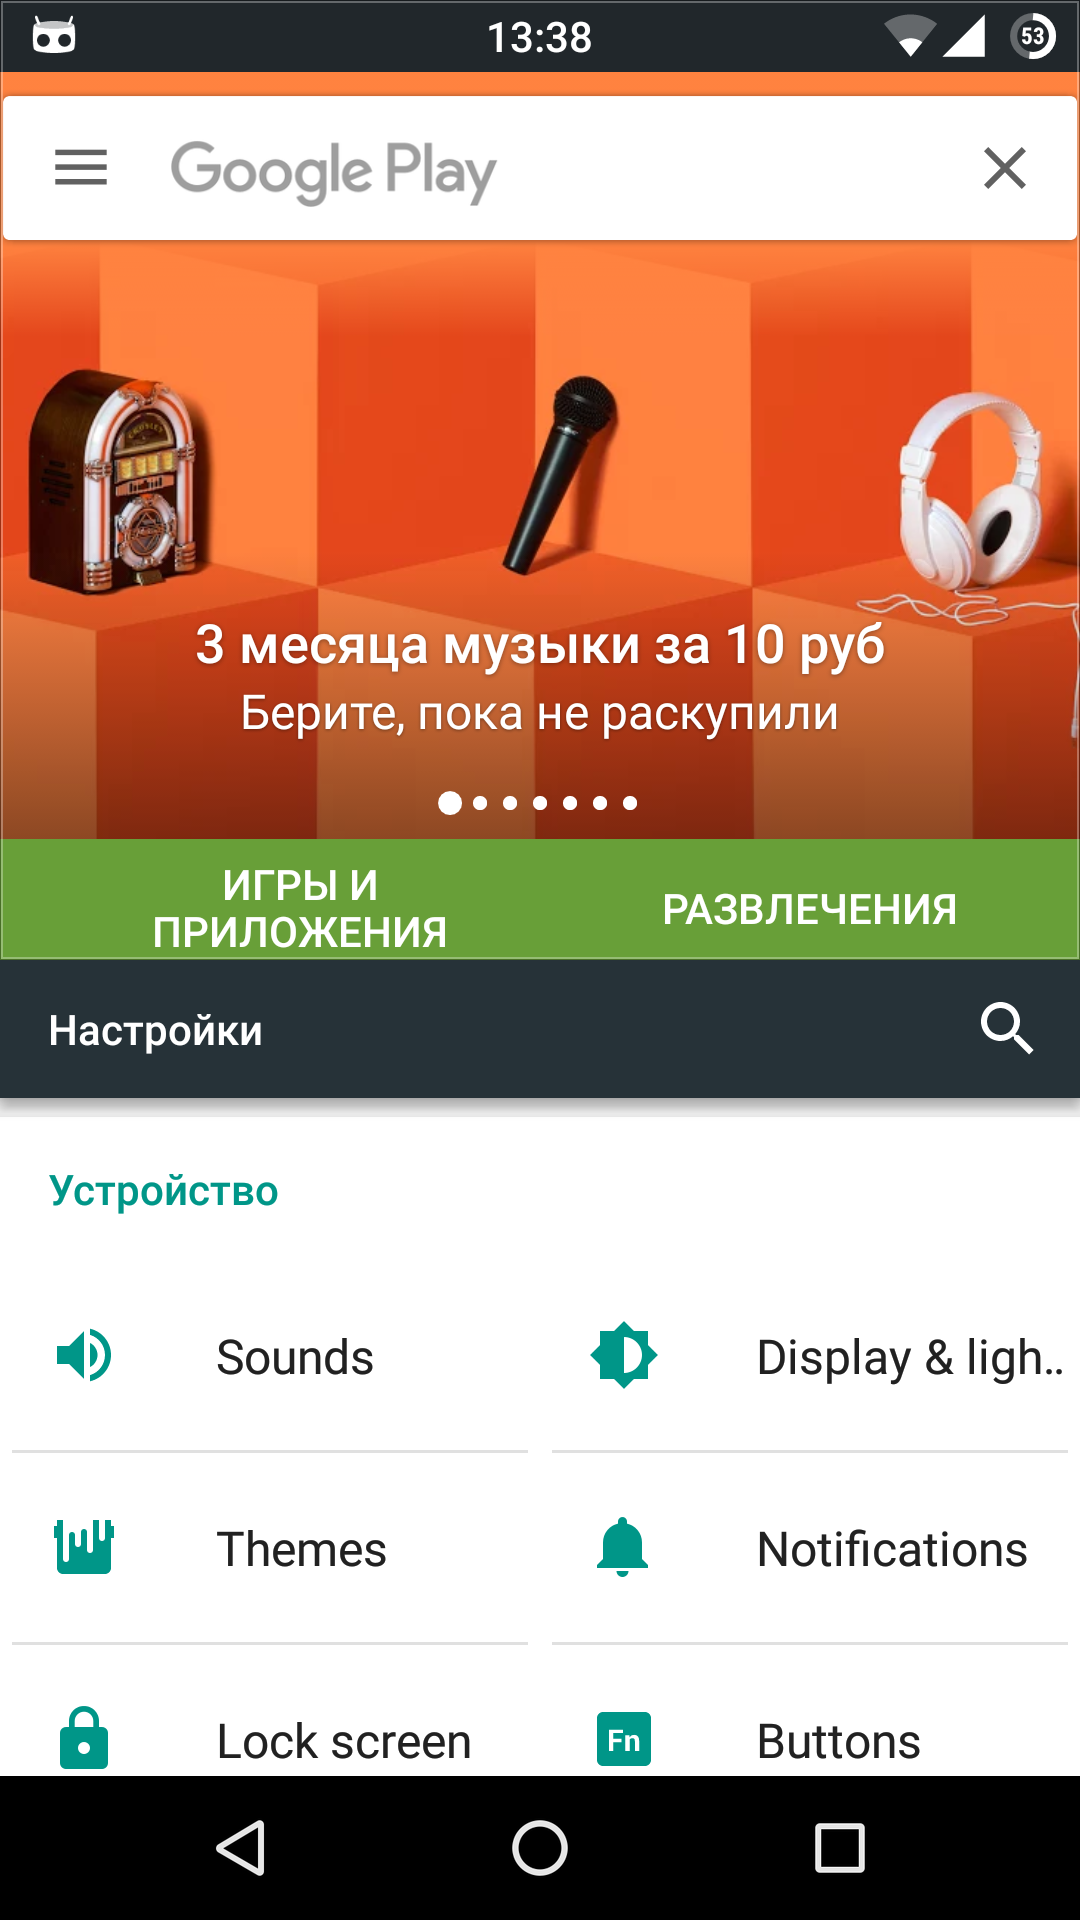
Google Play and Settings on the same screen
Conclusion
As you see, stock Android has many functions and doesn’t require many software products that just copy standard OS capabilities. Sometimes they are more convenient, but often such programs run in the background and eat up the battery.
Service codes (enter through dialer)
- *#06#* — show IMEI.
- *#*#4636#*#* — one of the most useful codes. It is divided into four items: information about the device (IMEI, phone number, operator name, signal quality in decibels and lots of other interesting information, at the end is a list of preferred network type: 4G (LTE only), 3G (WCDMA only), 2G etc., it works only until reboot), battery information (charge, temperature, voltage, technology and much more useful data), usage statistics (running time of all apps from the moment the device is turned on, and the time of their last launch), Wi-Fi information.
- *#*#759#*#* — Rlz Debug UI. Unique Device ID, PID, ACAP other data related to application installation. Here you can turn on OEM Mode and view information on Client IDs.
- *#*#426#*#* — display of different information about the device related to Google Play services. For example: Device ID, port and address of current connection to these services, last sync date etc.
- *#*#225#*#* — information about the number of events stored in the calendar. Can be sorted by type.
[AB1]там еще есть подменю General Settings (после Settings), возможно стоит указать
Hi guys,
Your blog articles are very interesting and comprehensive.
But one remark from the non-Russian readers: screenshots with English menus will help a lot to understood the example. Cyrillic letters is for me (a German) like Chinese. No clue about the image.
Thanks
Hello!
Can I talk to you about cooperation? Interested in placing a mobile banner on a permanent basis. We work on an advance payment.
Please post what places are available for placement and their formats.
I will be very glad to Your response to my email. mail. Sincerely, Slavinskaya Anna.
content obsolete, pics are in russian